

Amore=Love, which describes exactly how I feel about this mini. I simply love it. This is Elizabeth from 217 Creations. I designed this on my Gypsy back in September. And that is where it stayed until I got request from my mom to make her a romantic mini album that had pockets.

For this project I made two videos. The first one shows the details of the mini. The second is how I made the file and how to use the file. I still made a tutorial for those who cannot view video and to show close ups.
DETAILS ABOUT THE MINI
HOW TO USE THE FILE AND MAKE YOUR OWN
I like to make minis using the creative features on Cricut cartridges. So even though I used French Manor, this technique could be used for almost any Cricut cartridge. The pages of this file are all made using the card feature. I used Hide Selected Contour (HSC) to "erase" the scoremarks. This left a flat beautiful cut for each page. All the printed papers are from Webster's Pages Petite Papers.


I used my ATG to adhere all the pages together. Once the page was assembled, I used the Zutter Ditrezz-It-All to fray the outer edge of the chipboard covered pages. Then I coated the frayed edge with Chestnut Roan again. Next I used the 7 Gypsies Binderie to "drill" my two holes for the binder rings. My original design was going to be bound using the Cinch, but as I kept adding goodies it was apparent that it was too thick. So I dug in my stash for rings.

All I could find were brightly colored ones. I used Wild Plum and Pitch Black Alcohol Ink to tint the rings.

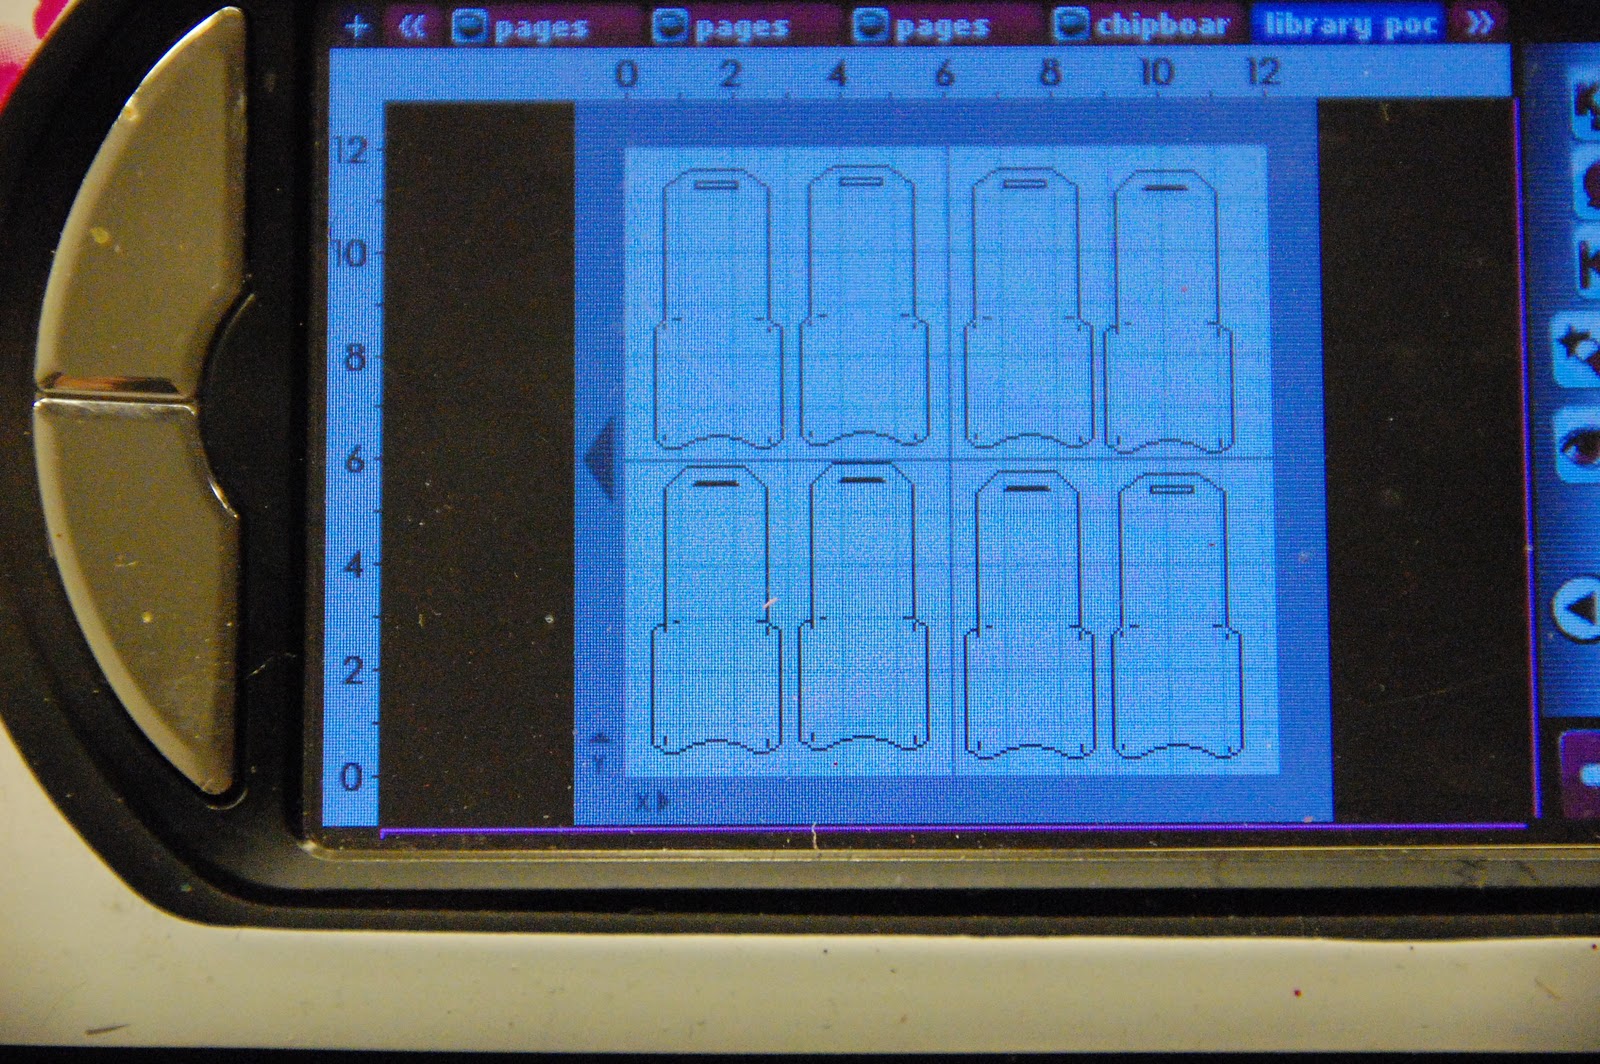
While those dried, I went work on the pockets. I like to make minis that allow room for pictures and journaling, so pockets are a must. I used the library pockets from Tags Bags Boxes and More.

I made them in two different sizes, to add variety and to compliment the beautiful paper and cuts.

To make the cover, I traced my chipboard cuts onto canvas duck fabric.

I used Glimmer Mist in Pashmina and Pomegranate and Gold to tint the fabric. I then used a Mushroom, Lettuce and Shell Pink Paint Dabbers from Ranger to add some depth. To adhere the fabric to the chipboard, I sprayed the Crafter's Companion Permanent (Red Can) to the fabric and then laid the fabric on the chipboard.

Small Pockets

Large Pockets

Card Cuts

Card Cuts and Small Pocket

Card Cut

I used my iRock to bling out several of the pages. I have only uploaded a few pf the pages since this mini is quite large. The last step was to feed the pages into the rings and embellish. I love the freedom minis give me to embellish. I can use all sorts of goodies from scrapbooking to altered items to jewelry.

One of my most favorite parts of this mini is this stretchy band from Anna Griffin that I used to wrap around my album. I used E6000 to adhere the Melted Satin Rose (CLICK HERE FOR VIDEO). I "dirtied" the strap with Pumice Stone Distress Ink.

The Top Note shape on the front of the mini is from Pink Paislee. These are awesome uncolored shapes that are almost plastic like. I used Worn Lipstick and Stormy Sky in Distress inks and then used Lettuce and Shell Pink in Paint Dabbers to tint and color the shape. The "AMORE" letters are form the jewelry section of Michaels.

All the ribbon is from my stash. The beautiful pink rosettes are form American Crafts. I tied a tassel around the ring.

I hope you are inspired by this mini. I know its a a lot of details in one post, so if you have questions, be sure to email.

The free Gypsy file will be available for download on my personal blog at 217Creations.
I appreciate all the comments and hope you will subscribe and follow us here at Tuesday Treats and on my personal blog at 217 Creations!


6 comments:
GORGEOUS mini album. Love all the embelishments on the cover and just look at the wonderful detail on the inside!!! Thanks for sharing this beautiful album with us!
Oh Wow! This is gorgeous. Simply gorgeous!!
This is outstanding!!! Simply stunning!!!! Thanks for all your work in sharing the file too!!! You rock!!!
Liz, this album is breathtakingly beautiful!!!
Wow! I can't believe all you were able to get into this mini. I love it. It is stunning.
Wow ! Such wonderful projects here you are really talented ! I am a new follower!
HUGS !
Alex
http://www.youhadmeatcraft.com/
Post a Comment