Knowing is not enough; we must apply! - Johann Wolfgang Von Goethe

Welcome & Copyright & Disclaimer

Welcome to Tuesday Treats. Hope you have a pleasant journey browsing and getting inspired by the projects you find here. We appreciate and treasure your comments so please leave us some blog love and comments. But before you start your journey here just a small note . Do please read and then you can continue on. Copyright: This blog has a many designers showcasing their projects. Please look up their individual site to check their copyrights for any infringements. My files & projects are also all copyrighted. They can be used as inspiration and for personal gifts only but cannot be used in classes, in magazines or for contests. Please look in the side bar for more details on the copyright. Disclaimer: The designer's designs belong to them and them only & not to TuesdayTreat and The TuesdayTreats will not be responsible or liable in any way for any results or consequences from those designs.

April 26, 2011

60th Birthday Boxes

Thank you for letting me be this weeks guest designer. My name is Flo and I am from New Zealand.
My brother in law was turning 60 and the delema of what to give someone who is 60 but still thinks hes only 30! who had said NO PRESENTS!
I did an online class where we made a star box and after finishing the star thought the same principles could be put to great use with any shape. I was right and I came up with this box in the shape of a 6 and an 0. These are proper boxes that I filled with mini chocolate bars for him. I often find it hard to think of presents for men but this went down a treat and was so easy to make with the help of the cricut.


This is the 60 boxes together.


This is where I have taken off the lids so you can see inside. There was chocies inside by the time they got to the recipient.


The front of the zero showing the plastic in the hole in the centre and the tools on the top. I also inked the edges.

Below is the sides of the box decorated with ribbon and happy Birthday peel offs


How I did the '60' boxes
What I did was cut out my 2 numbers the 6 and the 0 (zero) on my cricut expression using the Cricut Mickey Font cartridge using shadow at 5.5 inches.
Using Cricut design studio (my Gypsy had just got sick :-( , (but it is well and working again now) I cut a 6 and a 0 (zero) in DSP (that comes from a stack I have in my very large stash) and another 6 and 0 in DSP that had the centre holes hidden on hide contour (this was for the bottom). I did the same cuts again in plain cardstock.
I then cut the sides for the boxes (in DSP) deciding that I would have a slightly shorter lid than bottom to the box so cut the lid sides at 1.5 inches and the sides for the bottom at 2 inches. The length (ahh this was a challenge).

This is the long side of the paper used for the side with the top scored, and this is the 6 (looking at it backwards)

I started by scoring along the long side of my paper for the sides, at 1/2in.

I then marked the length of the top of the 6 (I have marked it in pen in the drawing above), I scored vertically the side of the top of the box so I would know where it needed to be folded and maked the point where the acute angle of the 6 was (that's the sharp angle). From there I cut 1/2 in cuts the length of the side strip into the strip to where the score mark was. I then glued the edge to the top of the plain cardstock. When the paper ran out I just added another strip till I had the outside completed.

When I had the side glued to the top of the box I then added the plastic onto the hole in the top of the box and added the DSP 6 to the top on the outside then on the inside it has a nice tidy finish and on the outside it looks good too. I then did the same for the zero.
I cut tools out of the Cricut Lite Handiman cartridge on the imagine using colours from the Snapshot texture cartridge. I cut them 1.7 - 2in in size and layered them. The ladder side is so thin I wondered how it had cut so well but it did. The saw has a little jagered edge just like a real saw has.

I finished it off by added a two tone brown ribbon round the base of the top of the box, again I had this ribbon in my stash.

Recipie for one number
Cut two of the number from plain cardstock and 2 from DSP (designer series paper)
For the top side measure how long you want the side depth and add 1/2 in or 1cm to this measurement. Cut strips of DSP enough to go around the number you are doing. You can join these side pieces especially if they are in patterned paper as the joins don't show as much or you can camoflage the joins with cutouts ie like the tools.
For the side of the bottom do the same. I made the bottom side of the box bigger than the top so the top sat up a bit.
When I put the sides on the top I did this so the cut pieces were over the top of the plain cardstock and then I glued the DSP number over the top to cover the side cuts that glued to the top.
With the bottom of the box I glued the sides to the number so that the cut pieces were on the top of the plain cardstock and then placed the DSP inside the bottom so it again covered the cuts that were glued.
I did make the top and the bottom exactly the same size as it easily squishes together.
I would suggest that if you would like to do something like this practice on scrap paper to see how it works.
I loved the final result and so did my brother-in-law, he didn't like being remined he was 60 so I suggested he turn the numbers round and become 06 then someone suggested he was lucky it wasn't the other way round showing a 9.

Thanks for looking and thanks again to Pam and the crew for allowing me to show you what I have done.
Flo
from
glitter - http://www.sparklee.com

April 19, 2011

Mother's Day Layout

Hi everyone. My name is Yolonda and I am so excited to be this weeks guest designer on Tuesday Treats. I had a great time last year and I'm happy to be back.

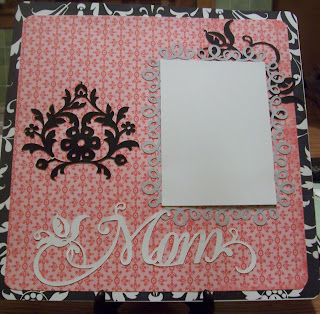
For my project this year, I made a layout. It is inspired from the Cricut "Ultimate Creative Series - Scrapbooking for Everyone" dvd, Mother's Day Layout. I absolutely love the series, it is chocked full of great ideas.


I used the Gypsy to make this project, but it is not necessary. The project can be made just using the Expression or the Imagine. I chose to use the Imagine since I didn't have any of the papers on hand. Using the Imagine pattern cartridges makes it so easy. You have all of the papers you could ever want.


Using the Audrey Imagine cartridge I printed a whole sheet of the black and white pattern paper.


Using the Imagine More Cards Imagine Art cartridge I printed a whole sheet of the pink pattern paper.

Using the Ultimate Creative Series cartridge (Bonus 2) I cut the large Filigree at 4 inches in black and the 2 smaller Filigrees at 3 inches in black. I also cut the phrase Mom at 3 inches in white. Don't worry if you don't have the Ultimate Creative Series, all of these cuts are also on the Mother's Day 2010 Seasonal Cartridge.


Using the Elegant Edges Circut cartridge I cut a swirly frame at 7.5 inches in gray.


Once everything was cut. It was time to assemble it.


And the finished layout...


Recipe:
Audrey Cricut Imagine Cartridge
Imagine More Cricut Imagine Cartridge
Ultimate Creative Series -Bonus 2 or (Mother's Day 2010 Seasonal) Cricut Cartridge
Elegant Edges Cricut Cartridge
Bazzill White Cardstock

That's my project. Thanks for taking the time to view it and I hope you enjoyed it. Be sure to leave me a comment. I would love to hear what you think.

April 12, 2011

Birthday Fun with Create a Critter!

Hello Everyone!


I am so super excited to be today's guest designer on Tuesday Treats! I had so much fun last year and am so happy that they asked me to do it again!


Today's project is a SUPER SIMPLE card I made for my daughter's upcoming 11th birthday party. She is having a "puppy" themed party. Fun!


I cut the poodle from Create a Critter at 3 1/2 inches.  The layer was cut at 4 x 5 1/4 and then I punched the bottom.  The black base was cut at 5 1/2 x 8 1/2.  The zebra paper was cut at 4 x 2 1/2 inches.


The Poodles of Laughter is from More Punny-licious by My Pink Stamper Original Stamps.  One of my favorite sets!  


Megaly mass produced these cards!!!

Thank you so much for letting me share with you today!  Have a wonderful week everyone!!

April 5, 2011

Funky Mini Album

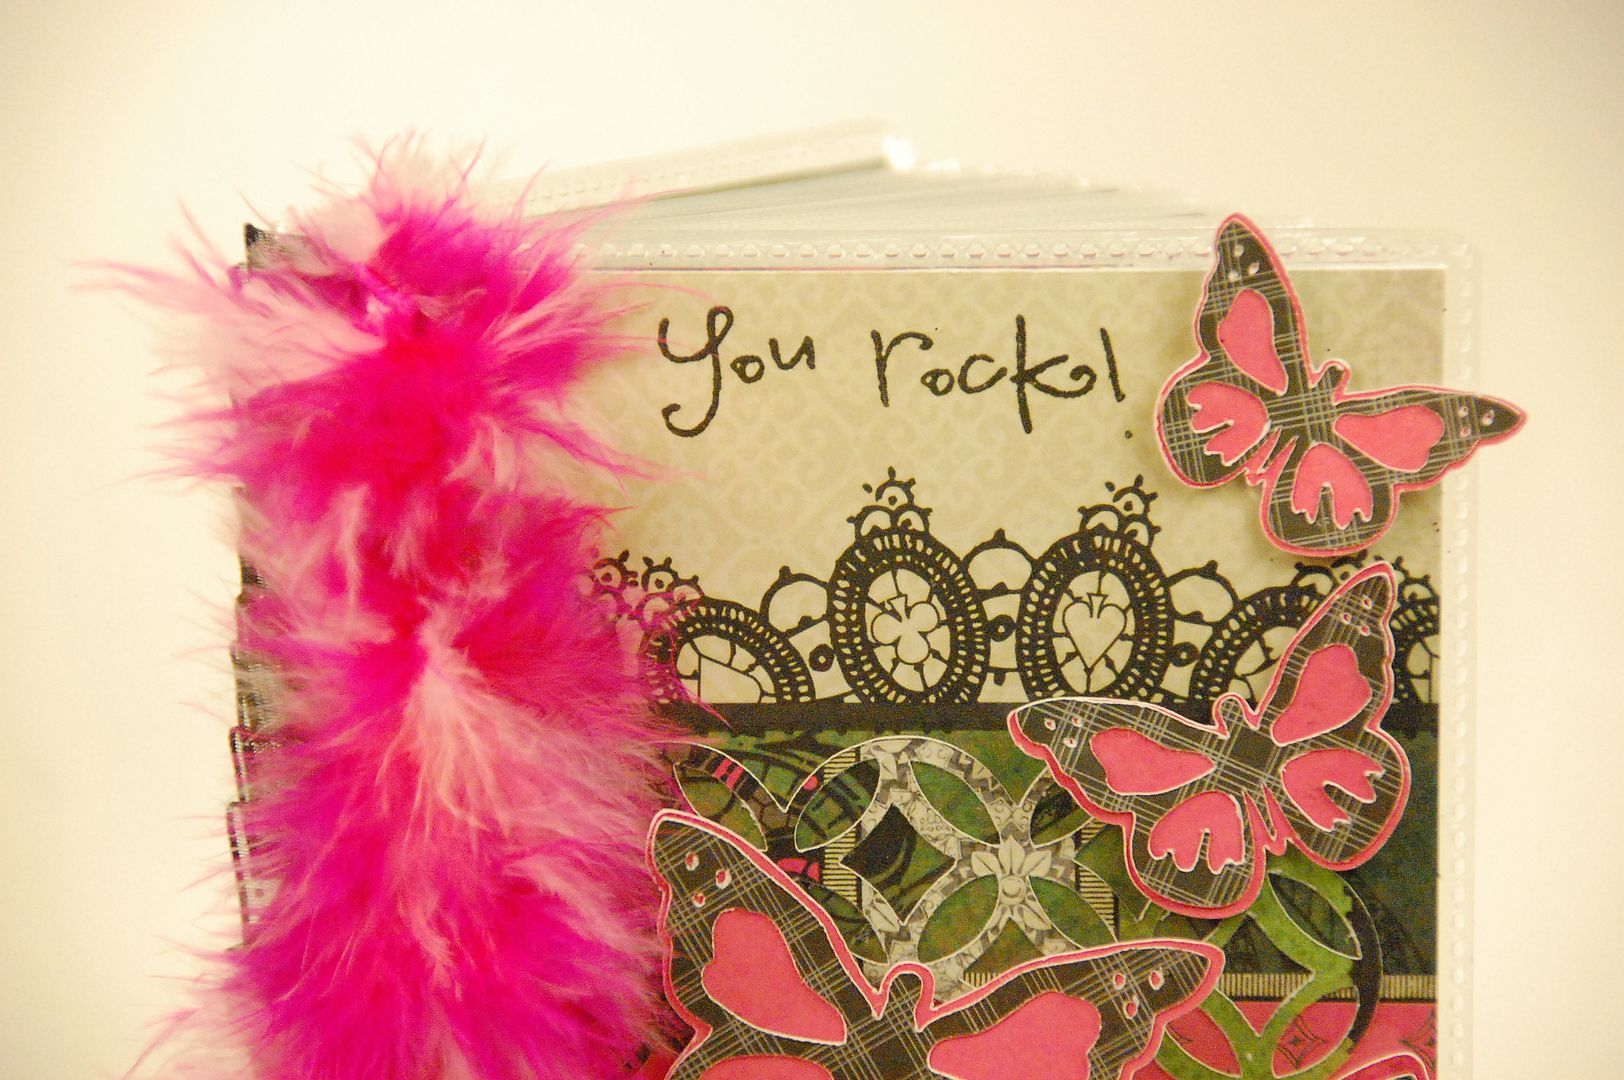
Hi everyone! This is Elizabeth form 217 Creations. I love projects that cost next to nothing! I hope you do too!  Today I am the Guest Designer here at Tuesday Treats.  I made this fun and funky album from a $1 photo album from Walmart. Here's how!
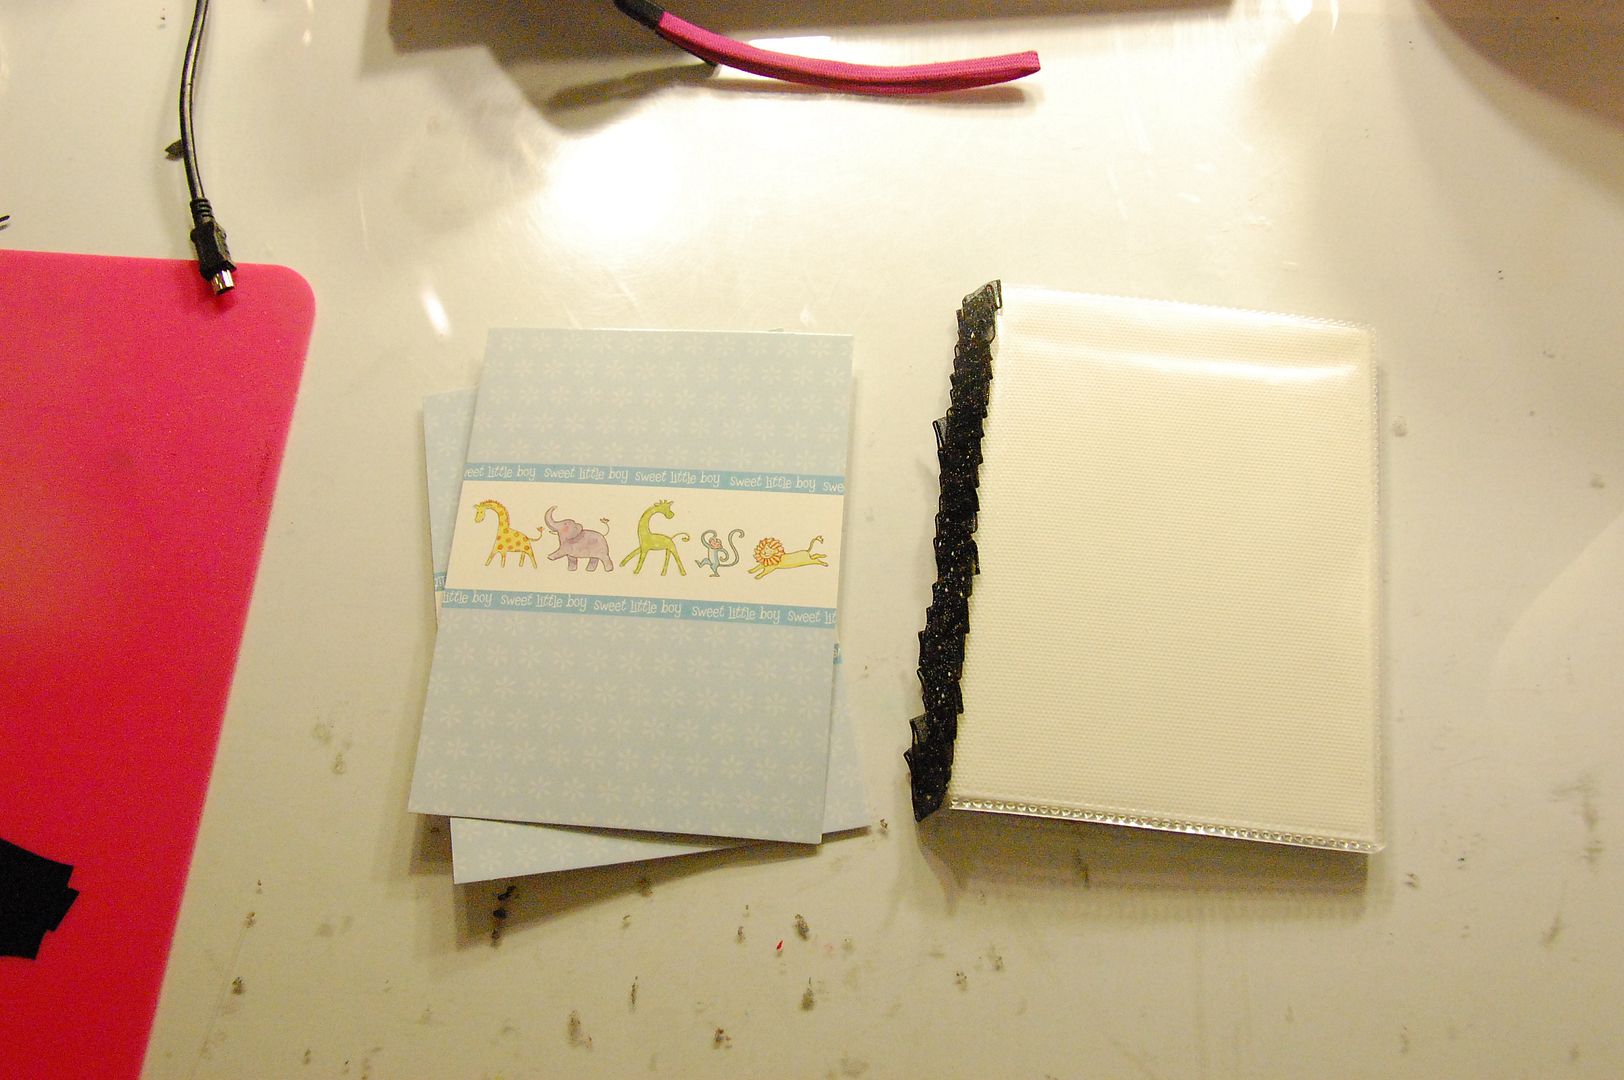
I started by removing the covers front and back.  I hand pleated the binding side to add some depth. This ribbon is actually from Michaels' Halloween department- I knew I should have bought another roll!
Next I used the covers to trace on the backside of my paper the dimensions of my covers. Because the album is see thru on both sides, I cut covers for both the outside.
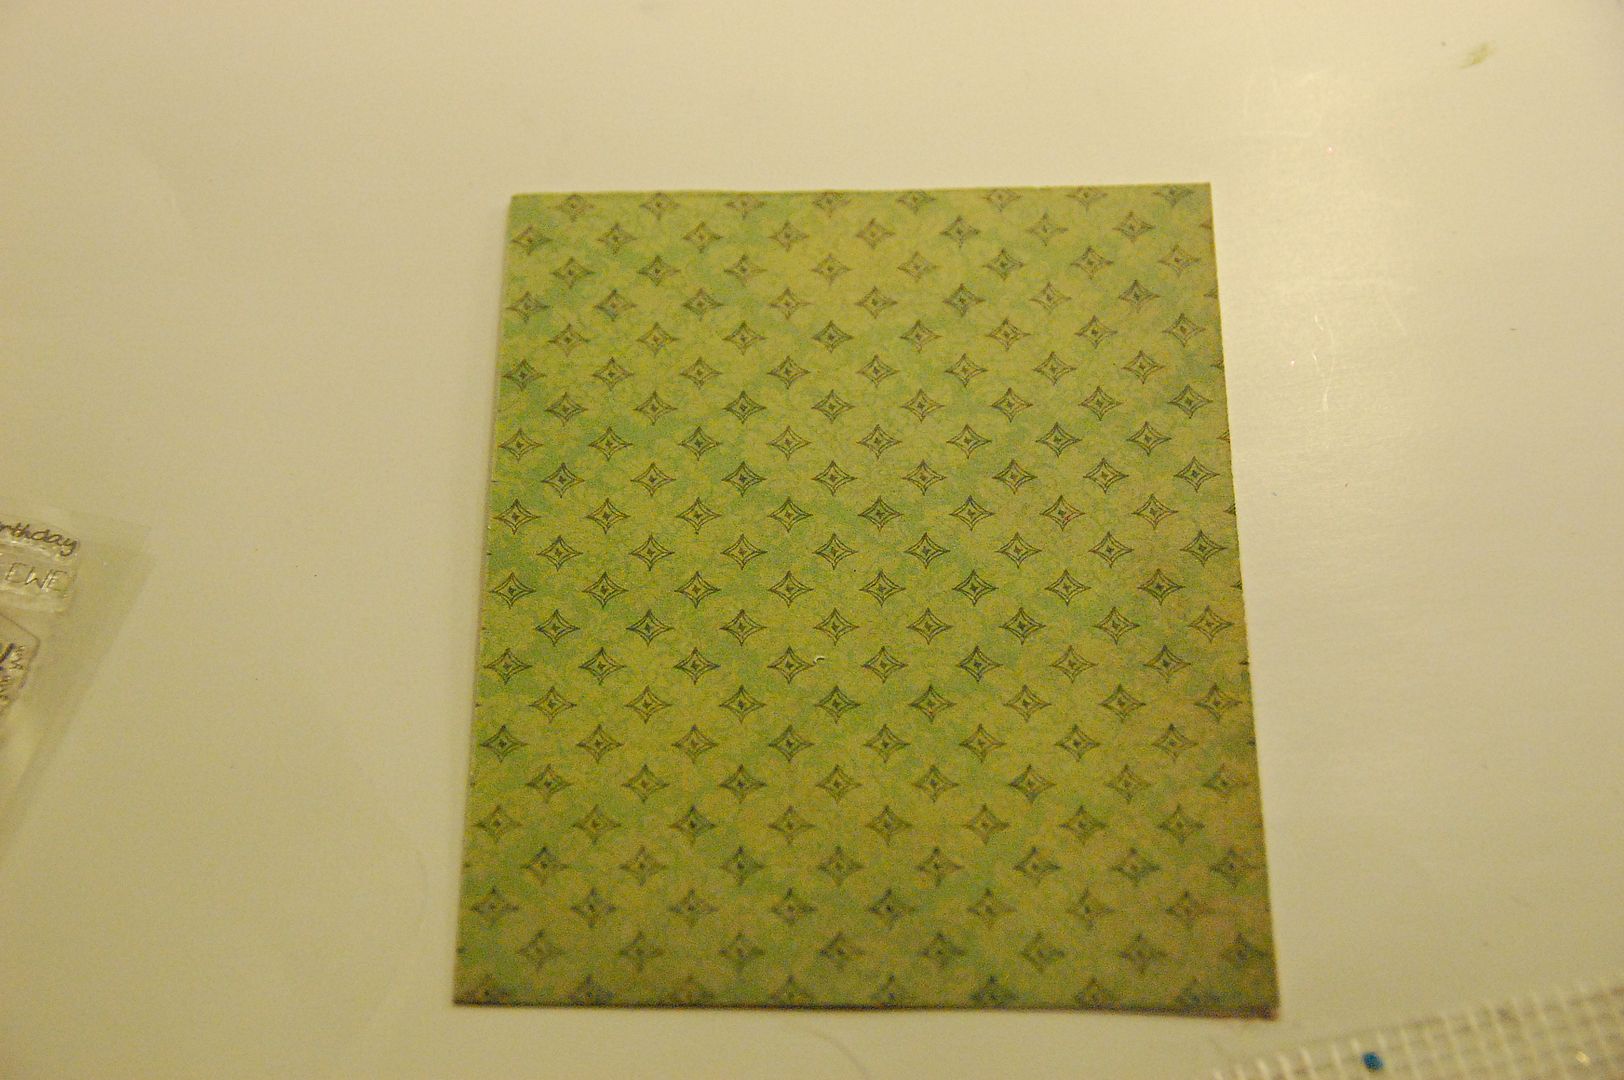
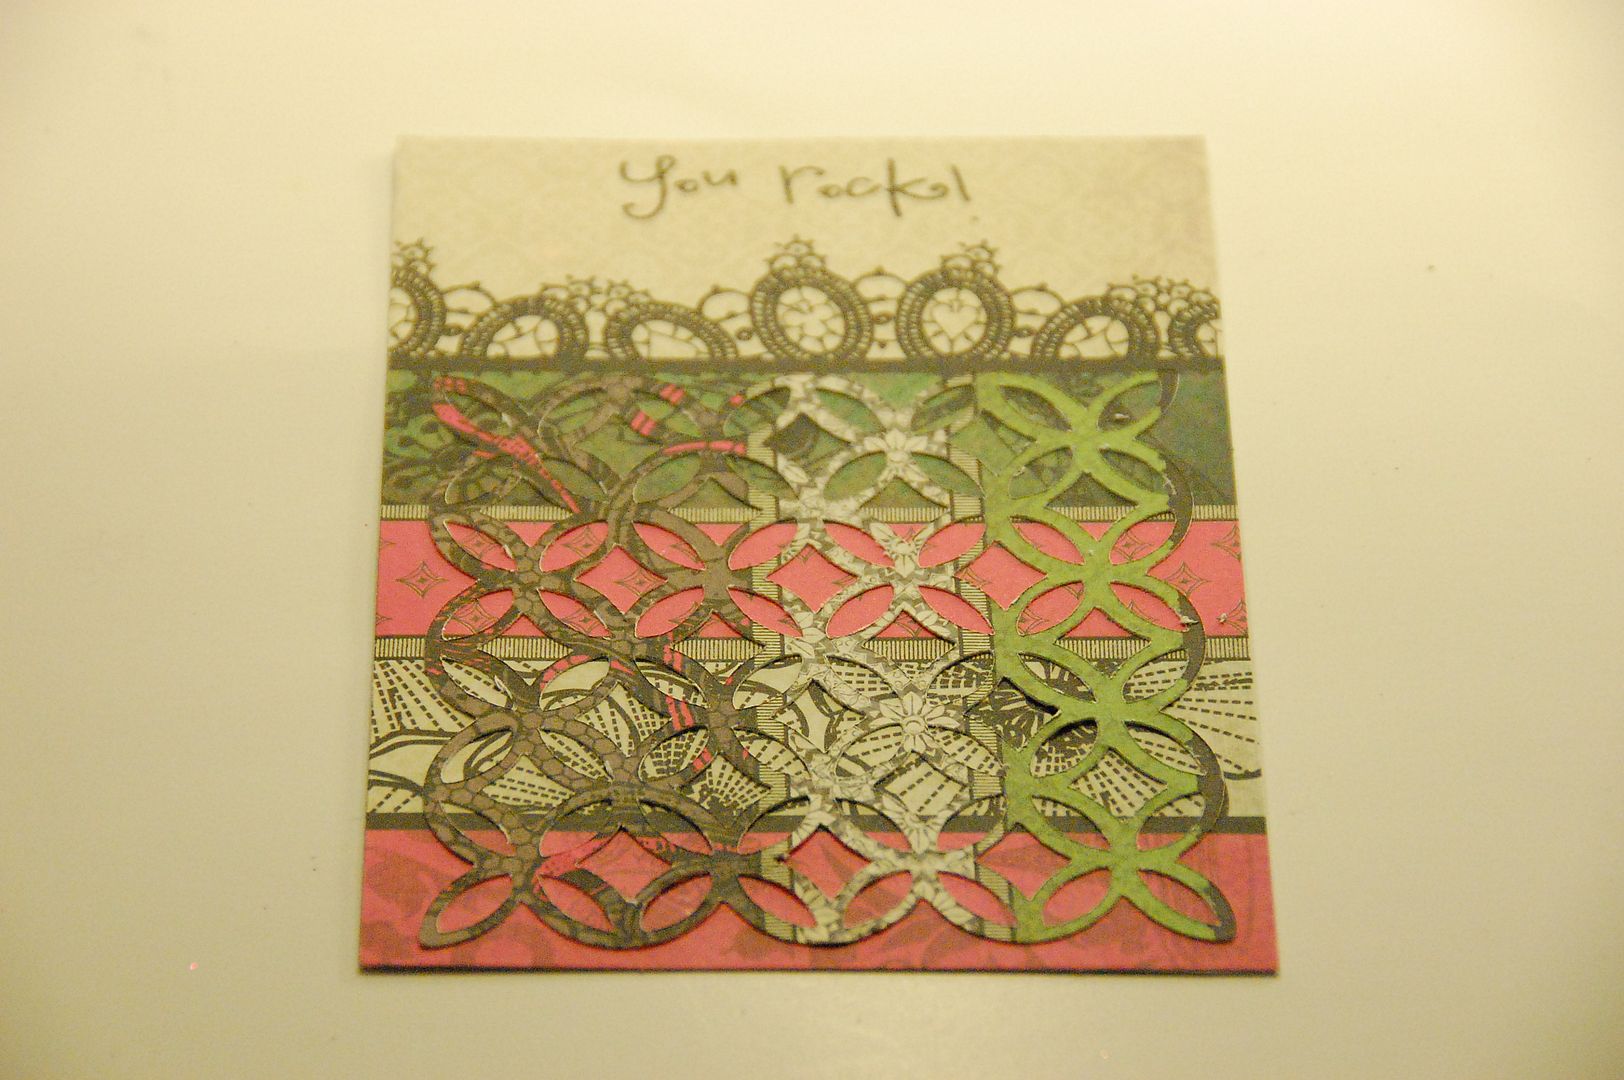
And the inside.  All the paper is used for this project is from DCWV Street Lace Collection. LOVE IT!!!!
 I stamped the sentiment "You Rock" from Pink By Designs Enjoy the Journey collection.
I attached the front and back covers together with ATG tape.  Then I cut this beautiful lace from Paper Lace at 4.06 inches.
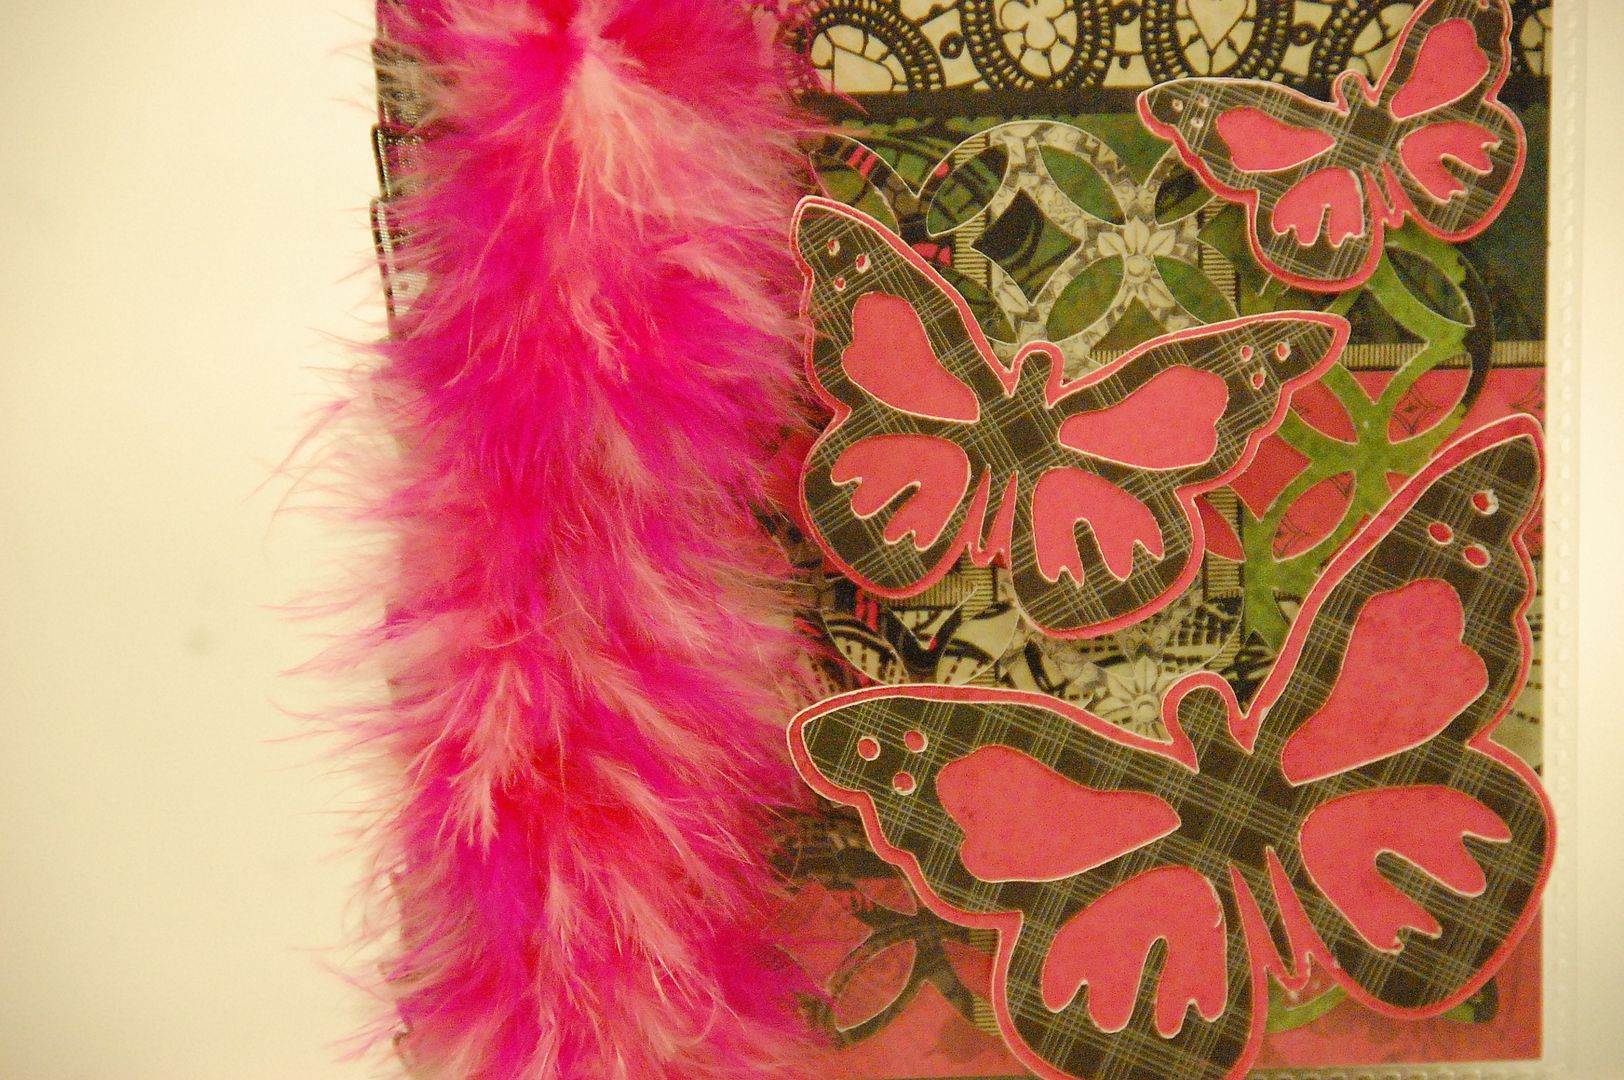
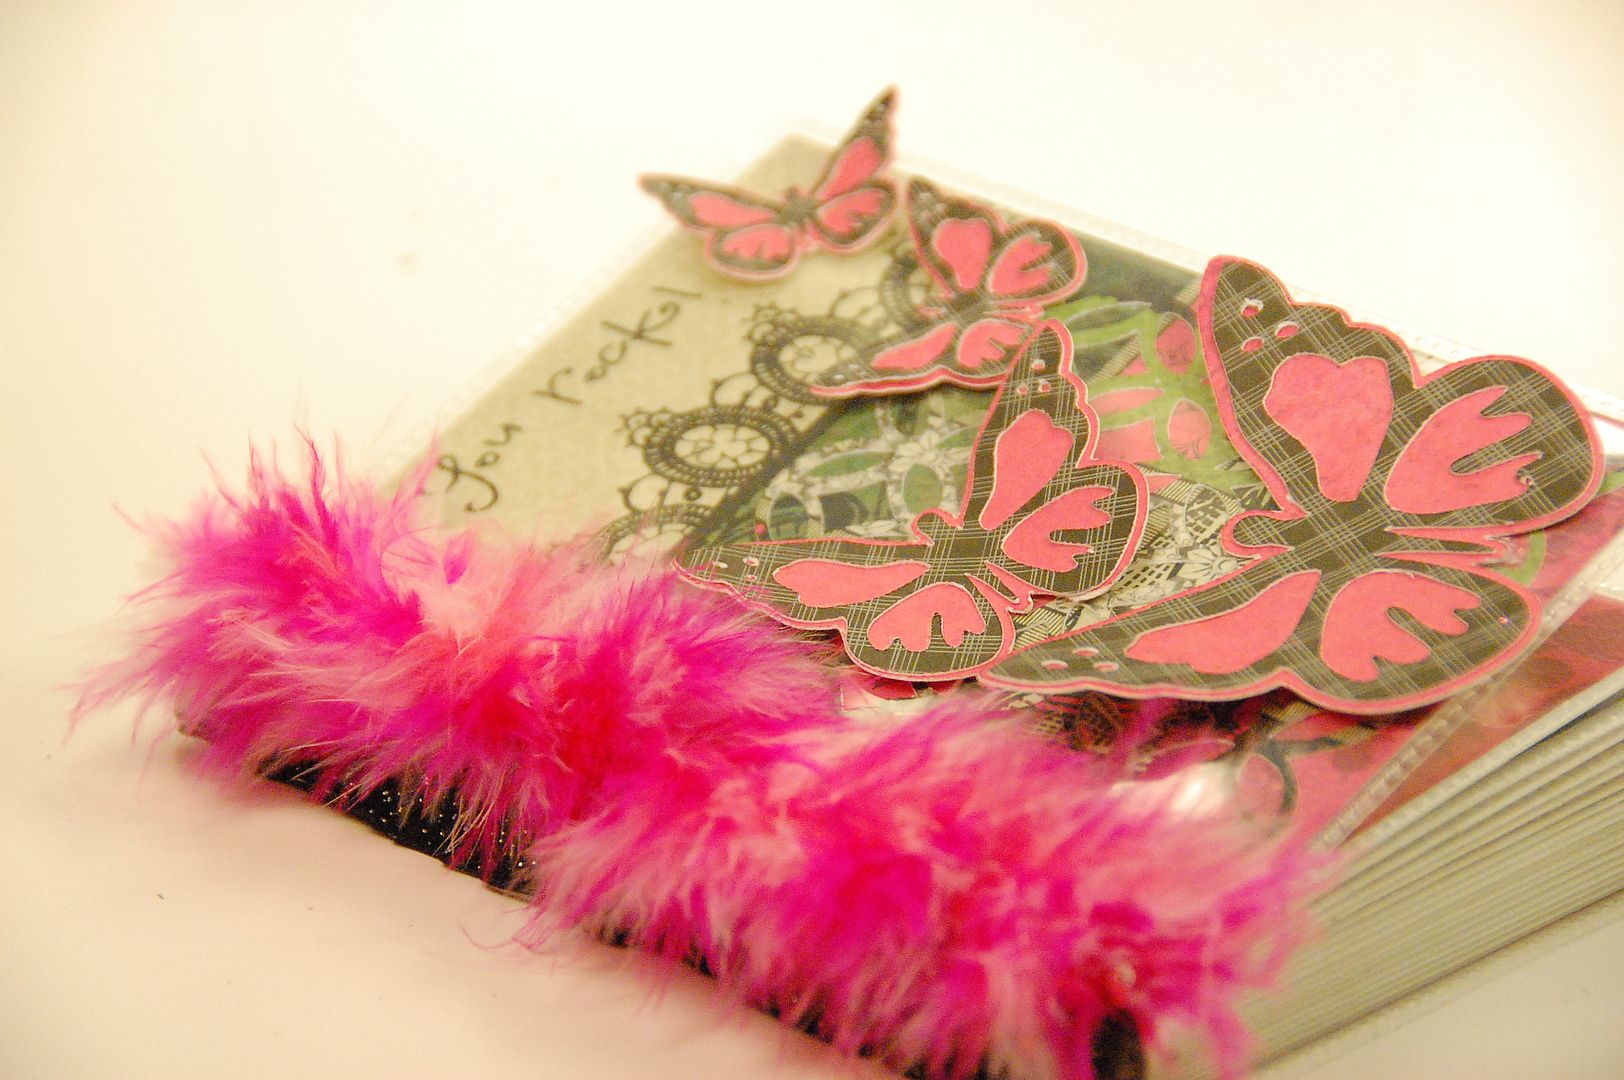
I slid the covers into the pockets and embellished the front cover with a boa.  The butterflies are from Paper Lace.  I cut the butterfly and its Shadow at these sizes (real size off): (I attached all the cover embellishments with hot glue)
2.35 inches
2.0 inches
1.41 inches
1.12 inches
Next I cut my inside pages at 4x6.  I cut a toal of 36 4x6 sheets to fill the album.
 I love all the dimension this project has! I used about 7 sheets of paper form the stack- not even 1/4 of the stack.  
 These would make the best favors for birthday, parties, weddings, graduation, etc. It took more time for me to type this post than it did to make this album!
The free Gypsy file is on my personal blog at 217 Creations.
I appreciate all the comments and subscribers here at Tuesday Treats and on my personal blog at www.217Creations.com