
Hi everyone! It's Allison from Goody Bag Diva and I am thrilled to be here for the first time at Tuesday Treats! Thanks so much to Pam for having me!Today I have for you a little Valentine's gift for your colleagues or maybe even to leave on that special person's desk this Valentine's Day.

This project combines two of my favorite things - a shaker card and a post-it note holder. It uses only two cartridges - George and Basic Shapes and this beautiful scalloped heart was a hidden treasure I found on Gypsy Wanderings.
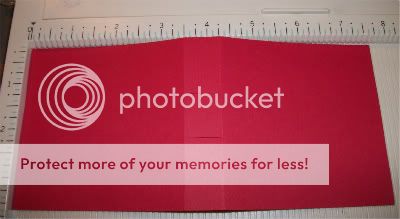
I began with a rectangle from George - the first step was to unlock the width and height and turn on the real dial size button. Then I set the dimensions at 7.75 width and 3.50 height. After cutting, I scored at 3.5 inches and 4.25 inches. I also used an exacto knife to make two little slits for the pen.
Then I began to work with the top layer of patterned paper that would have the heart cut-out. Before moving on to the heart, I selected another rectangle from George (and keeping Real Dial size on plus width & height unlocked) I made it 0.50 width and 3.50 height. Then I copy and pasted it three times, rotated two 90 degrees and formed a square with the four rectangles. In case that sounds confusing, take a look at the picture. Now don't forget to lock the width and height button before moving on!

The scalloped heart is under the tag function on Gypsy Wanderings (2nd row, 8th button). It is at 2.71 inches high, and I centered it to slightly overlap in the inner square formed by the rectangles. Then I welded all of the shapes and also grouped them.
For the center of my layer, I used the shift key which is the scalloped heart with a center cut out.

Then I used the hide contour feature to hide the scalloped line.

I sized it at 2 inches.
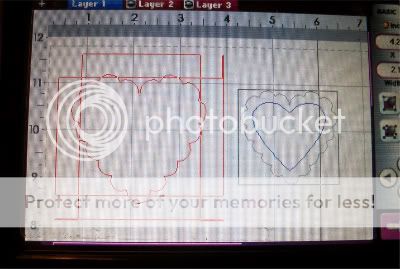
Then I moved it over to the center of my group. It does NOT need to be welded because I want the heart to be cut out.

And just to make sure I was doing it correctly, I always check with the preview button.

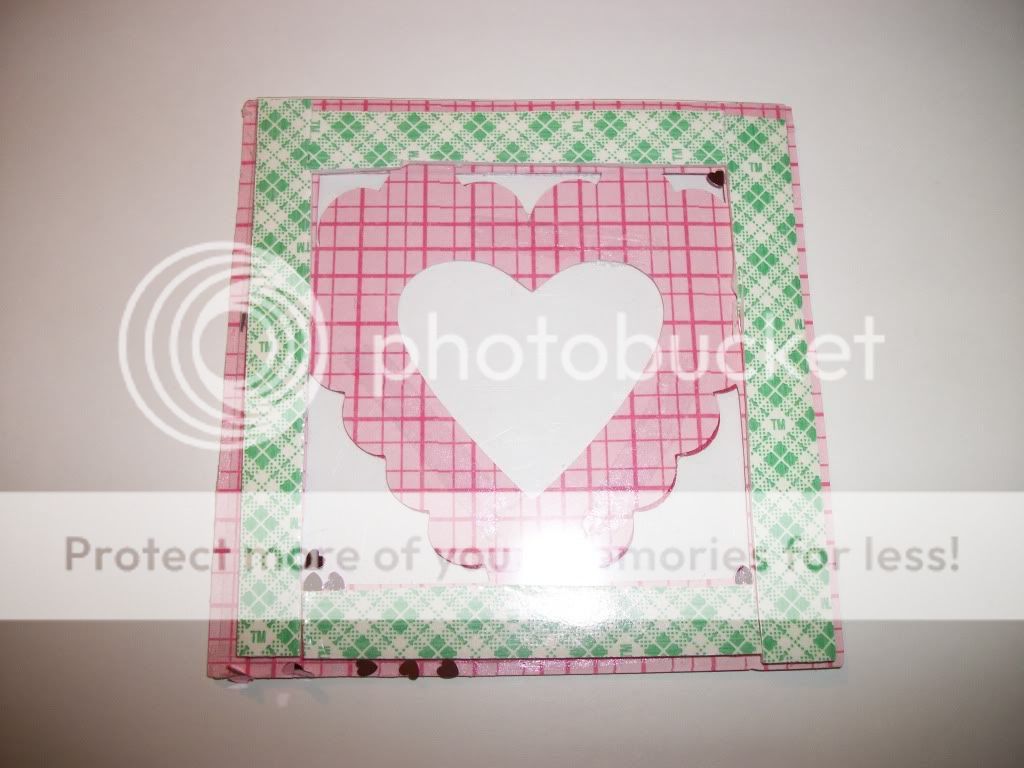
The final step before assembly is to cut out a final top layer in red of the scalloped heart with the center cut out the same size as my original heart (2.71 inches). I also ran it through my Cuttlebug using the Swiss Dots folder.
For my layer of clear plastic, I use the clamshell from my cricut cartridges - whenever I get a new one, I simply cut apart the clamshell and save the pieces of plastic. They are perfect for shaker cards! I just cut a square at just under 3.5 inches high using my paper trimmer. Then I adhere it to my top layer suing ATG tape and then back with Scotch two sided foam tape.

Then I added a little pen I picked up at Walmart and adhered pink post-it notes to the inside and my little gift is ready to go!
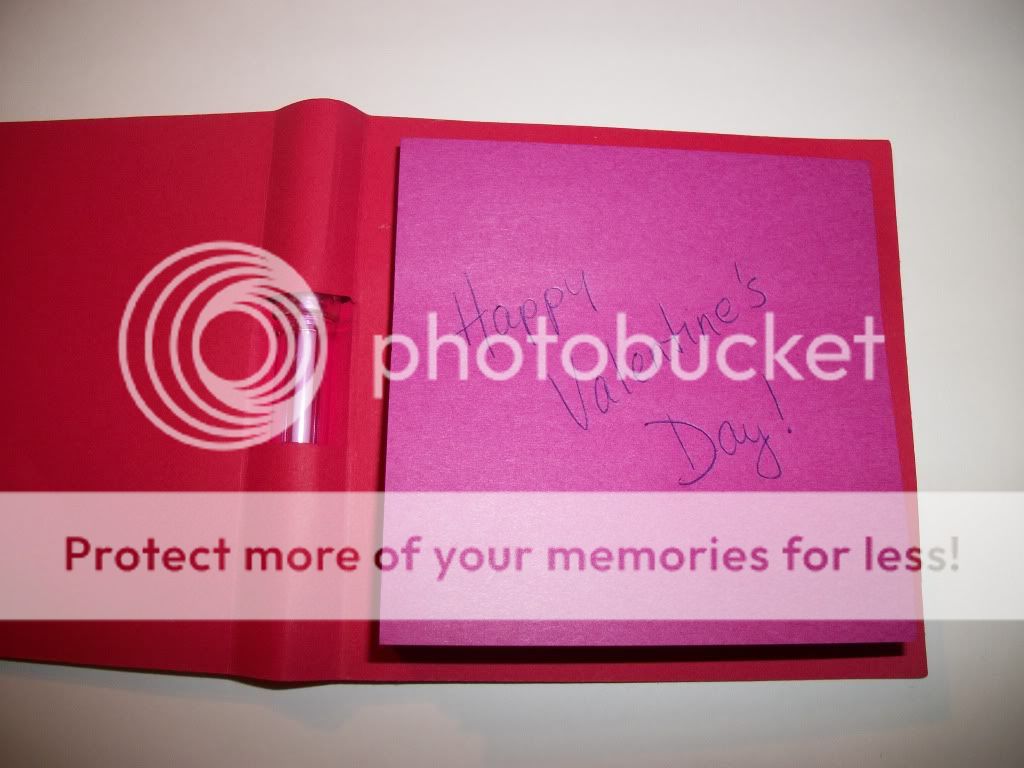
I would be happy to share the gypsy file with anyone who wants to send me an email. And although it is a little early, have a Happy Valentine's Day!


5 comments:
That's adorable!
Cute!
This is lovely! And a great idea making slits to keep a pen to write too. Love the instructions!. TFS
This is a great idea. Very cute!
Very cute! Good project!
Post a Comment