
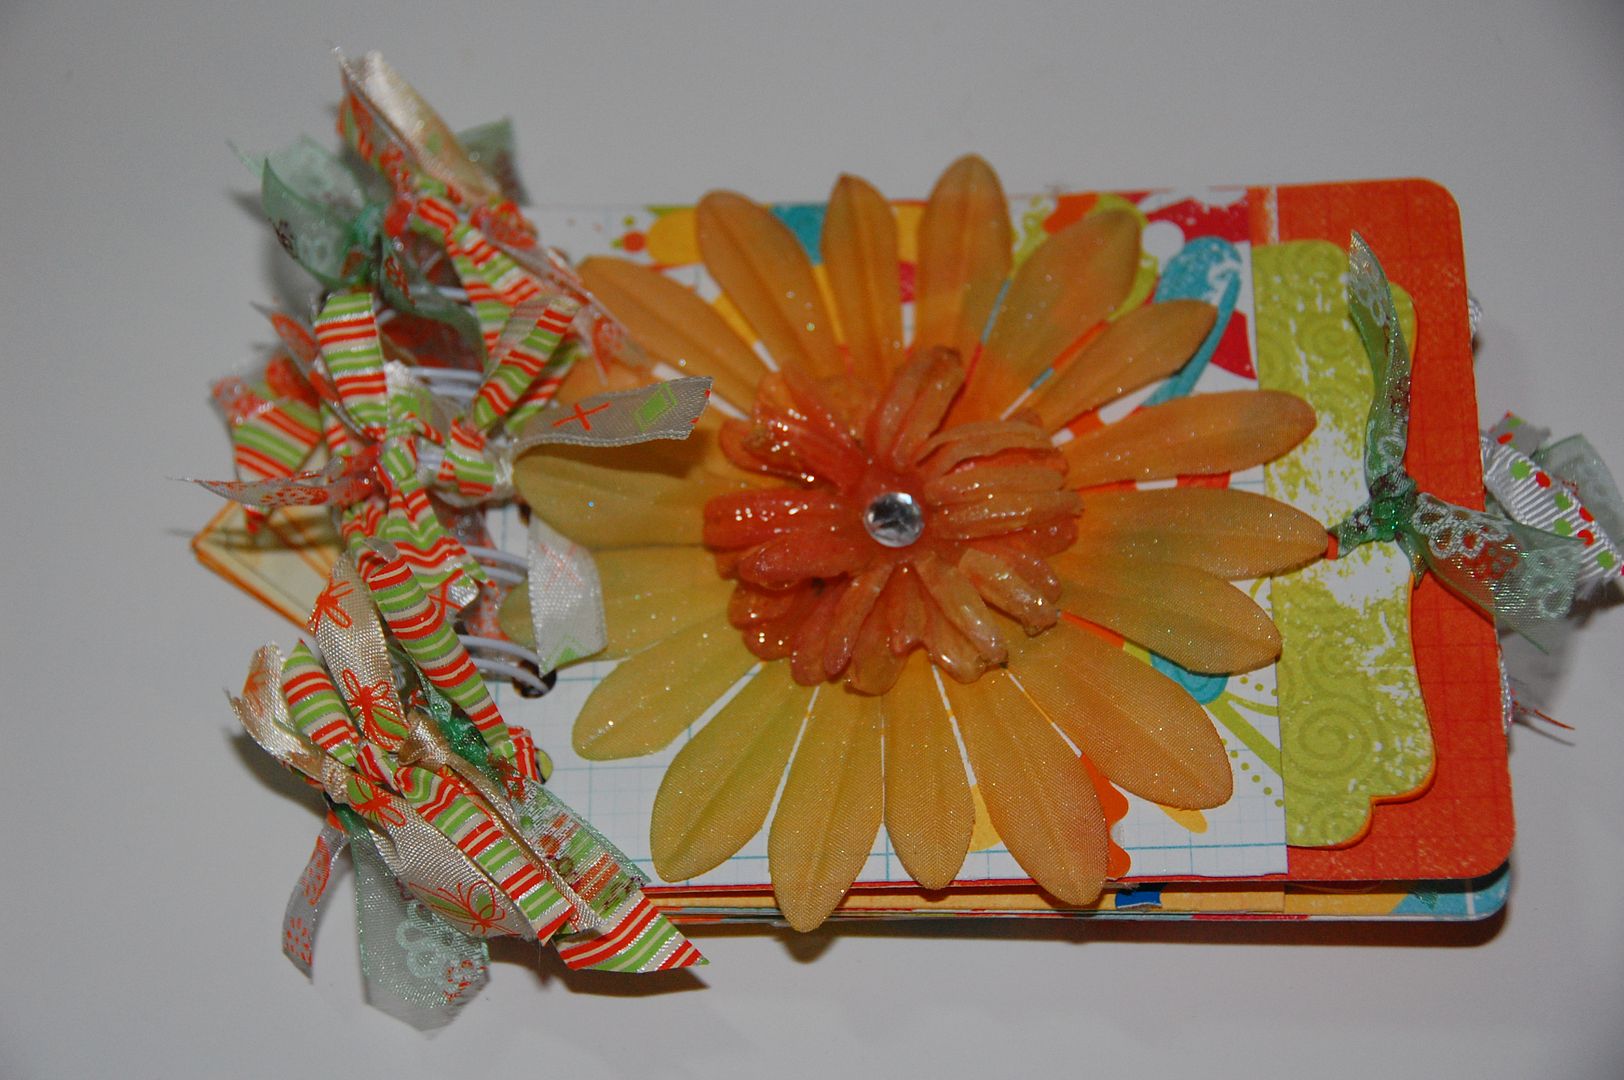
Aloha Everyone! This is Elizabeth from 217 Creations. I am happy to be sharing a great summer project with my fellow crafters here at Tuesday Treats. This is my tropical inspired pocket mini. The whole album is made from Sentimentals. This is by far the easiest mini have made yet. I spent more time embellishing than cutting and assembly.
Here's the video tutorial. If you prefer a step by step, please view the photo tutorial just past the video.


Supplies:
Double Sided Paper
Chipboard
Yes! Paste
Zip Dry
Hole punch or Crop a Dile
Ribbon and Embellishments
Binding Machine (I used a Cinch)
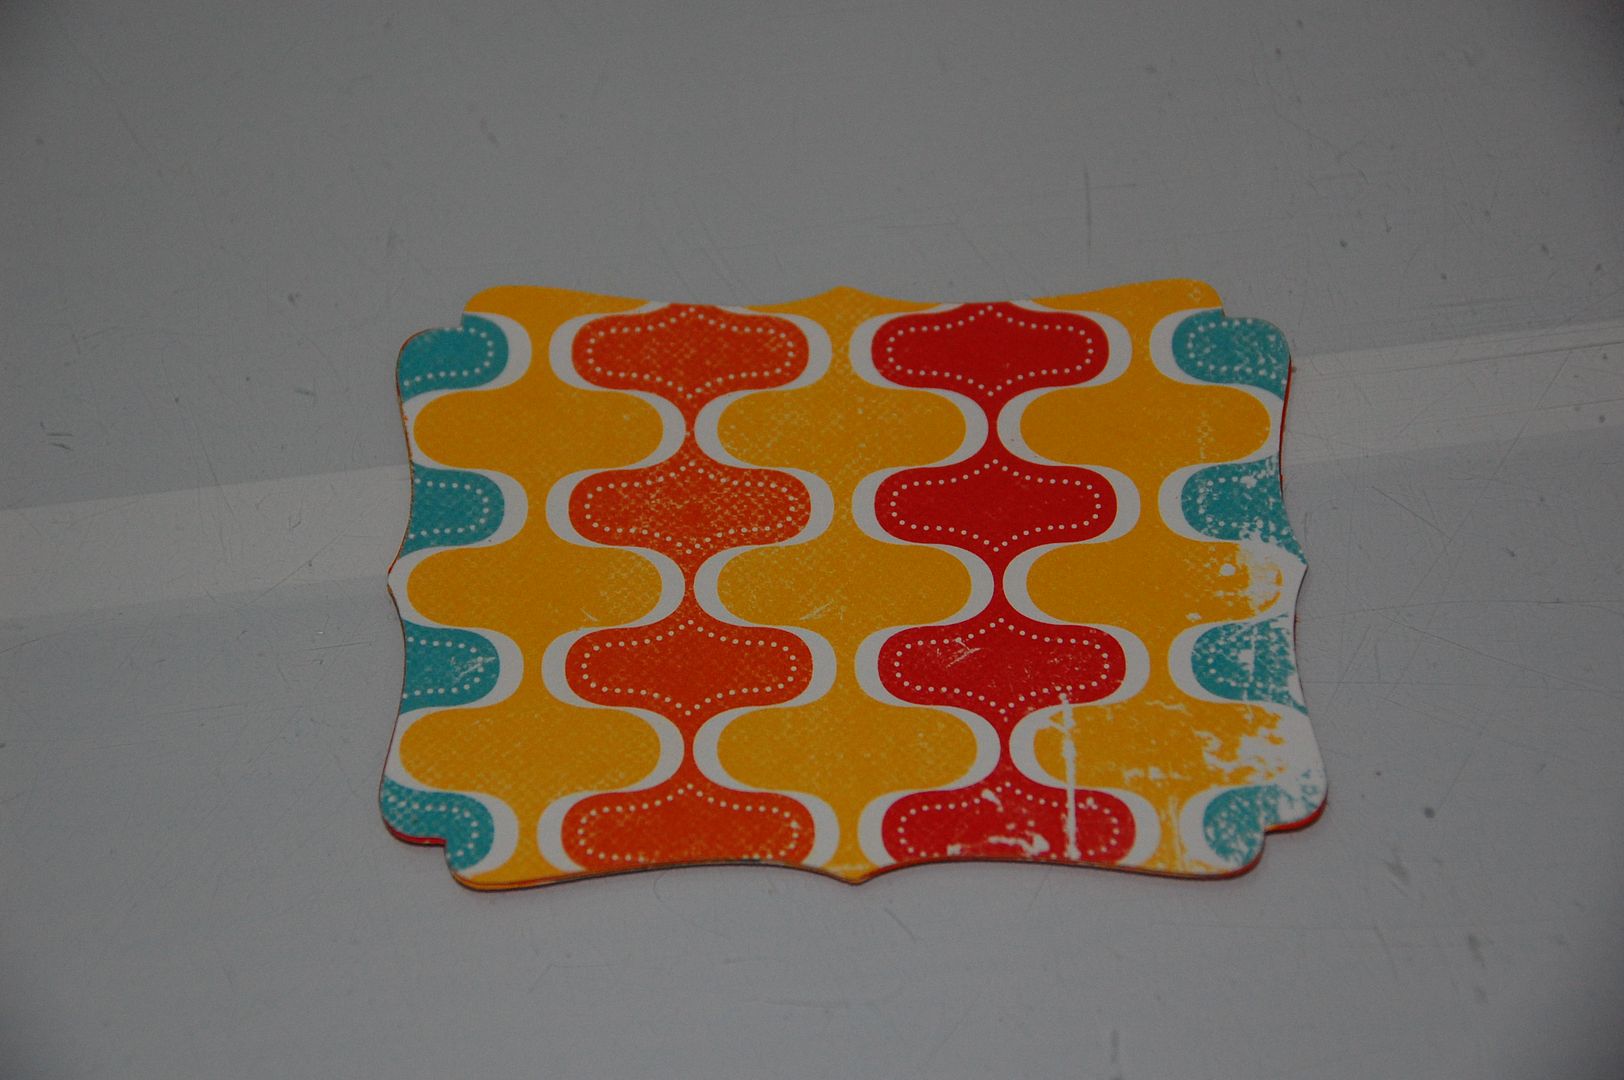
First decide how many pages you want. In this case I wanted a total of 8 pockets. So I knew I would need to cut the envelope pocket out 8 times and then cut the tag out 8 times from chipboard. I then repeated my cutting with my paper to cover the front and back of each tag, to yield a total of 16 cover peices. I inked all edges of the white chipboard with Spiced Marmalade from Tim Holtz.
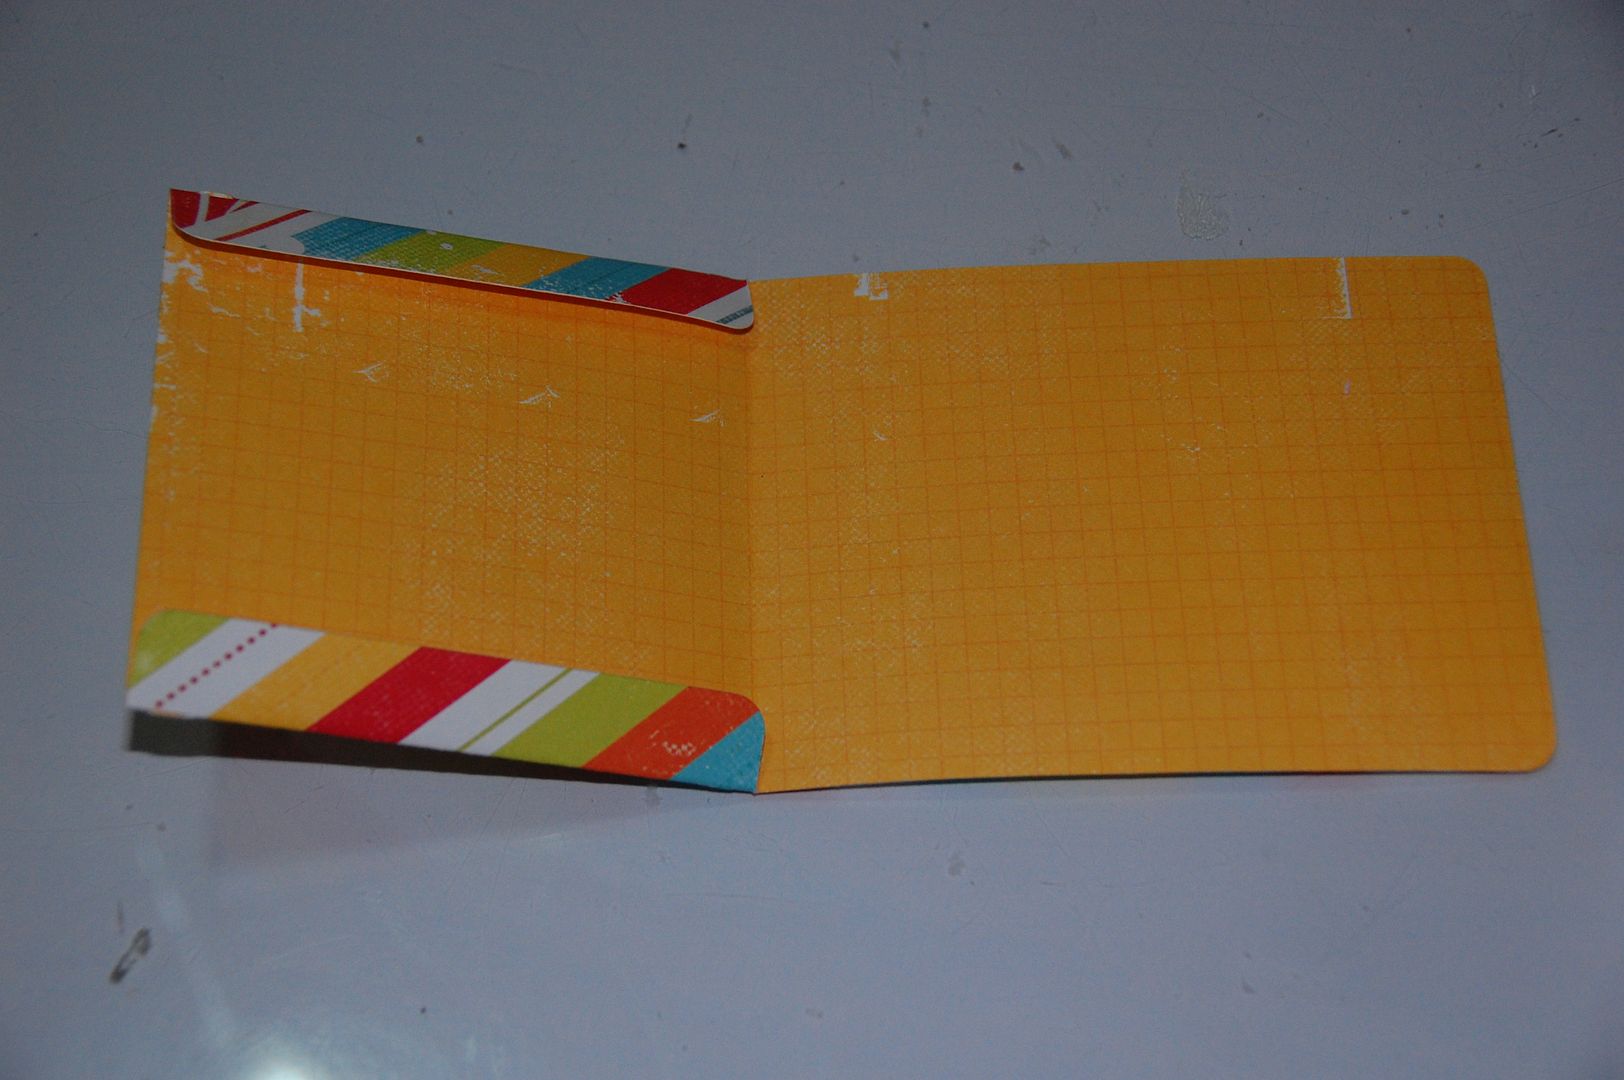
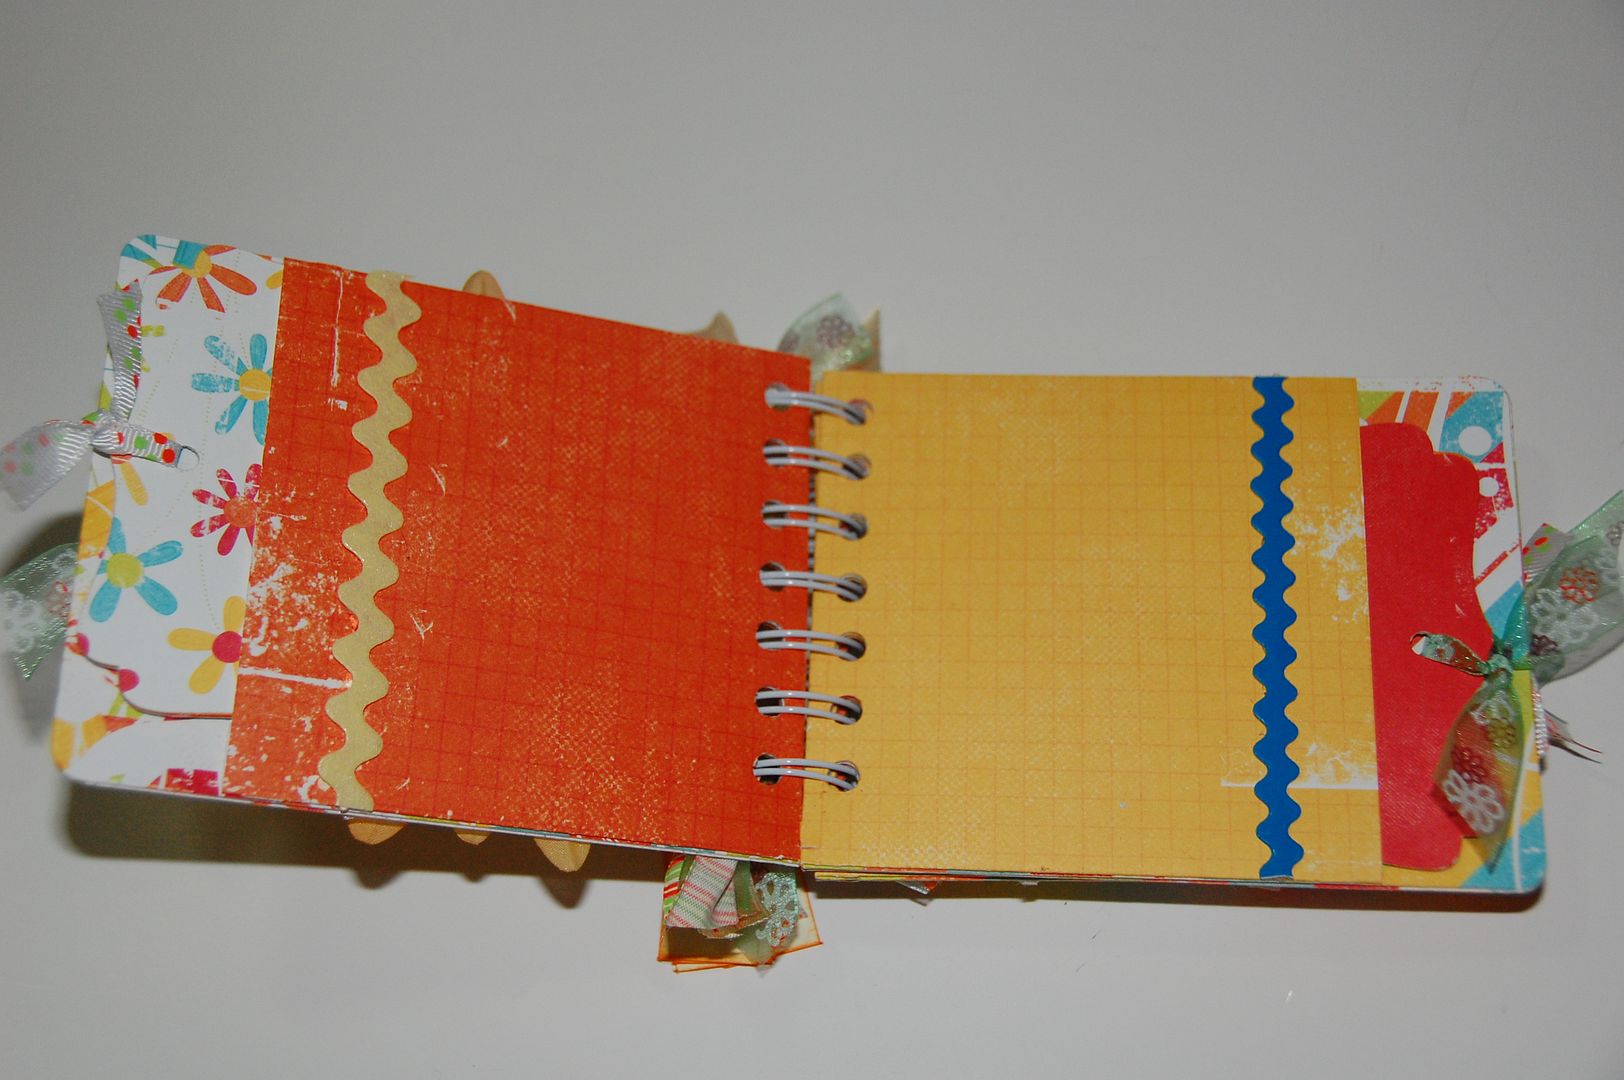
I then took each envelope pocket and followed the scoremarks to create the pocket. I used Zip Dry to seal the edges. Each time I folded the envelope I switch which side was the outside and which side was the inside. This is the benefit of using double sided paper.
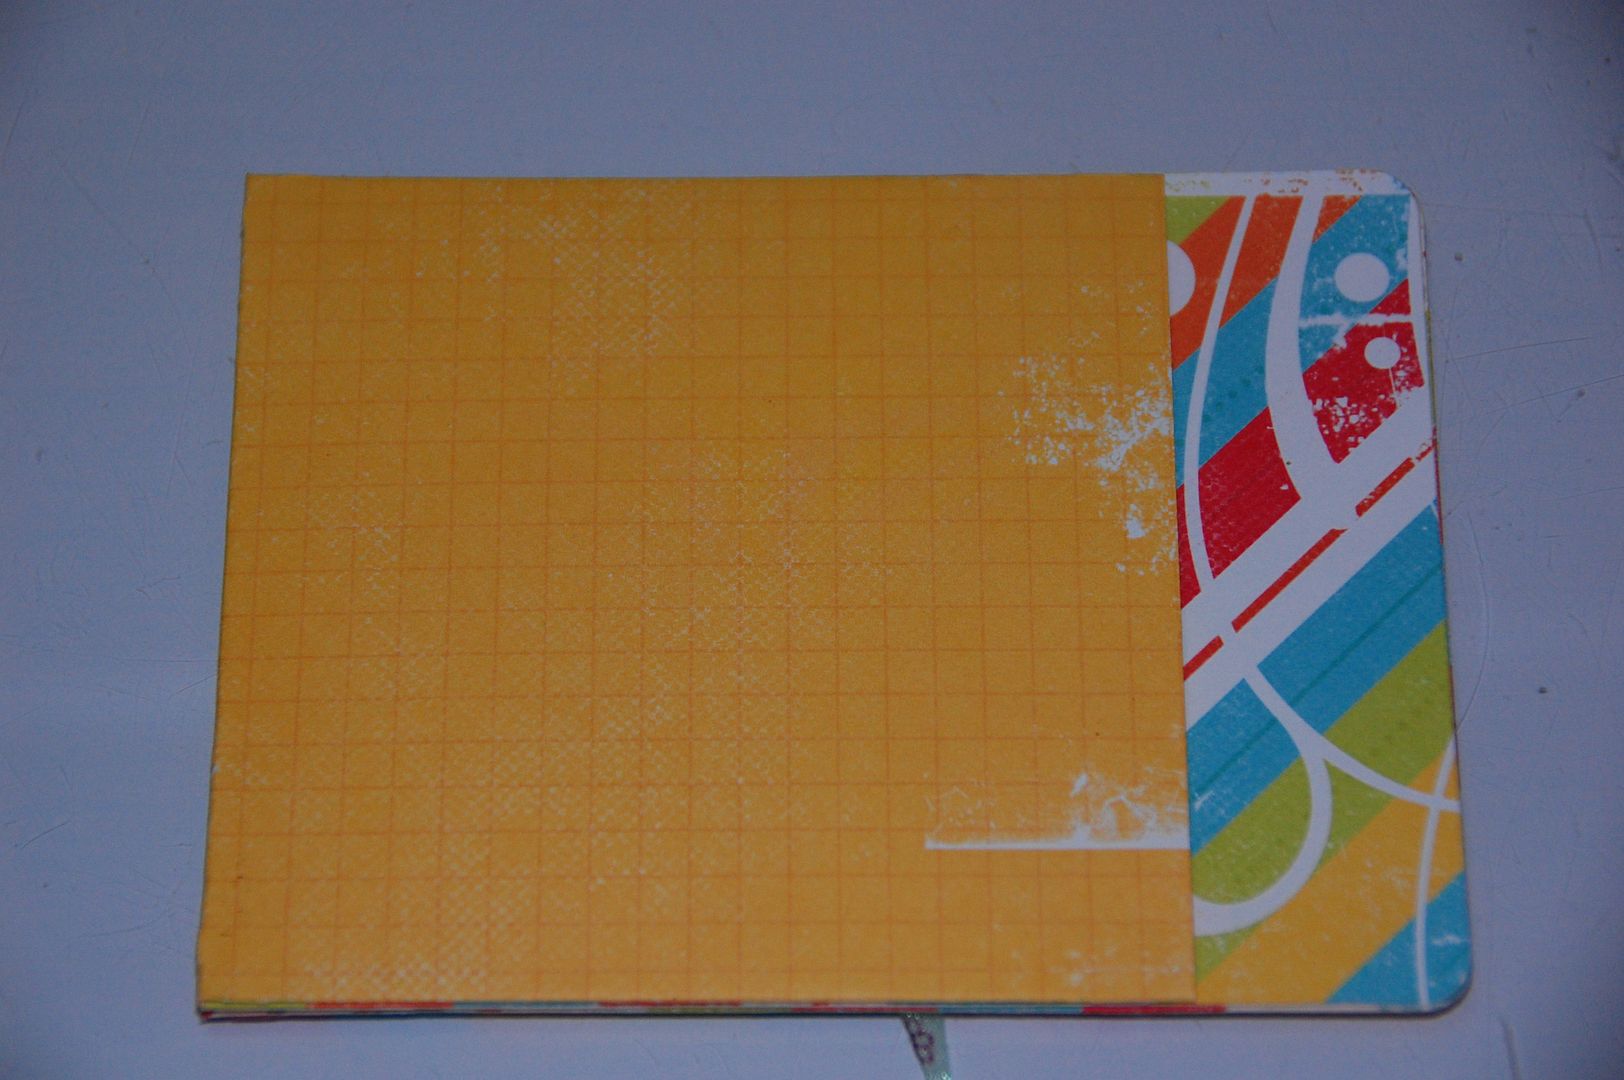
Once I had all my envelopes assembled. I took Yes Paste and glued them in pairs back to back. Each page should have a pocket on it.
Next I took each tag base and began attaching the fronts and backs with Yes Paste. I assembled all 8 of the tags.
I took my Crop A Dile and punched a hole into the top of each of the 8 tags and tied ribbons through each hole. So now all 8 tags fit into each pocket
I added a small amount plastic Ric Rack that I bought at Joann's fabric department.
Here another one
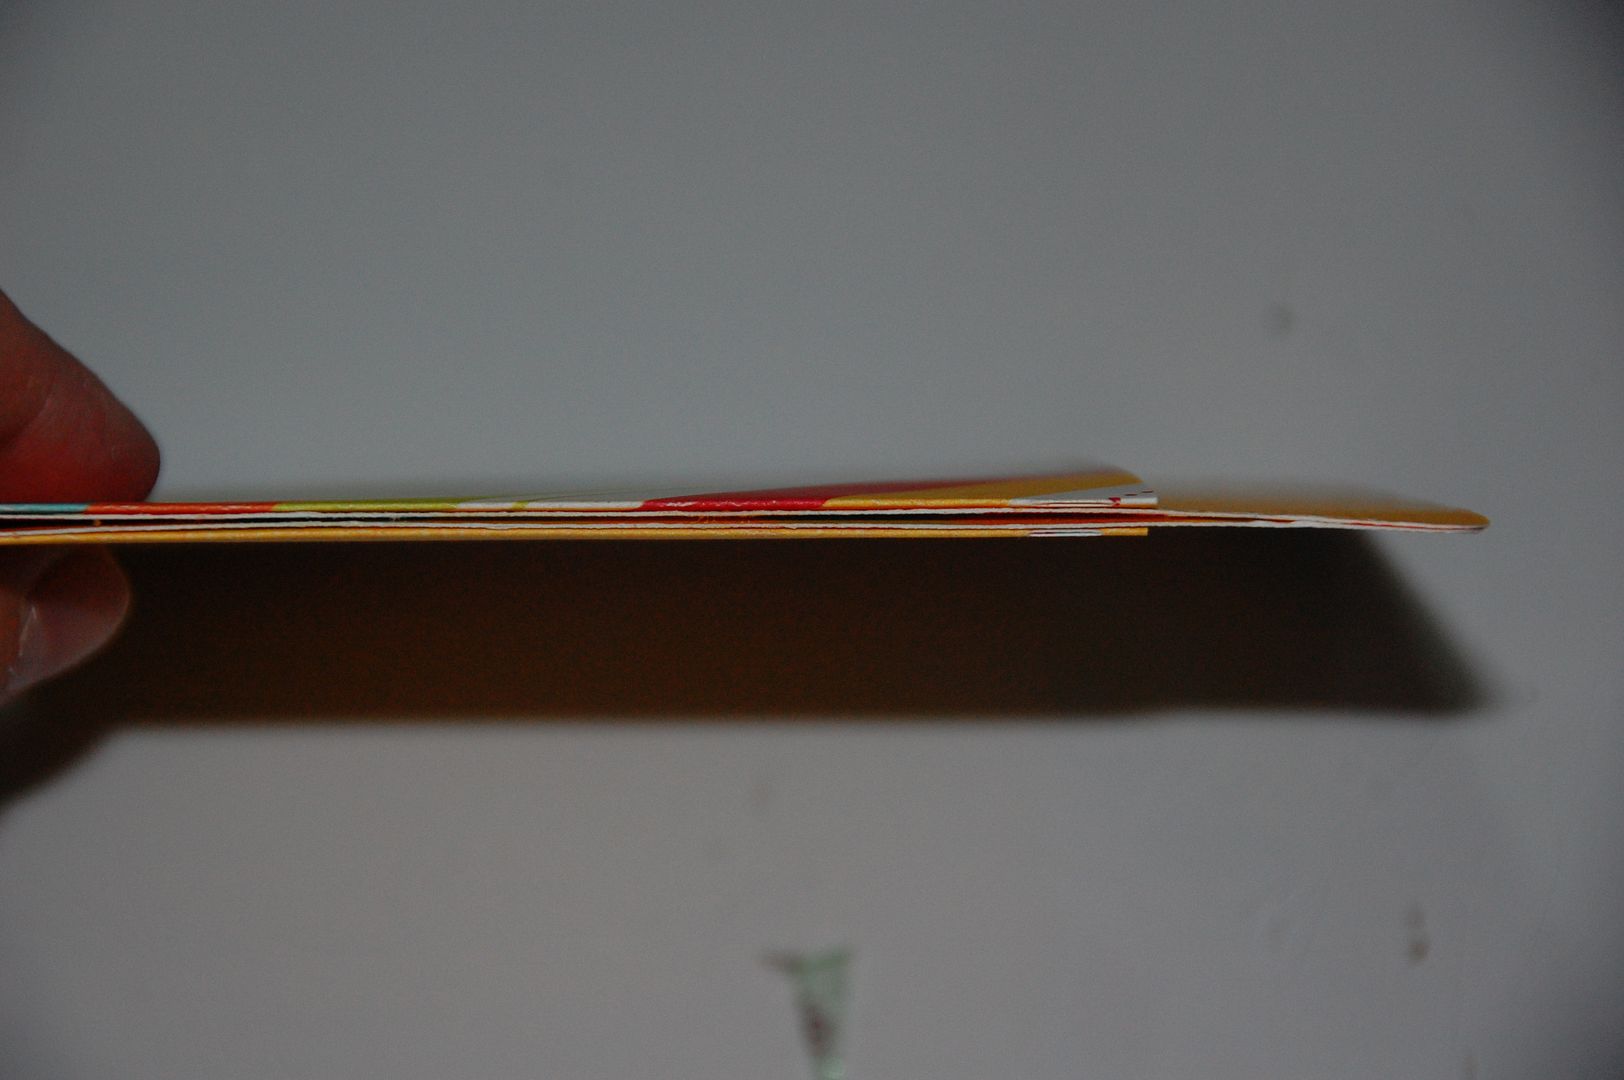
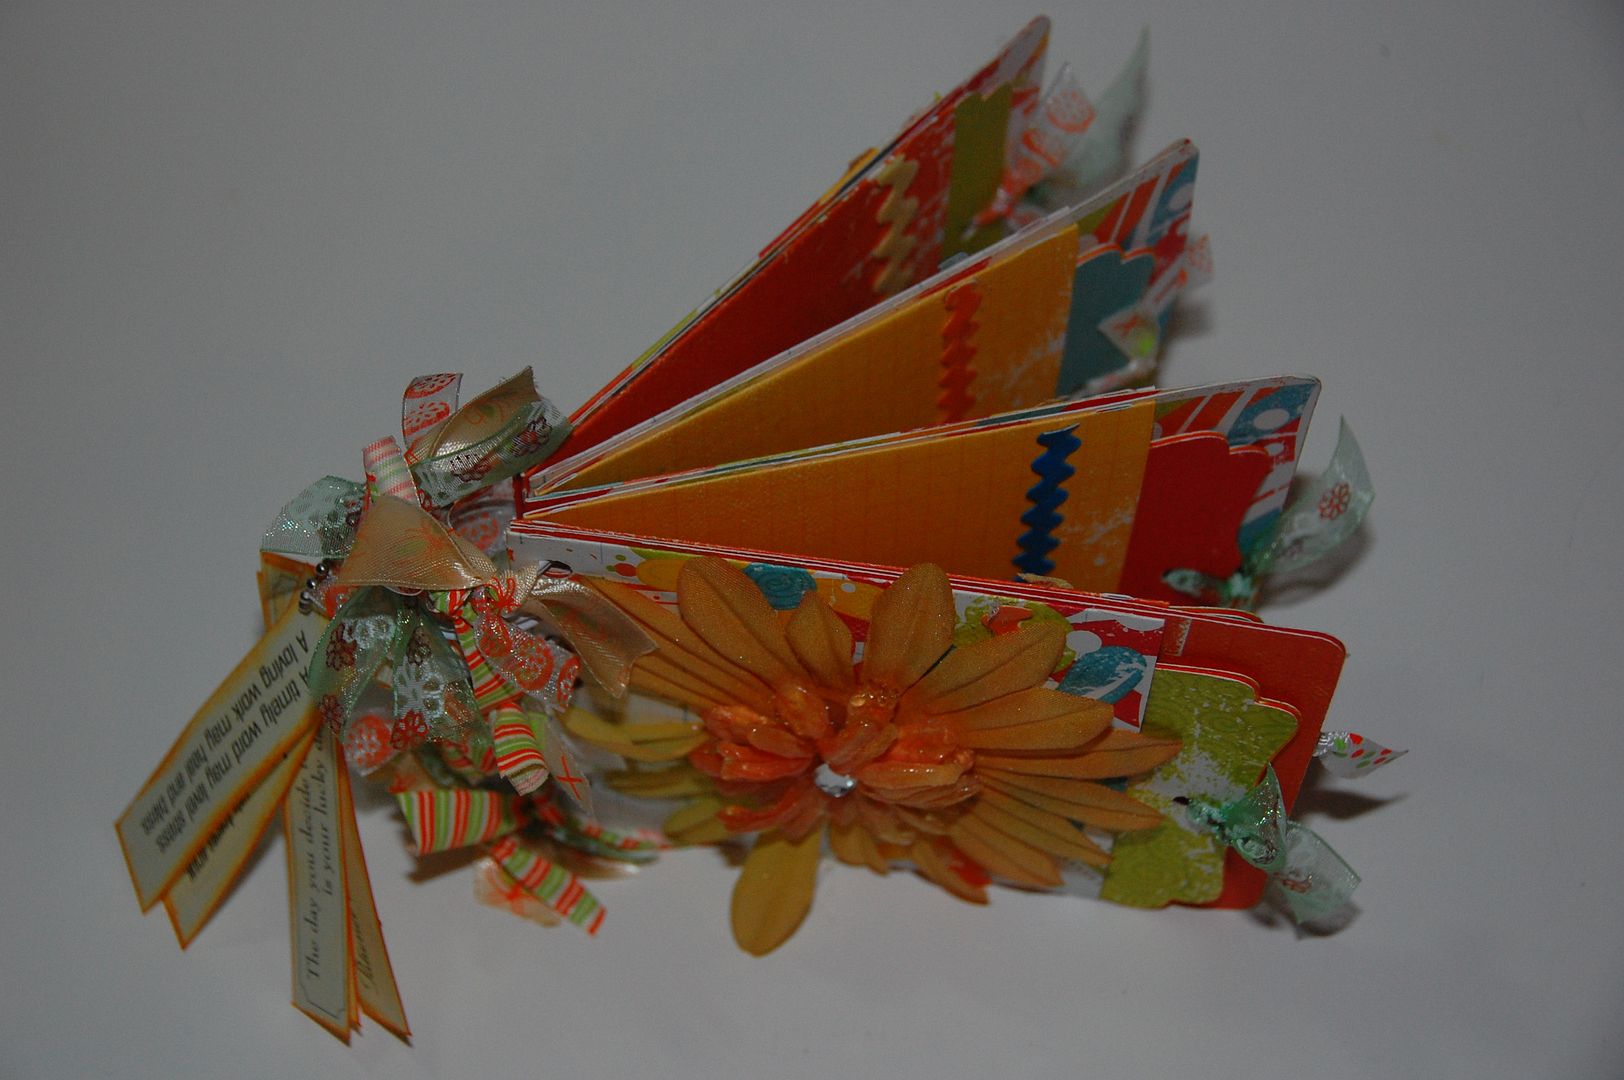
Then I used my Cinch binding machine from WeRMemoryKeepers and bound the book with 1 inch white coil.
I tied lots of ribbon to the coils and adhered a super cut flower to the front.
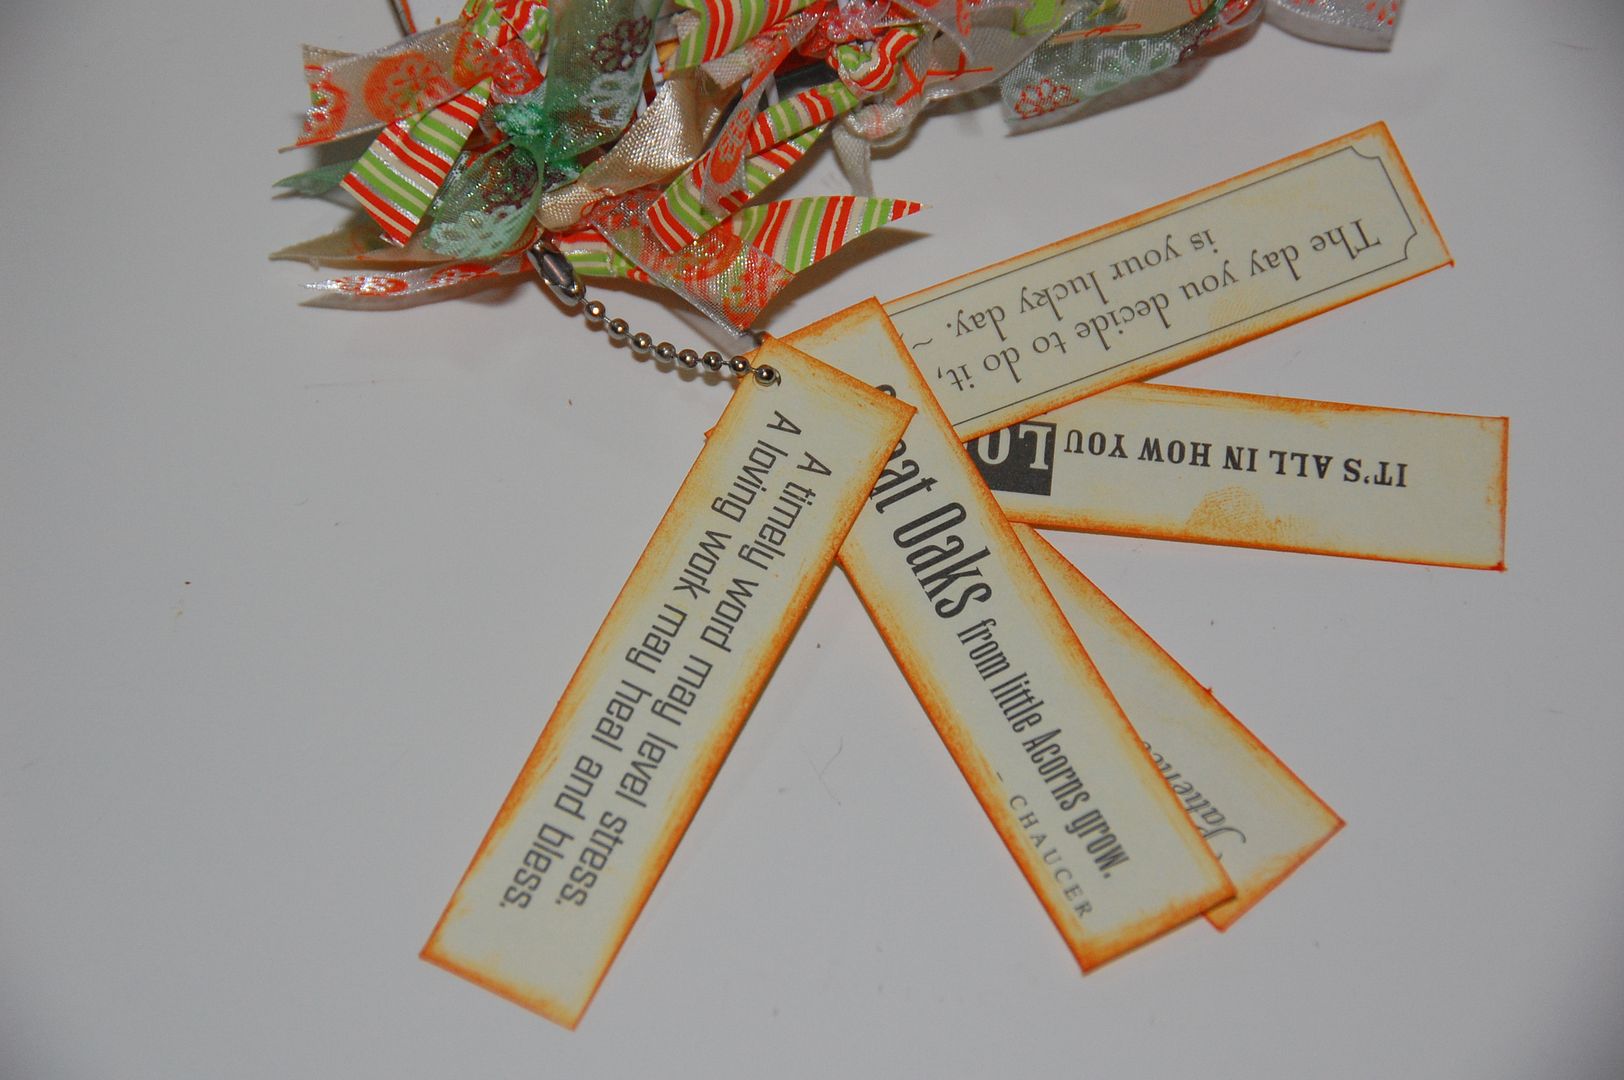
I then took these small quote tags (I have had them forever) and inked the sides with Spiced Marmalade from Tim Holtz. I then punched a small hole in the side of each and threaded a small ball chain through the hole. I then attached it to the side of the mini album.
 If you would like to download the free file, please visit my blog http://www.217Creations.blogspot.com
As always thank you commenting and following at both here at Tuesday treats and at my personal blog 217 Creations.
>As always thank you commenting and following at both here at Tuesday treats and at my personal blog 217 Creations.


6 comments:
=D>. great job! will have to make pocket mini's soon. Saw where you used the flower :)
This is an awesome mini! Great idea using pockets. Will have to give this one a try! Thanks!!! :)
I love the way you put this all together! And your choice of yummy colors too, makes me want that cinch!!!
What a cute mini!! I love the pockets!! Love the video too!
=D>
i love sentimentals too. it does have a lot of nice cuts. tfs!
elizabeth this turned out beautiful i love your color choices and the way if i came together thanks for sharing
Post a Comment