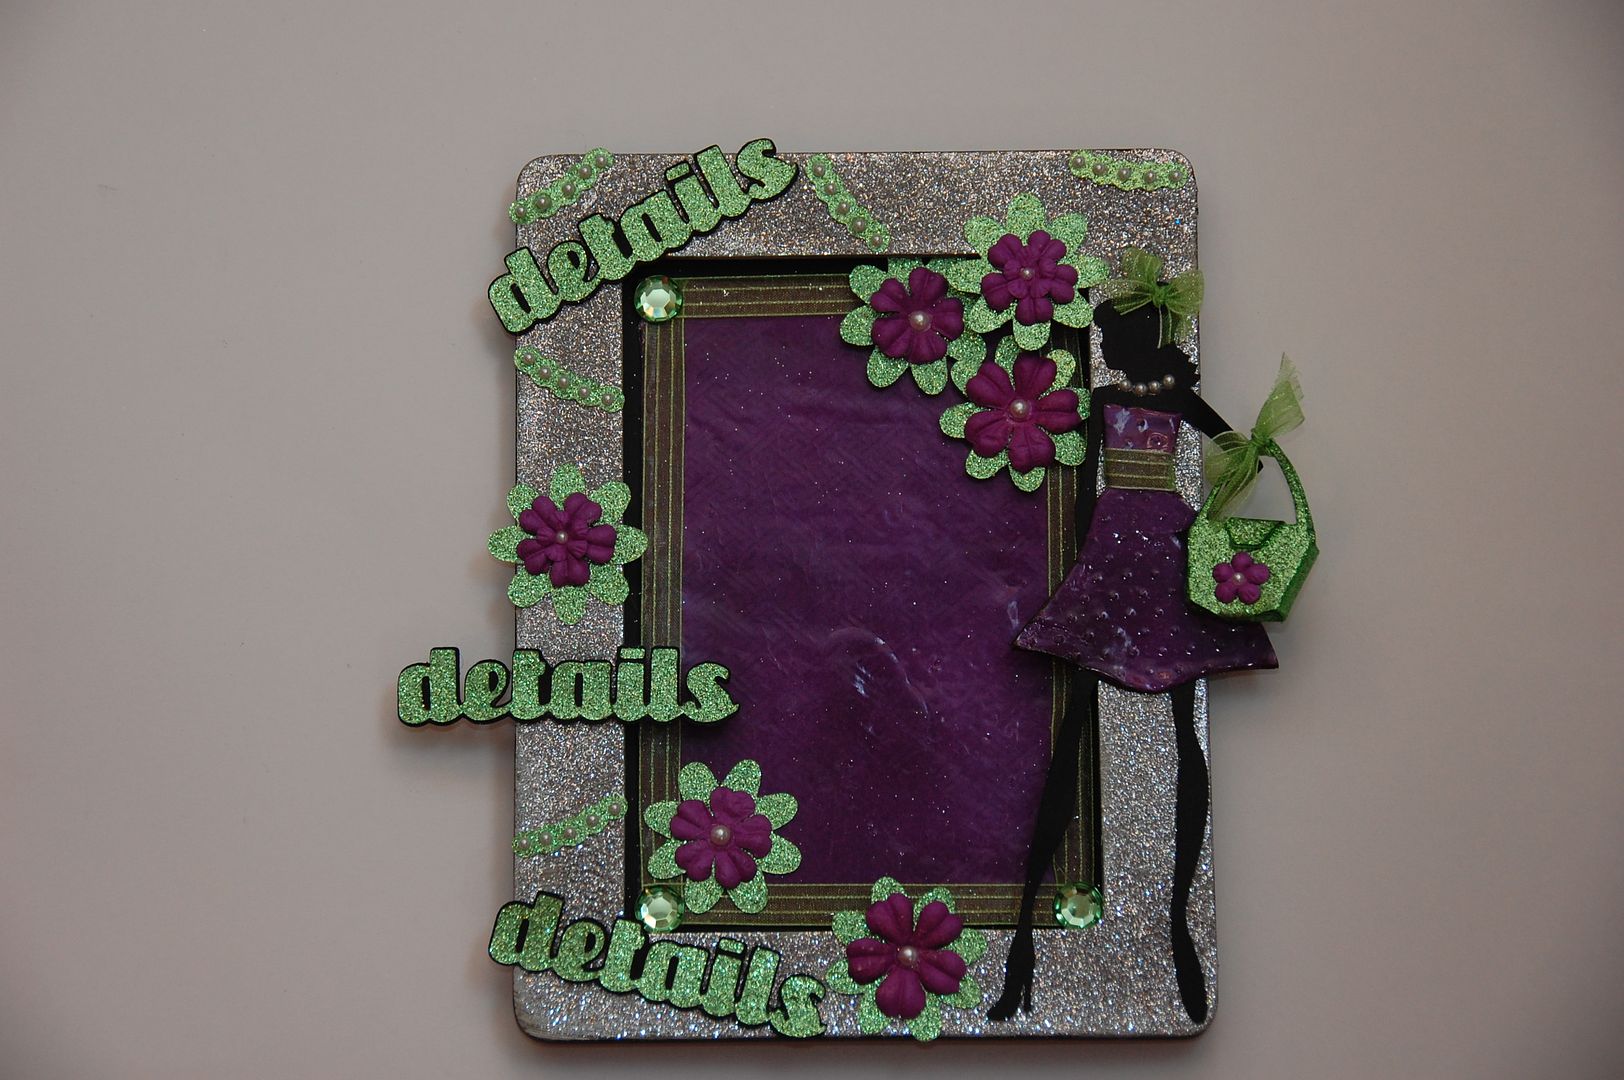
Hi Everyone! This is Elizabeth from 217 Creations. Today is my debut here at Tuesday Treats and I am super excited to share this cool altered frame with an adorable twist! We all know that in papercrafting the details can make all the difference between blah and a knockout! In today's project, I am going to show you some cool detail tricks along with assembly of this frame.
I bought several of these frames at Target for $1.98. My husband asked, "Why are you buying so many and why would you want them if they are all dinged up?" The answer is simple . . . I love to alter items and I always want more than one!
So I bought all 8! I started my taking out the glass and inside fillers. I painted the frame with a grey acrylic paint. I let that dry and then sprayed a nice even layer of Permanent Crafter's Companion to the frame. I then sprinkled Sterling Microfine Glitter from Martha Stewart over the spray.
Next I used rubber cement to adhere a background the frame. I cut a piece of black paper sized to cover the chipboard. Then I cut a peice of purple cardstock and dry embossed it with one of my Asian Cuttlebug folders. Then I used Ultra Thick Embossing Powder (UTEE) to make the background shiny and smooth. I then trimmed the purple cardstock with sheer green ribbon and placed large rhinestones in the corners.
All the cuts for this frame have been done with Button Number 3 on the Forever Young cartridge. This file is 4 pages. Page one is the purse. It is designed at 1.34 inches. I made a copy and flipped the image. This will allow the purse to have a front and back. The purses are cut from lime green glittered cardstock.
Once I had my cut I ran the bottom side through my Xyron. I then placed the backsides back to back, so now I have one piece.
I followed the scoremarks on the purse and used hot glue to adhere the edges together. I then took a lime green Bic Mark It permanent marker to cover the white core of the glittered cardstock. The finished purse is about 1 inch wide and 2 inches tall.
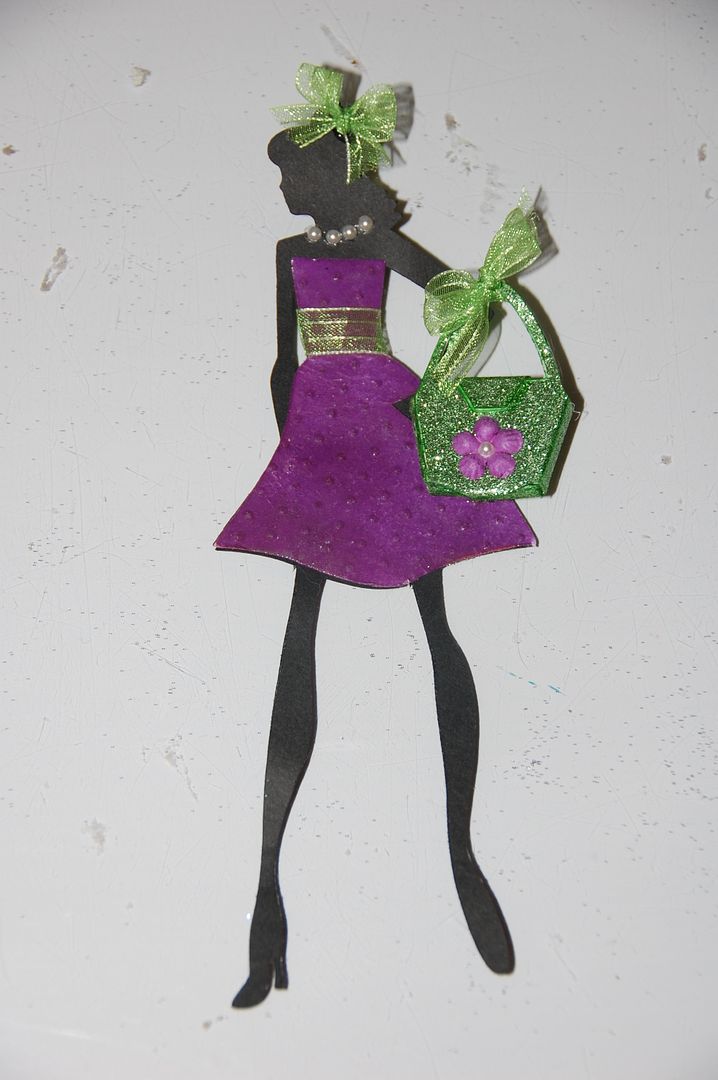
Page 2 is the doll her dress. The real size is off so the dress and doll will be in proportion. They are sized at 7 inches. I cut the dress out of purple cardstock and the doll from black cardstock.
Once I had my dress cut, I embossed it with Swiss Dots Cuttlebug Folder. Then I used 2 layers of Ultra Thick Embossing Powder (UTEE) over the embossing to make the dress look shiny and smooth.I then took some sheer green ribbon and tied a bow for the dolls hair and hot glued it to the cut. I also used the same ribbon to decorate the dress. In order to slip the purse on the doll's arm, I then cut the hand from the doll
I slipped the purse straps through the arm of the doll. I then hot glued the arm back down. I tied a small bow on the top of the purse to match her hair bow.
Finally I added some flat backed mini pearls around her neck to create a pearl necklace. I also added a small purple flower to the bag. I then placed one of the small pearls to the center of the flower.
I cut the word details and shadow at .75 inches. The shadow was cut from chipboard and the foreground was cut from the same lime green glitter paper as the purse.
In order to cut the glittered cardstock smoothly, I flipped the wording on my gypsy.
Then I placed my paper upside down on my mat.
I painted the chipboard with black acrylic paint and adhered the glittered cardstock to the dried chipboard.
For the flowers and the the strings of pearls, I turned on the the Real Size for the accessories for the cut. I sized them to 1.75 inches out of the gsame lime green glittered cardstock.
I used the mini pearls to the small scallops to make it look like a string of pearls. I added small purple flowers to the green flowers and also added small pearls the centers.
All my cuts have been hot glued to the frame. I have left room for a small picture. I realy had fun making this frame. It took a lot of work for the details, but it was totally worth it!
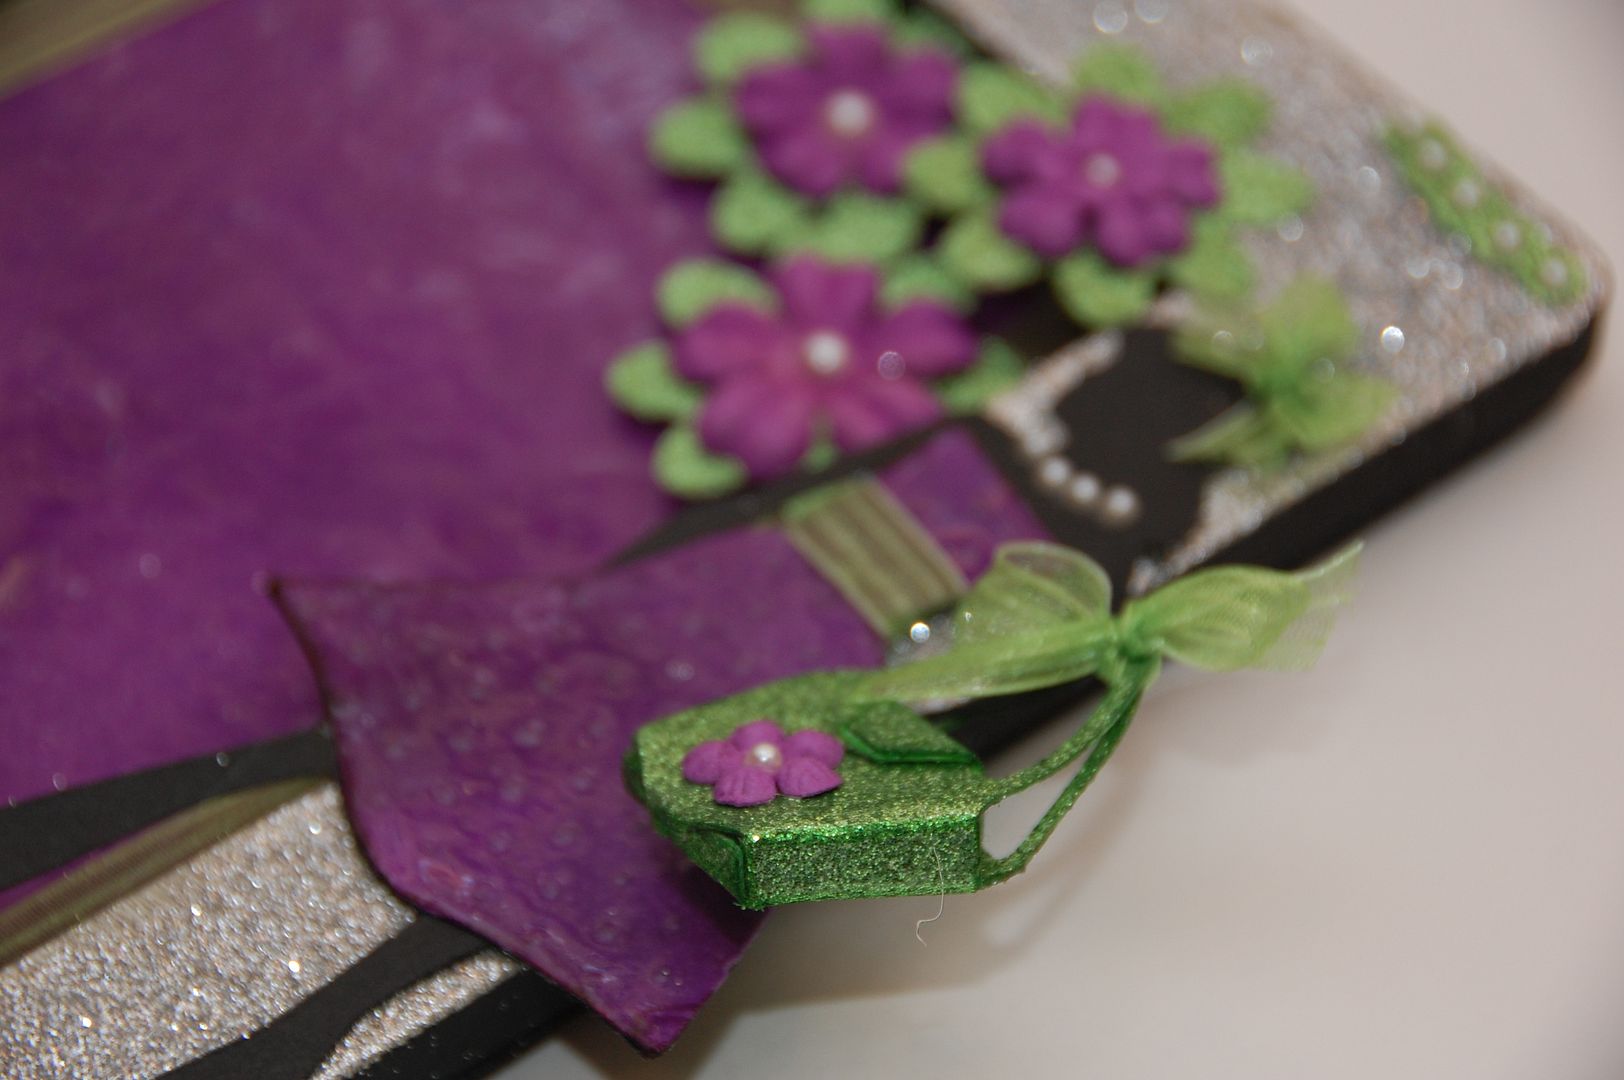
The dimension from the purse is just perfect!
Here is a close up of the bag. I want one for myself!
All the layers really work together to create a complete look. By using the same embellishments and paper through the entire project, everything becomes coordinated. Thank you so much for leaving comments. I love followers too!
The file is available for download at my blog 217 Creations
As always thank you for the comments and also for following!


15 comments:
Elizabeth, I agree its all in the details! And this frame is a real winner because of the details you put in it! Look at that little purse, how cute is that? And she even has ribbons in her hair and a gorgeous necklace! Love it. This is a BEAUTIFUL project
Wow this is amazing! You are so talented and such an inspiration. Thank you for sharing!!
wow that took alot of work but such a wonderful project. great work!
This is gorgeous and would make a nice gift.
wwee! you've done it again!! Love all the "details". Great gift for sure =D>
Oh My word this is amazing!!! I love this idea and all the embellies are just fantastic!
Barb :)
OMGosh your altered frame is just great!!!! And the details does make all the difference. Love it!!!! Thanks so much for sharing and your instructions were very clear and easy to follow.
Absolutely adorable! I love the pearls and the glitter paper and ...everything!
Elizabeth, you are amazing as always!
Beautiful project love it.
this is incredible!!!! Great project. tfs
Ronnie
Beautiful frame and wonderful project. I love the glitter and fine details. Great job!
Awesome! :)
OMG - I can't believe how many details there are on this. Wonderful job!
That is just soooooo great!!! :)
Just found your blog and I love, love, love it!! I have the forever young cart and am just starting to play with it. thank you for such fabulous inspiration!!
Post a Comment