
Hi everyone! This is Elizabeth from 217 Creations. Last month I sold all my border punches at my local scrapbook store's garage sale. In return I got a large in store credit that I have been very happy to shop with lately. I am a bit sad that I no longer own those punches. But what it has forced me to do is to make better use of Cricut Cartridges and my Gypsy. Pleating is all the rage right now in papercrafts. I am always looking for a way to add dimension to my projects and pleated flowers are so elegant.
This is what the Gypsy file looks like:
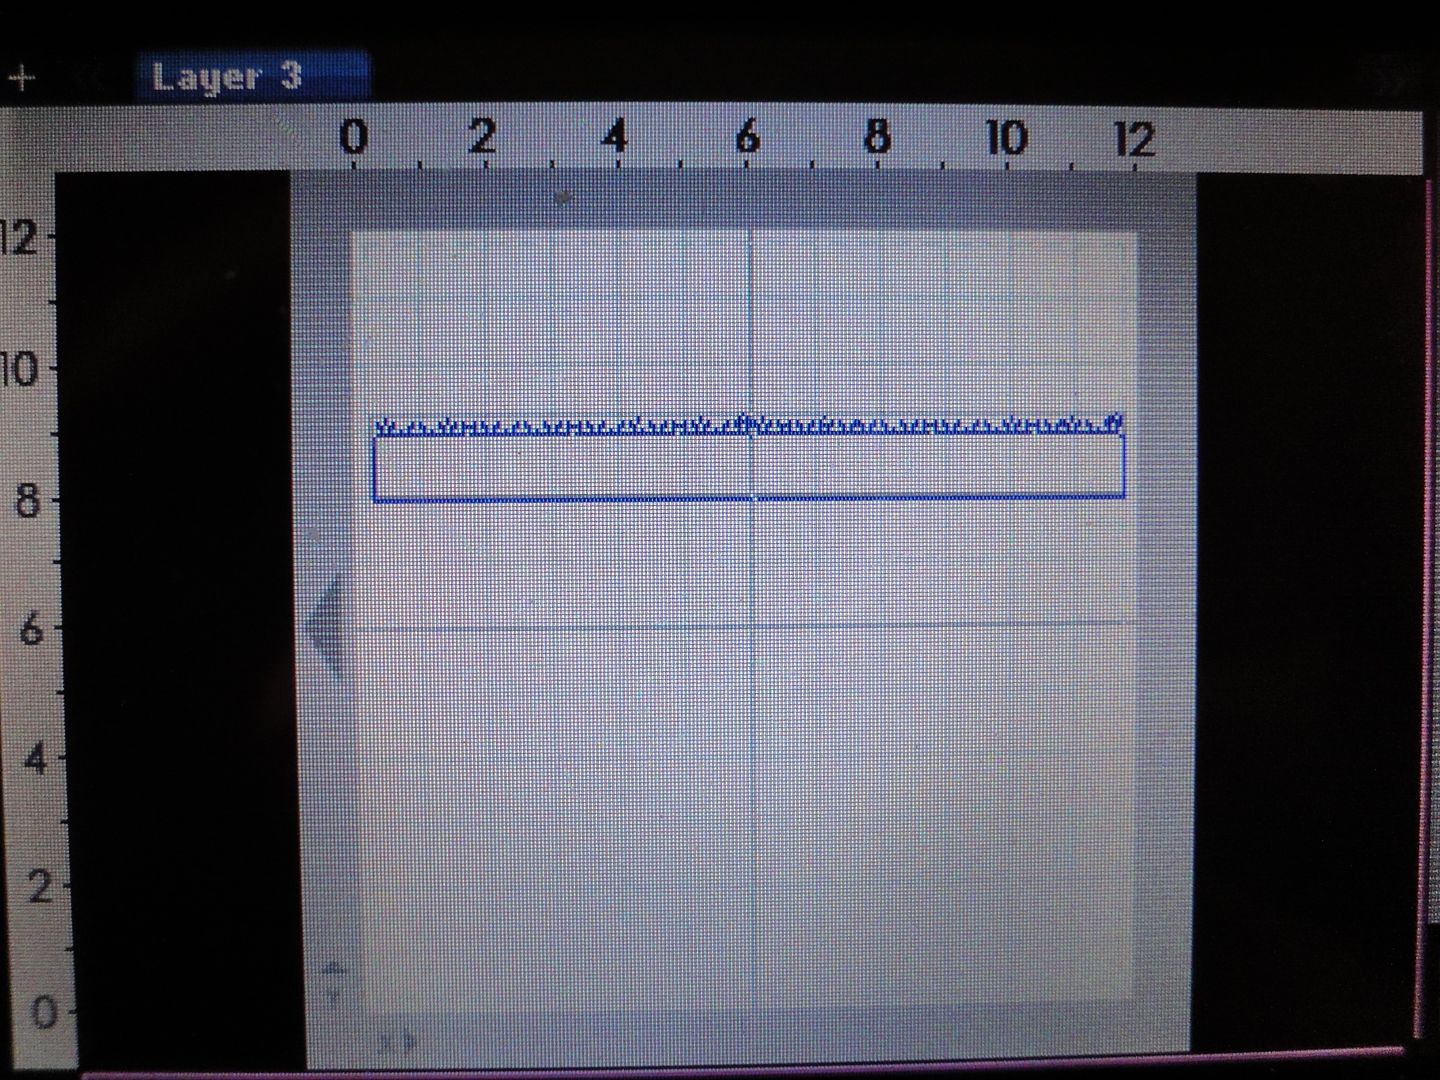
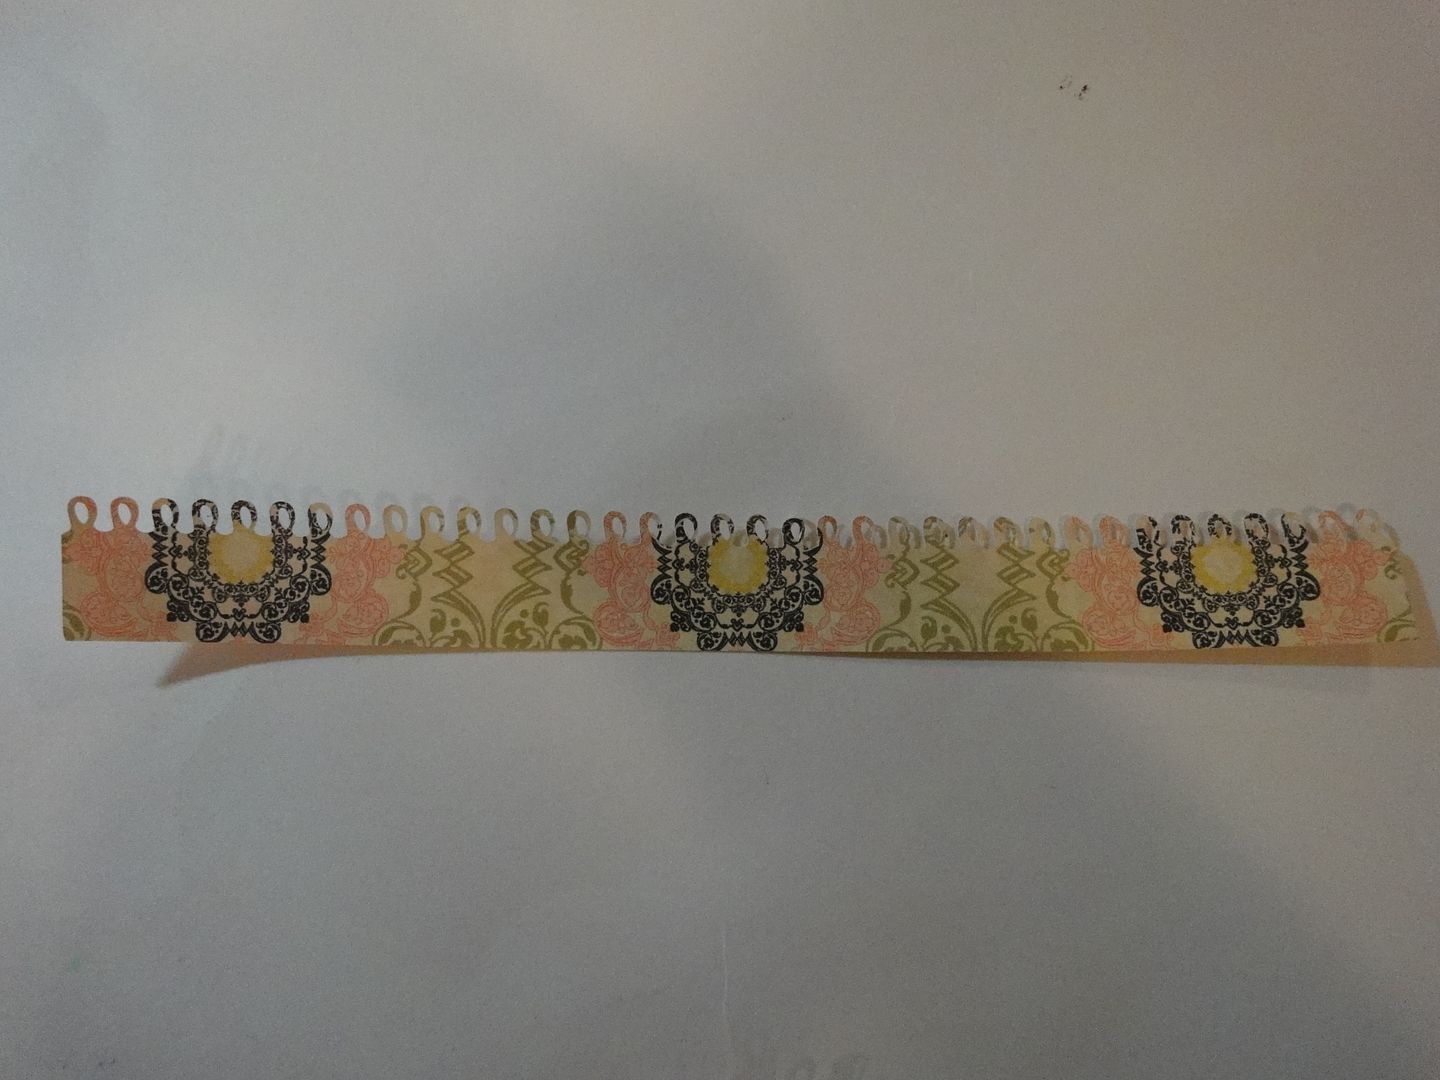
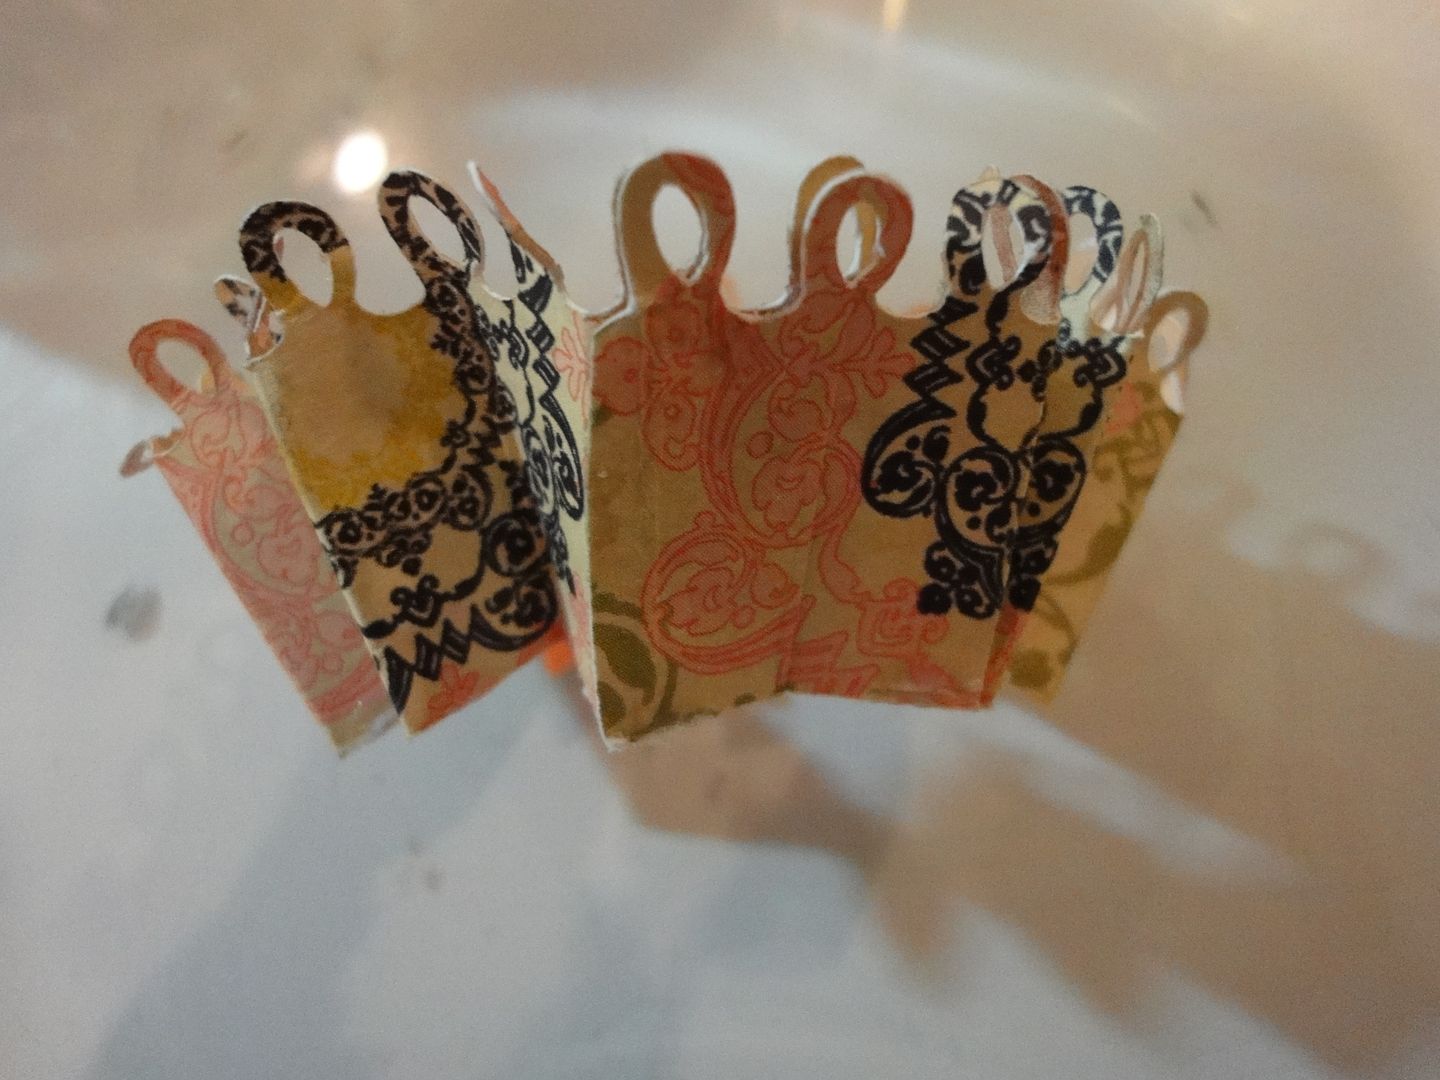
This what the file cuts from Martha Stewart Elegant Cake Art at 1.26 inches by 11.5 inches.
If you have never played with borders or would like to learn how to make a border quickly, watch this video.
Follow this link for a photo tutorial and a list of cartridges with borders!
Follow this link for a photo tutorial and a list of cartridges with borders!
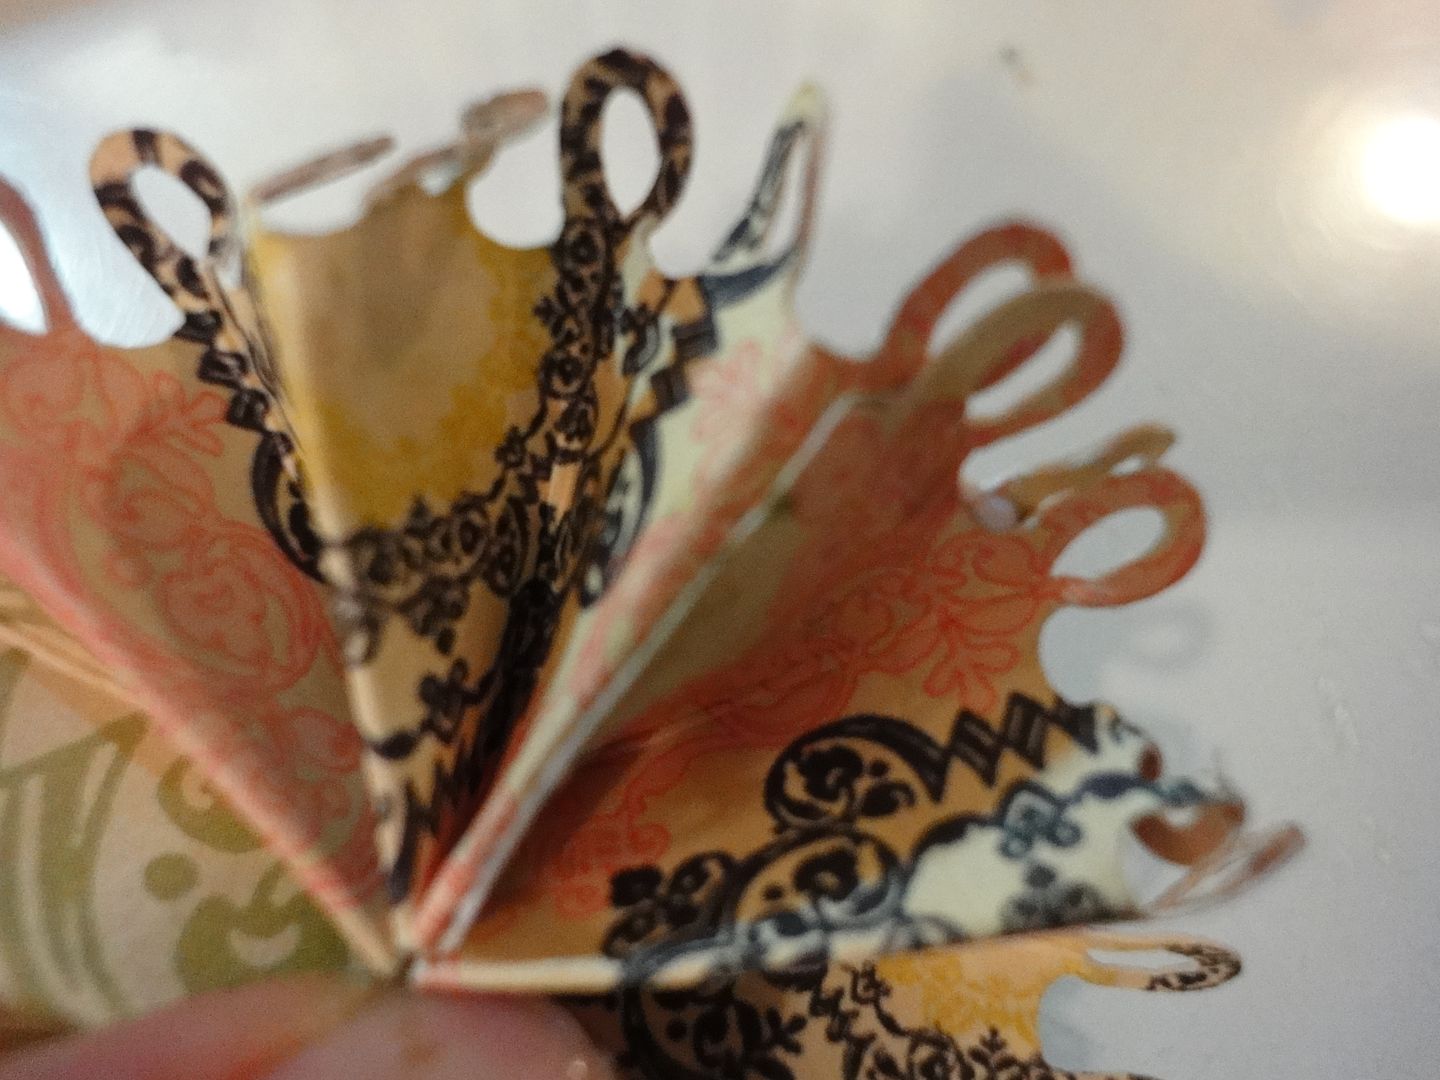
Once the border is done cutting, I used my Martha Stewart Scoreboard to score at 1/4 inch on either end. Then I scored at 1/2 inch all the way across the strip. Then I followed the pleats, folding it all together back and forth and back and forth. The paper is from Webster's Pages- Life Beautiful.
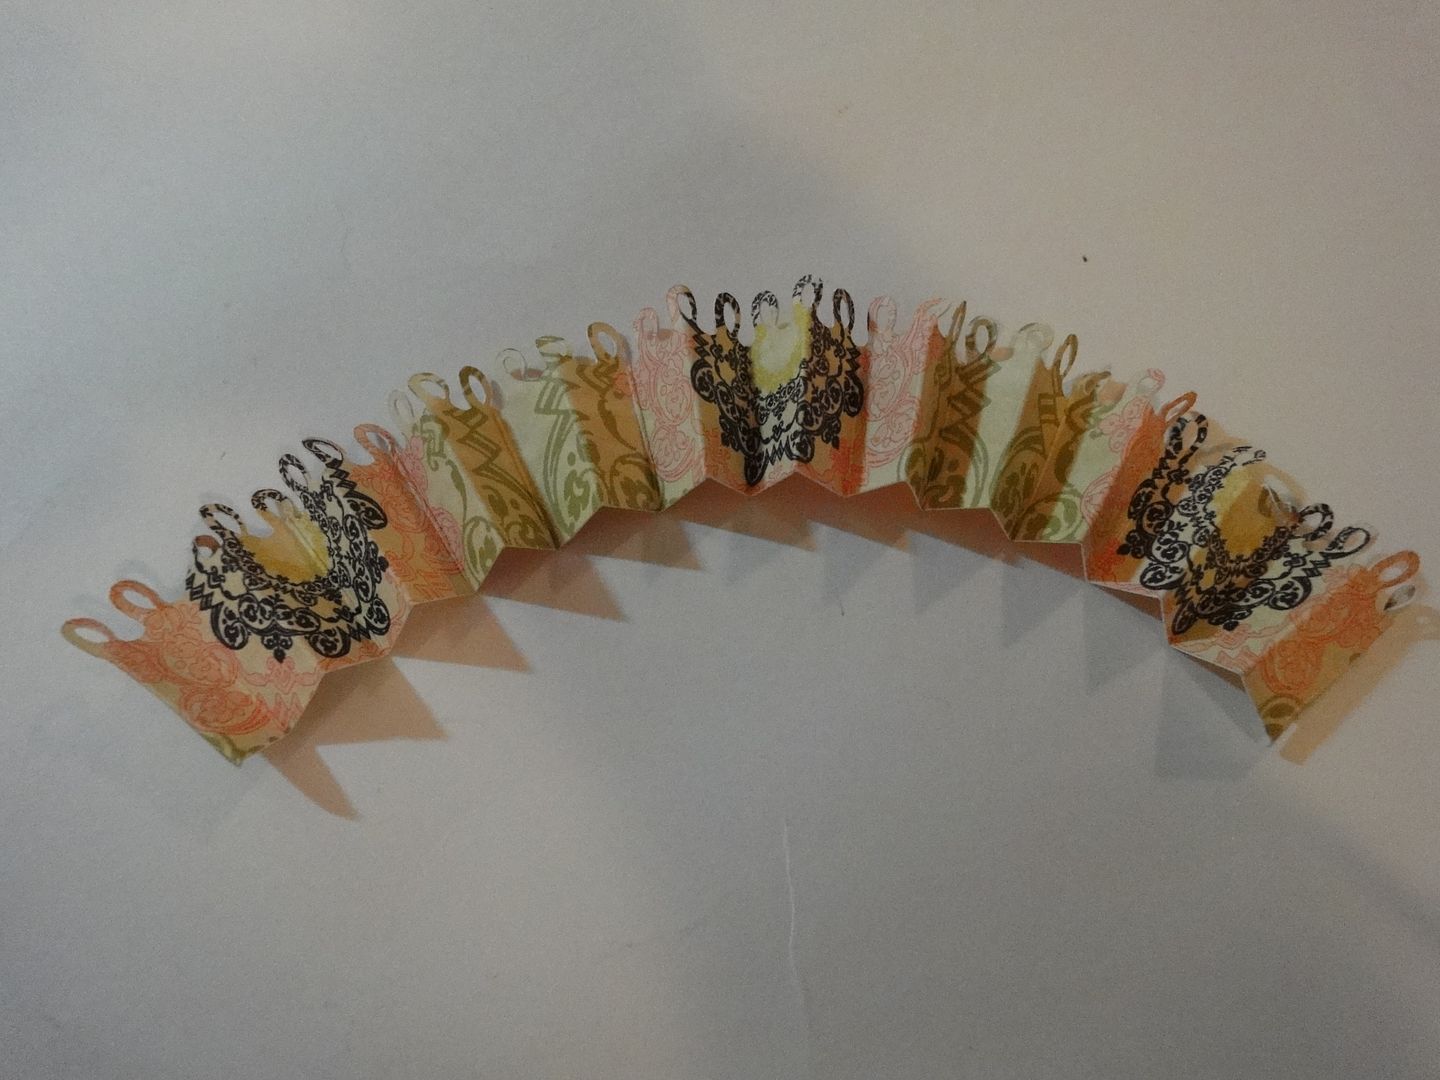
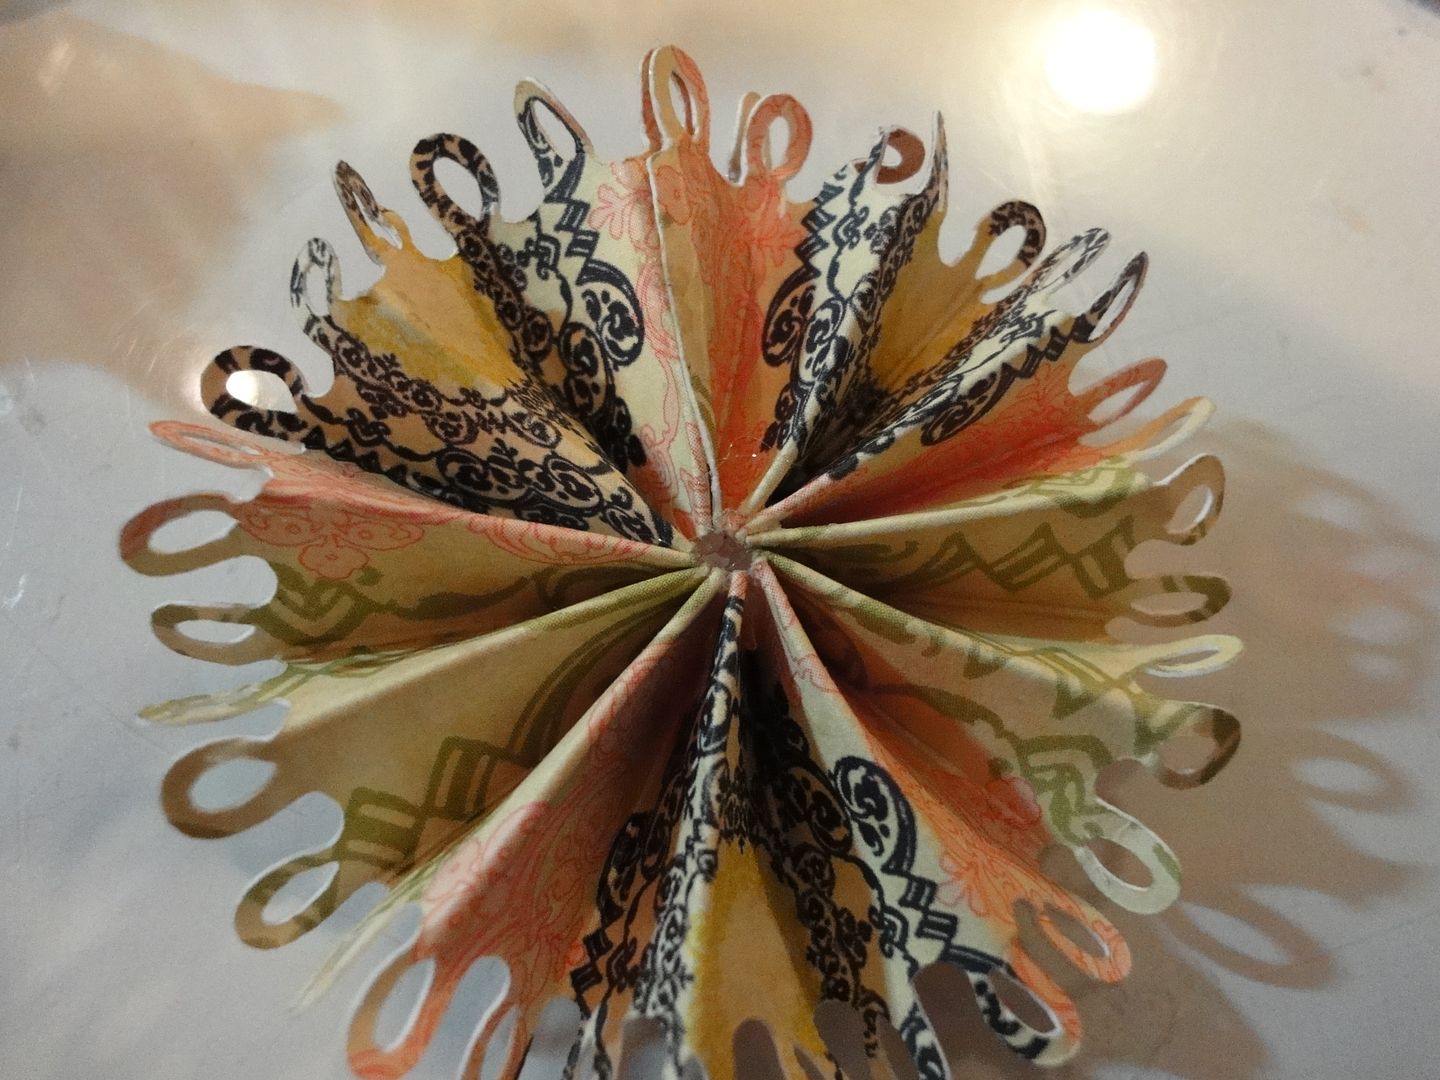
Then I took the ends and hot glued the two ends together, lining up the the loops.
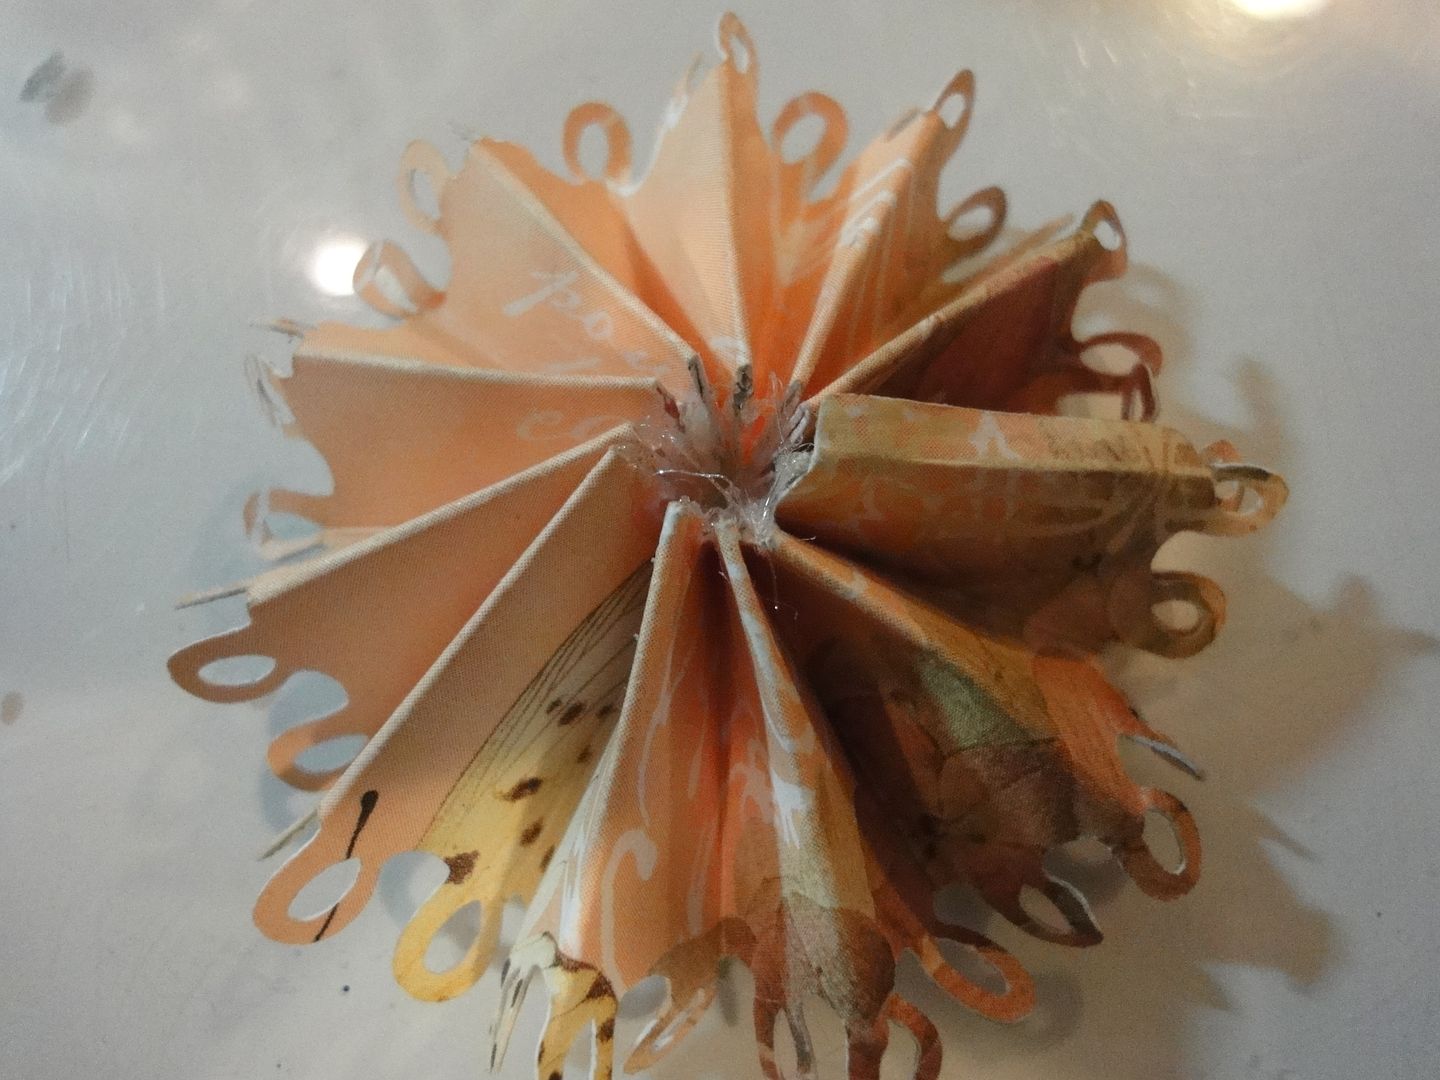
Then I took the hot glue gun and placed a thin layer of glue across the inside of the pleats. Then I pushed them together in the center.
Then I turned the flower over and placed a small drop of hot glue in the hole on the back, pressing firmly to close it up.
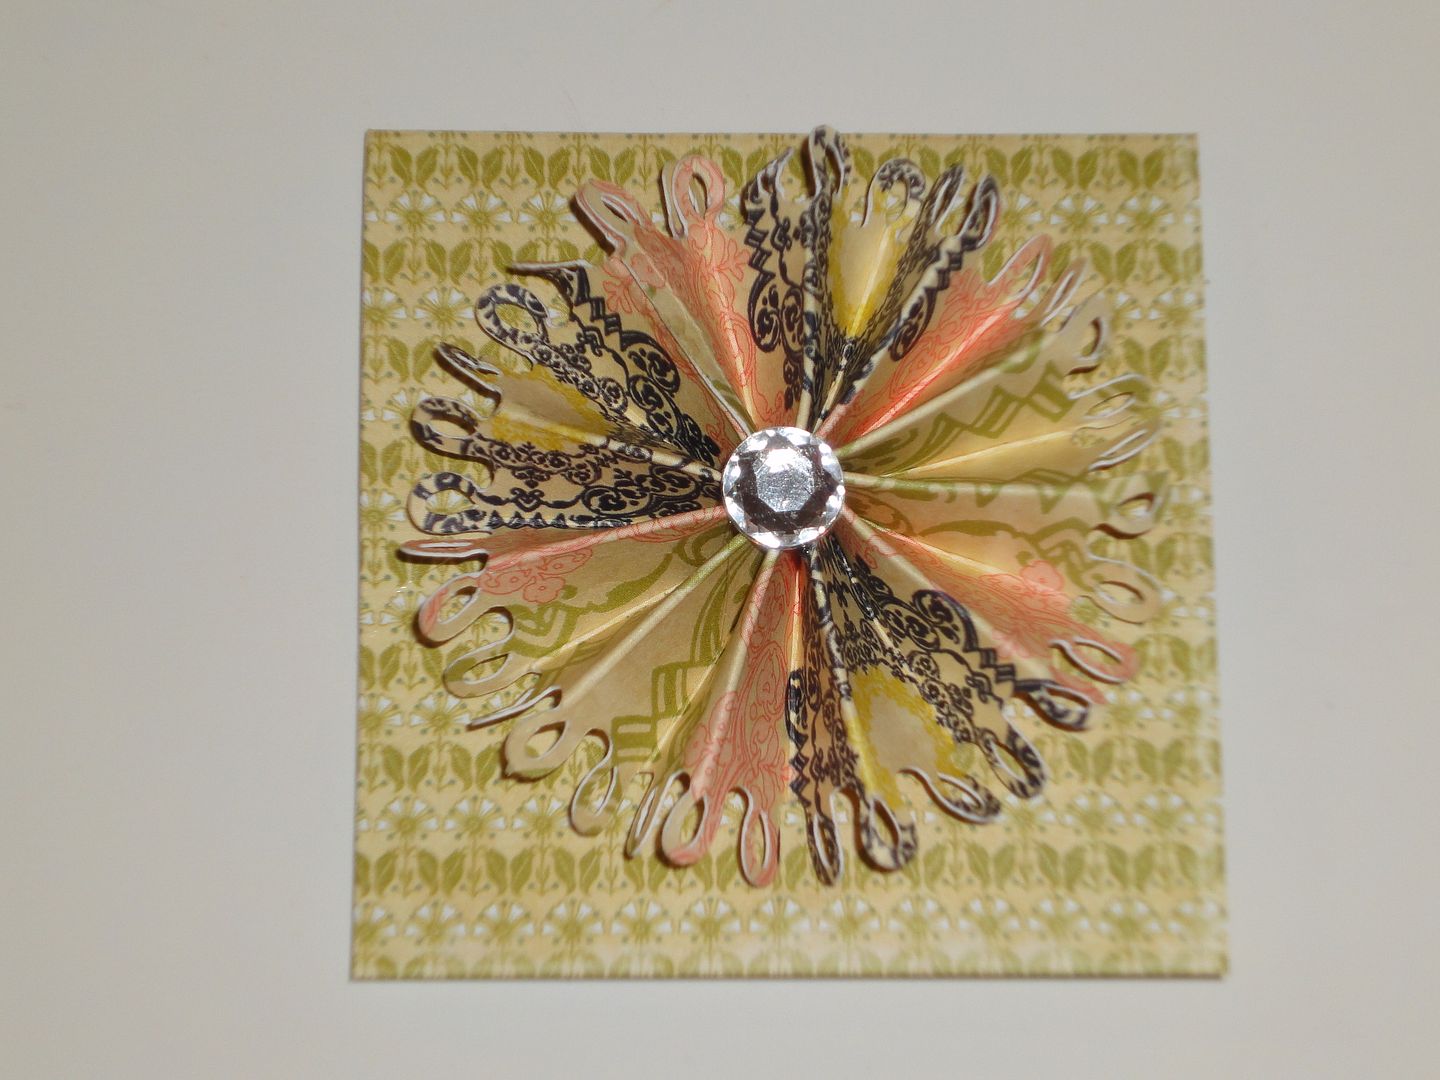
Once it was dry, I took a small rhinestone and placed it in the center to conceal the glued pleating.
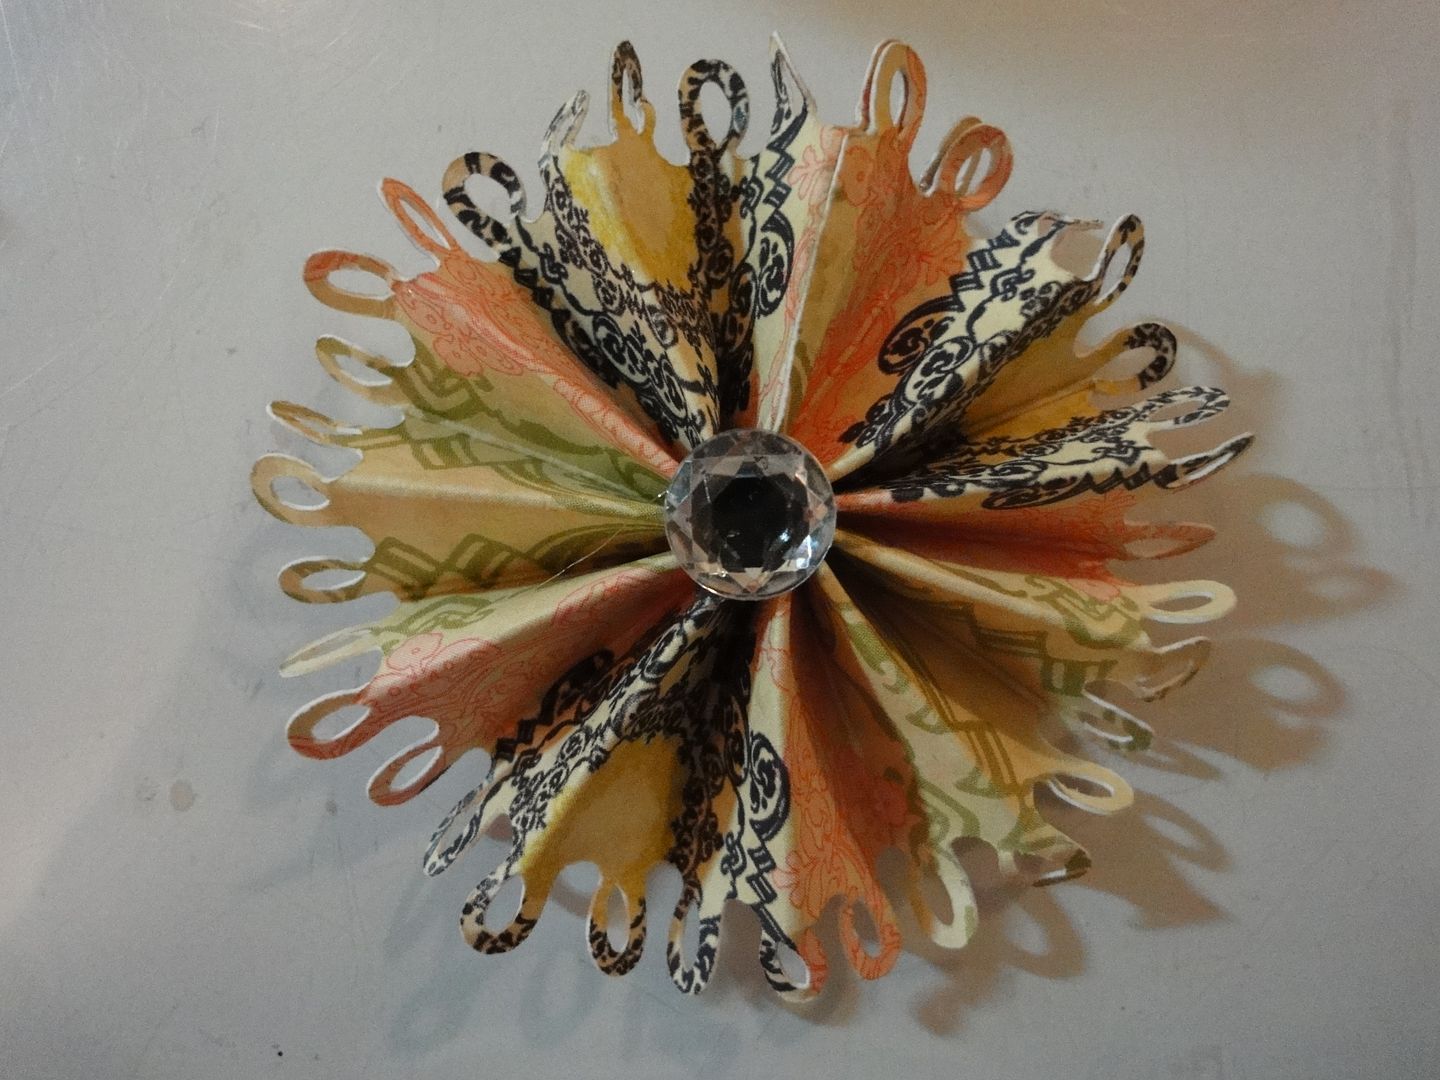
I added this flower to a 3x3 mini card. These flowers would look great on layouts, cards, and boxes. Try playing with different borders to change the look of the edge.
If you would like the free Gypsy file please feel free to visit my personal blog for the file: 217 Creations. As always thank you taking the time to comment and follow both here at Tuesday Treats and my personal blog 217 Creations. It means so much to me!


8 comments:
So very beautiful!! Your creations always inspire me! Thanks for such great instructions!!
Very nice, as usual!!! Great video tutorial and thanks for sharing!!!
this looks great. Yep the MS cartridges are particularly beautiful for this technique. Love it
Looks beautiful!!! Great tutorial. I wish I had that cart though. TFS
I haven't tried this before, but the result is really pretty! TFS!
Congratulations on a wonderful blog.
Jonas
This is beautiful. I want to try one of these pleated flowers. As soon as I get to feeling better I will be giving it a try. I don't have this cartridge but appreciate the directions.
This is gorgeous!! I love how we can do just about anything with our Gypsies!!!
Post a Comment