Knowing is not enough; we must apply! - Johann Wolfgang Von Goethe

Welcome & Copyright & Disclaimer

Welcome to Tuesday Treats. Hope you have a pleasant journey browsing and getting inspired by the projects you find here. We appreciate and treasure your comments so please leave us some blog love and comments. But before you start your journey here just a small note . Do please read and then you can continue on. Copyright: This blog has a many designers showcasing their projects. Please look up their individual site to check their copyrights for any infringements. My files & projects are also all copyrighted. They can be used as inspiration and for personal gifts only but cannot be used in classes, in magazines or for contests. Please look in the side bar for more details on the copyright. Disclaimer: The designer's designs belong to them and them only & not to TuesdayTreat and The TuesdayTreats will not be responsible or liable in any way for any results or consequences from those designs.

June 1, 2010

Heritage Family Tree


Hi  Everyone! This is Elizabeth from 217 Creations.  For the month of June we are featuring the Heritage cartridge.  I am huge fan of vintage inspired art.  This cartridge has some pretty amazing features too.  This centerpiece shows many of the great features available on this cartridge.
The Base
The base of this centerpiece is from a flower pot inside Target Dollar Spot.  The color was horrible for this project. 
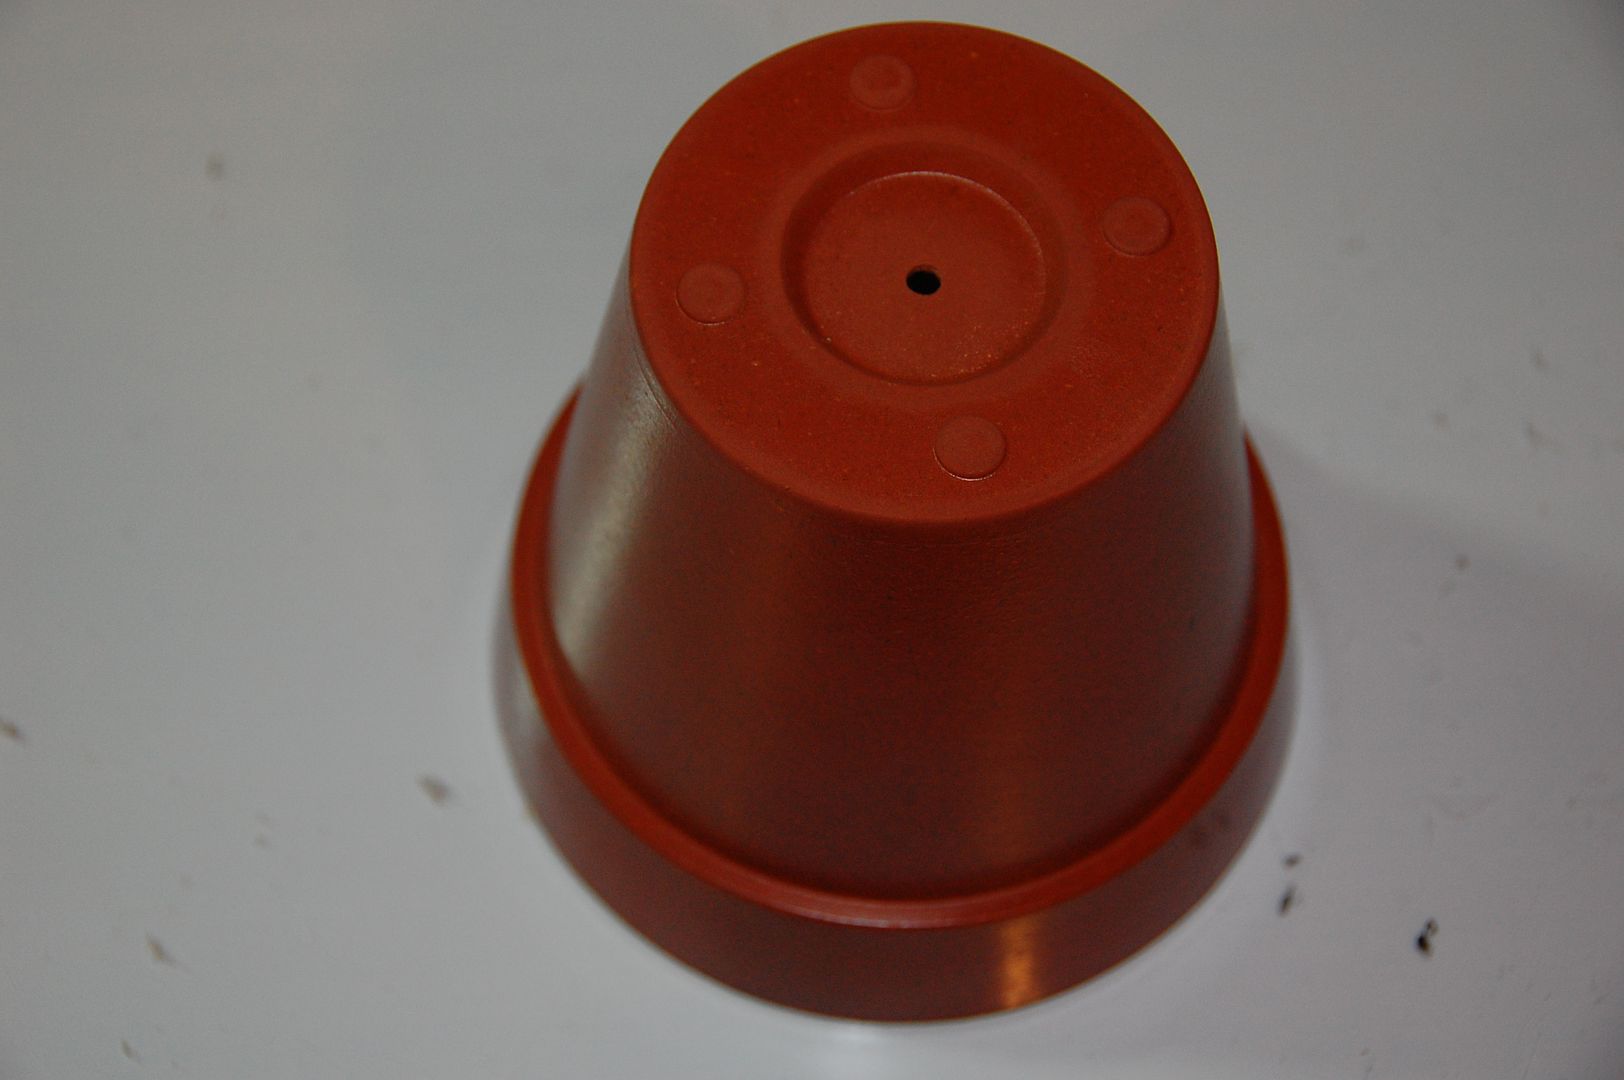
So I took Acrylic paint and used a faux painting technique to enhance and alter the flower pot.
  I took the same paint and painted a 3/16 inch wooden dowel that was cut to 8inches.  This wooden dowel will slide into the bottom of the flower pot.
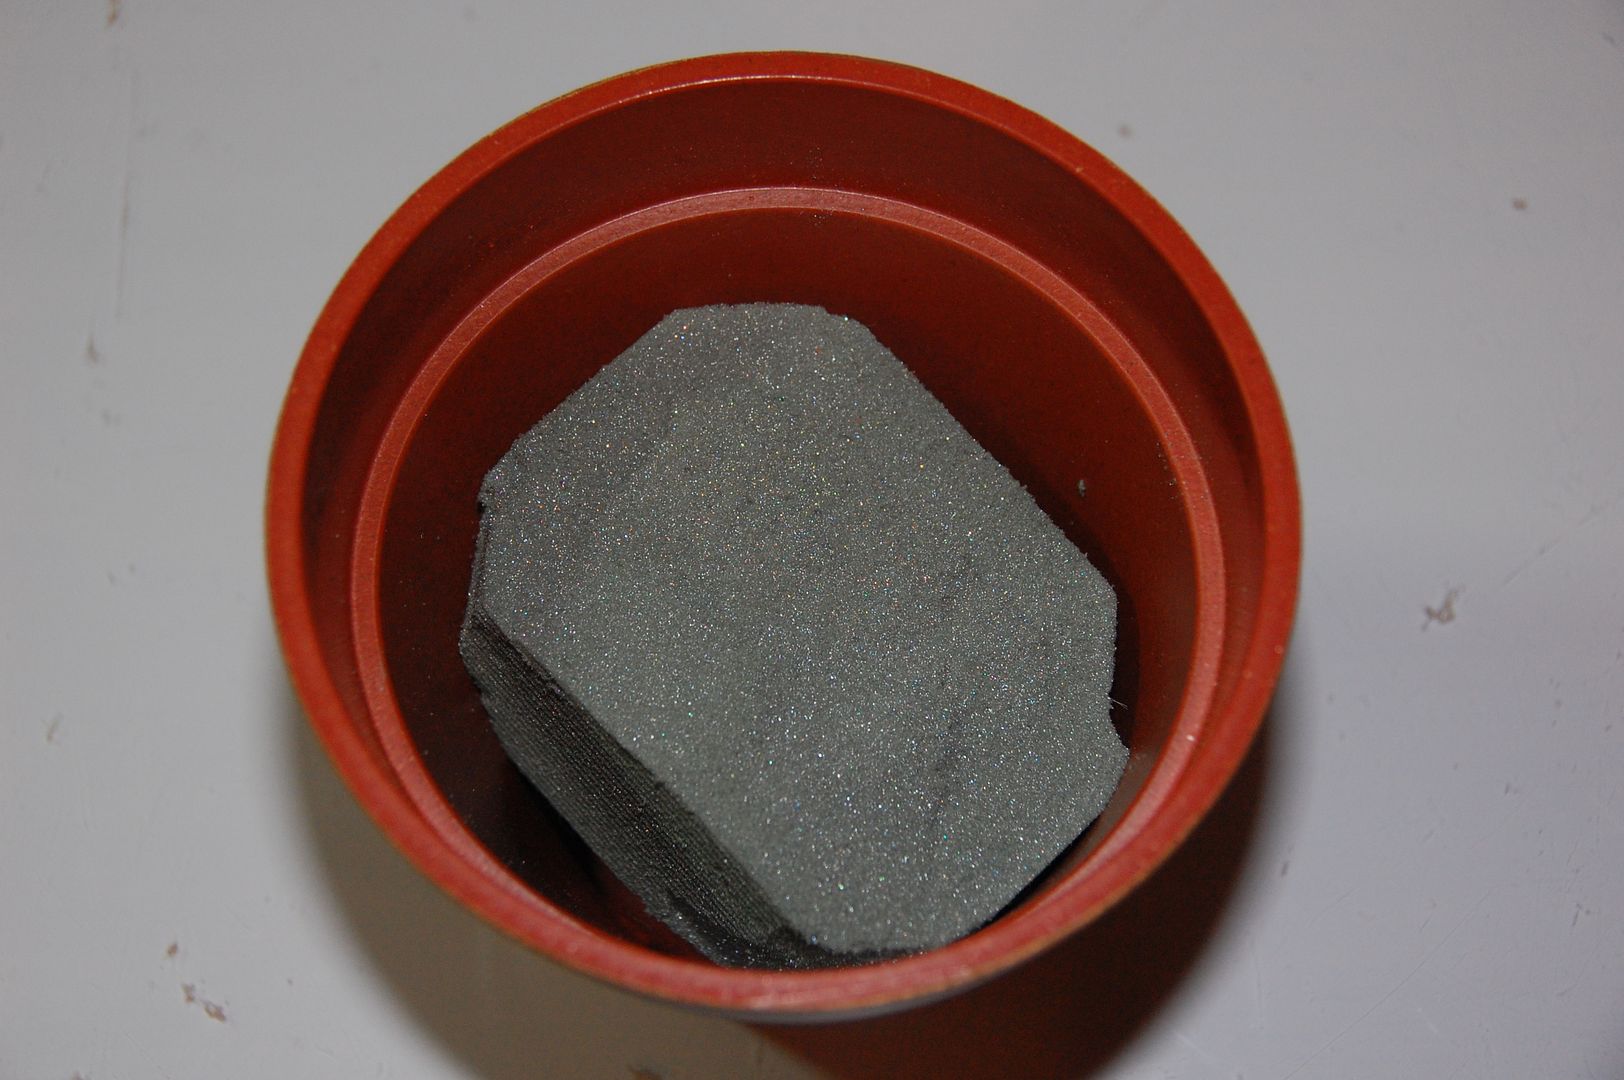
Next I took a small piece of floral foam and hot glued it to the inside of the flower pot.
The Tree
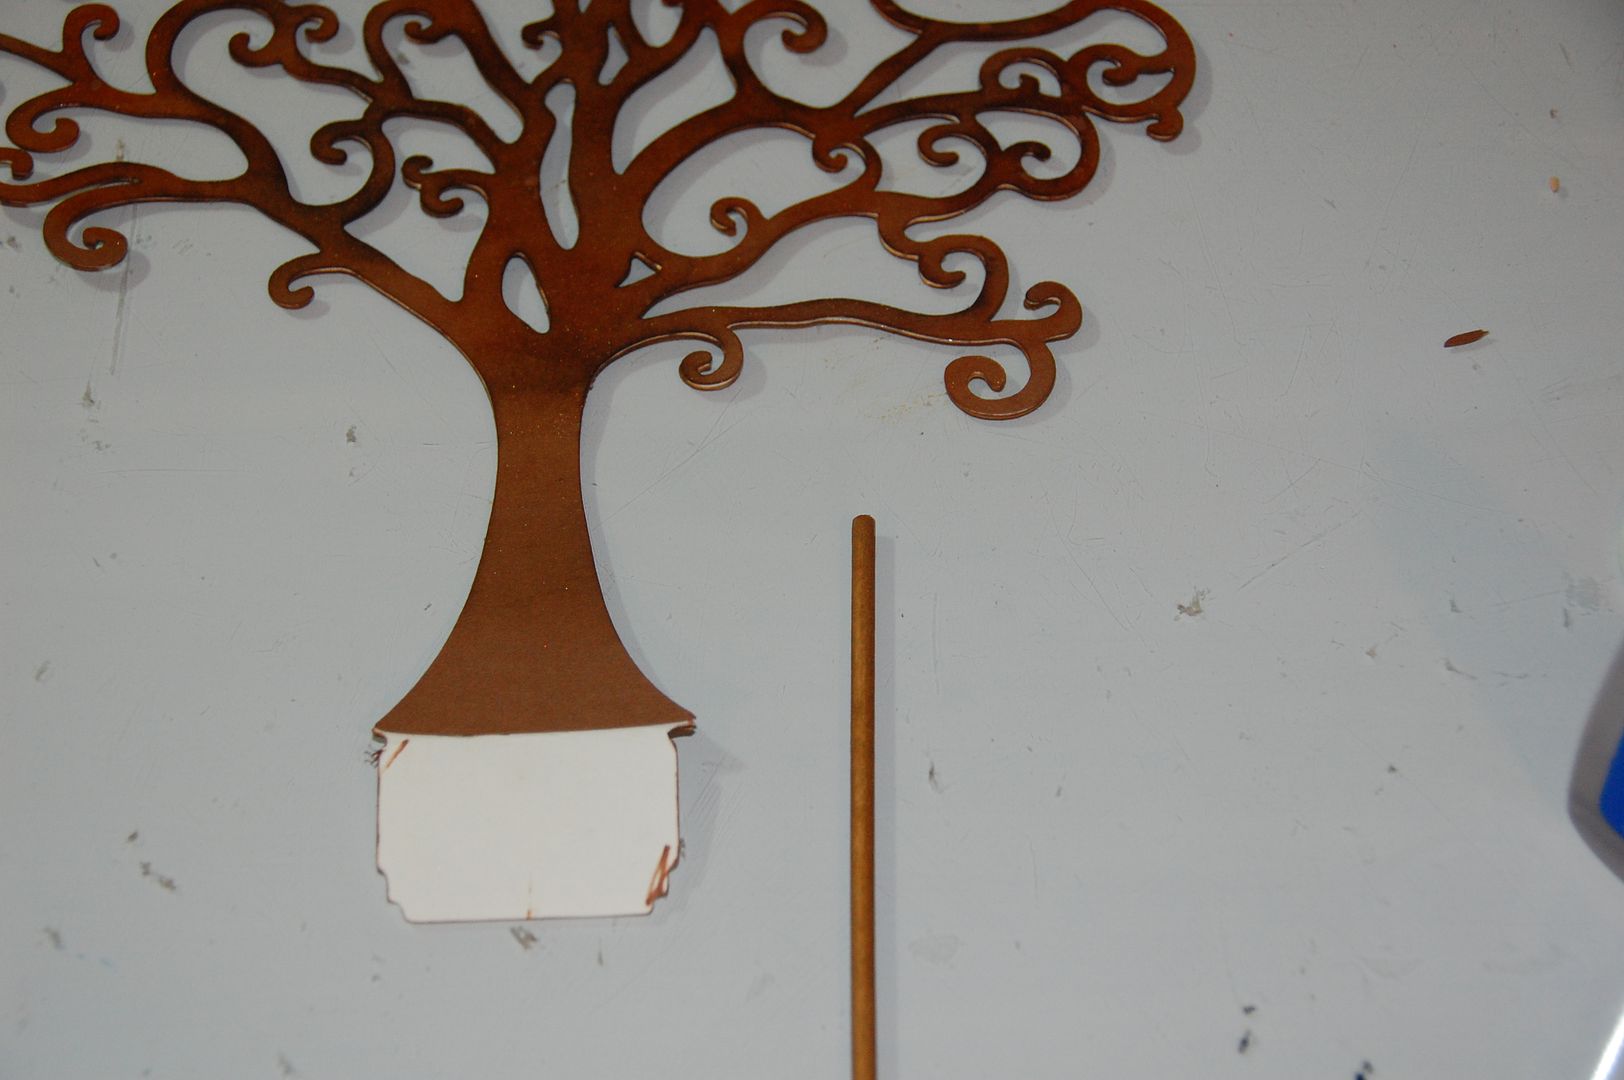
This tree image is one of my favorite images from Heritage.  It has swirls and hooks, and really it was the inspiration for this project.  The tree in this file has a small wedge welded to the bottom to help the tree stand up. I cut this image twice from posterboard.
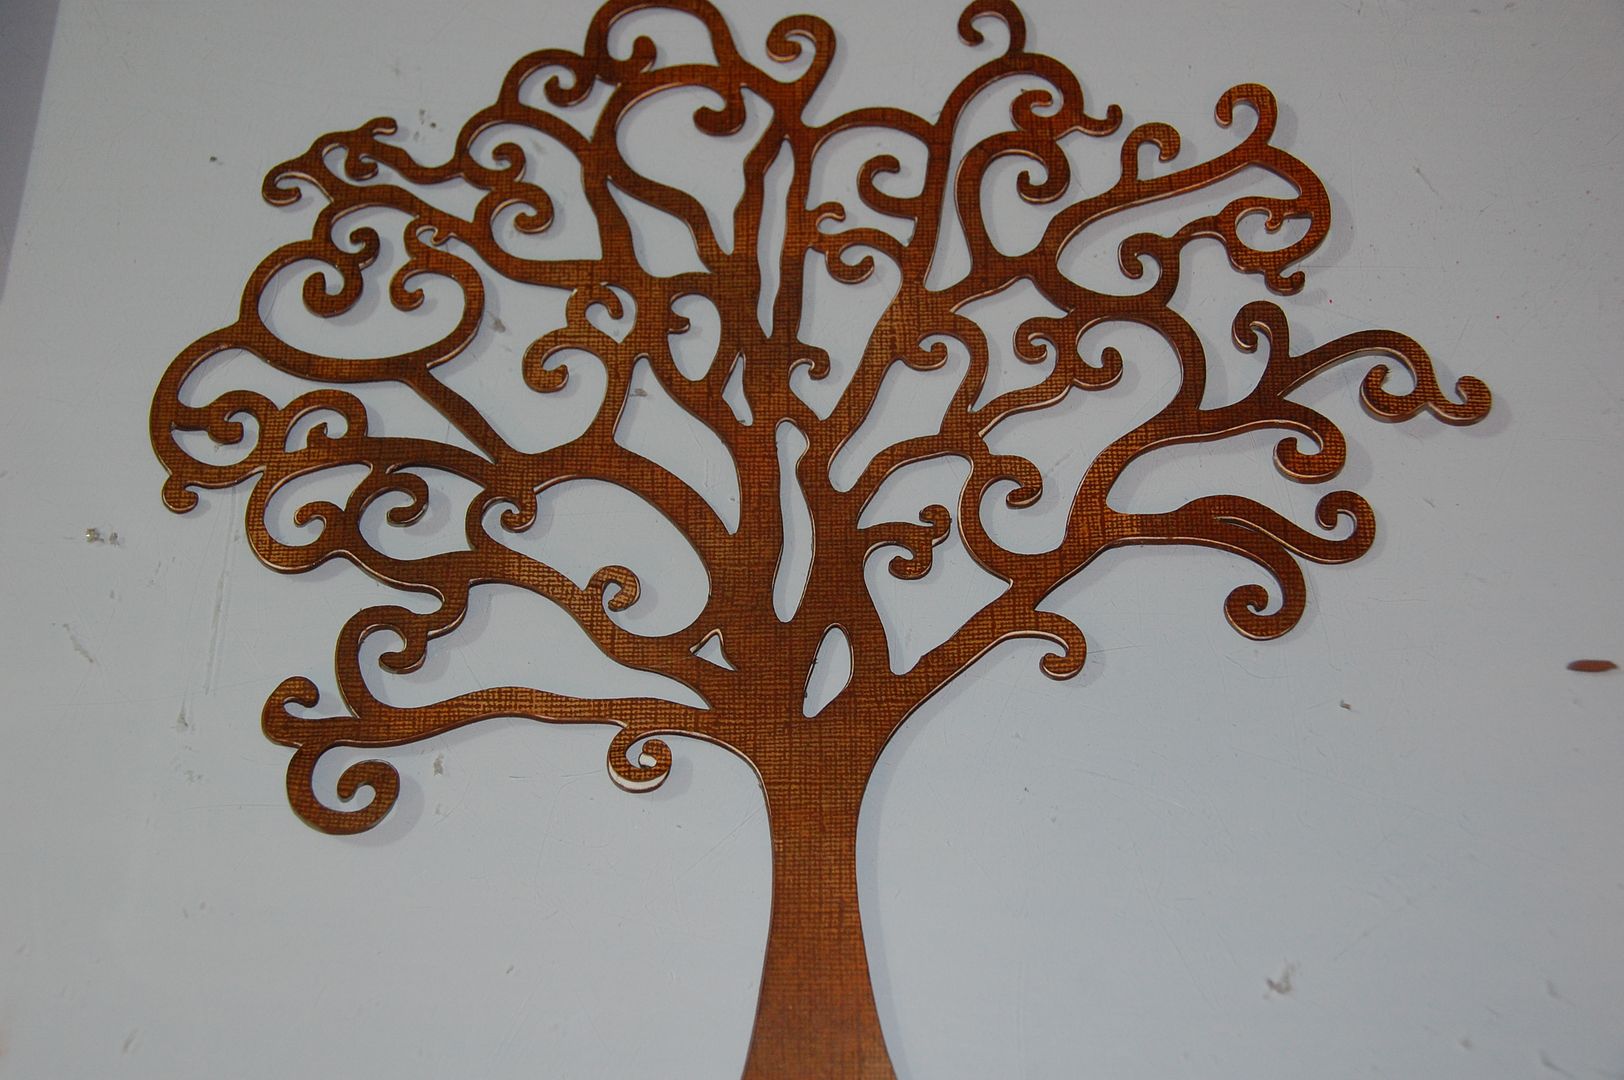
The way I would have a front layer and a back layer. 
Next I cut the Tree image alone (without the wedge) 4 times: twice with Coredinations cardstock (outside layer) and twice with smooth Bazzill cardstock (inside layer).  This tree was cut at 10.80 inches. 
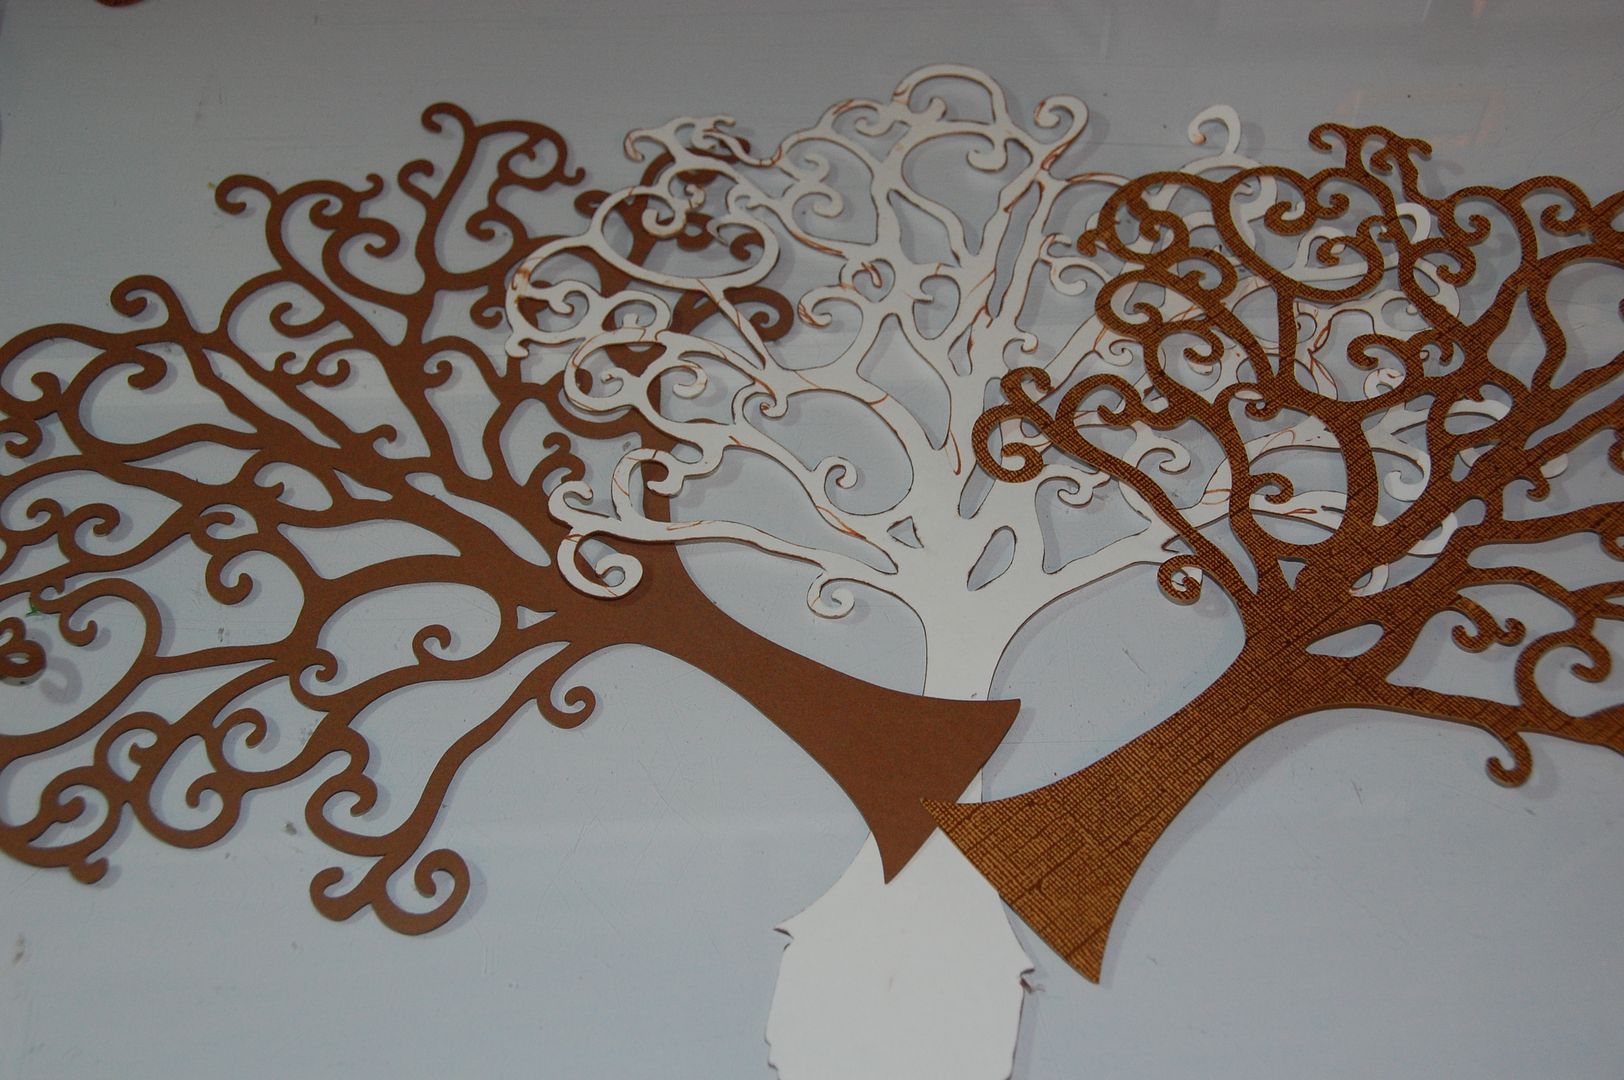
 I chose to use two different cardstocks to add dimension.  The edges of the cuts were inked with Chestnut Roan from ColorBox.  I also took my Tim Holtz inking tool and inked towards the inside of the tree branches with Rusty Hinge and Walnut Stain Distress Ink .  Next I adhered the inside layer to my two trees. The my outside layer. 

Then I took my painted dowel and hot glued it between the two layers of the tree so my Coordinations Paper faced outward on the front and the back. 
I then pushed the dowel through the hole in the flower pot.

The final touch for the tree portion is the leaves. 
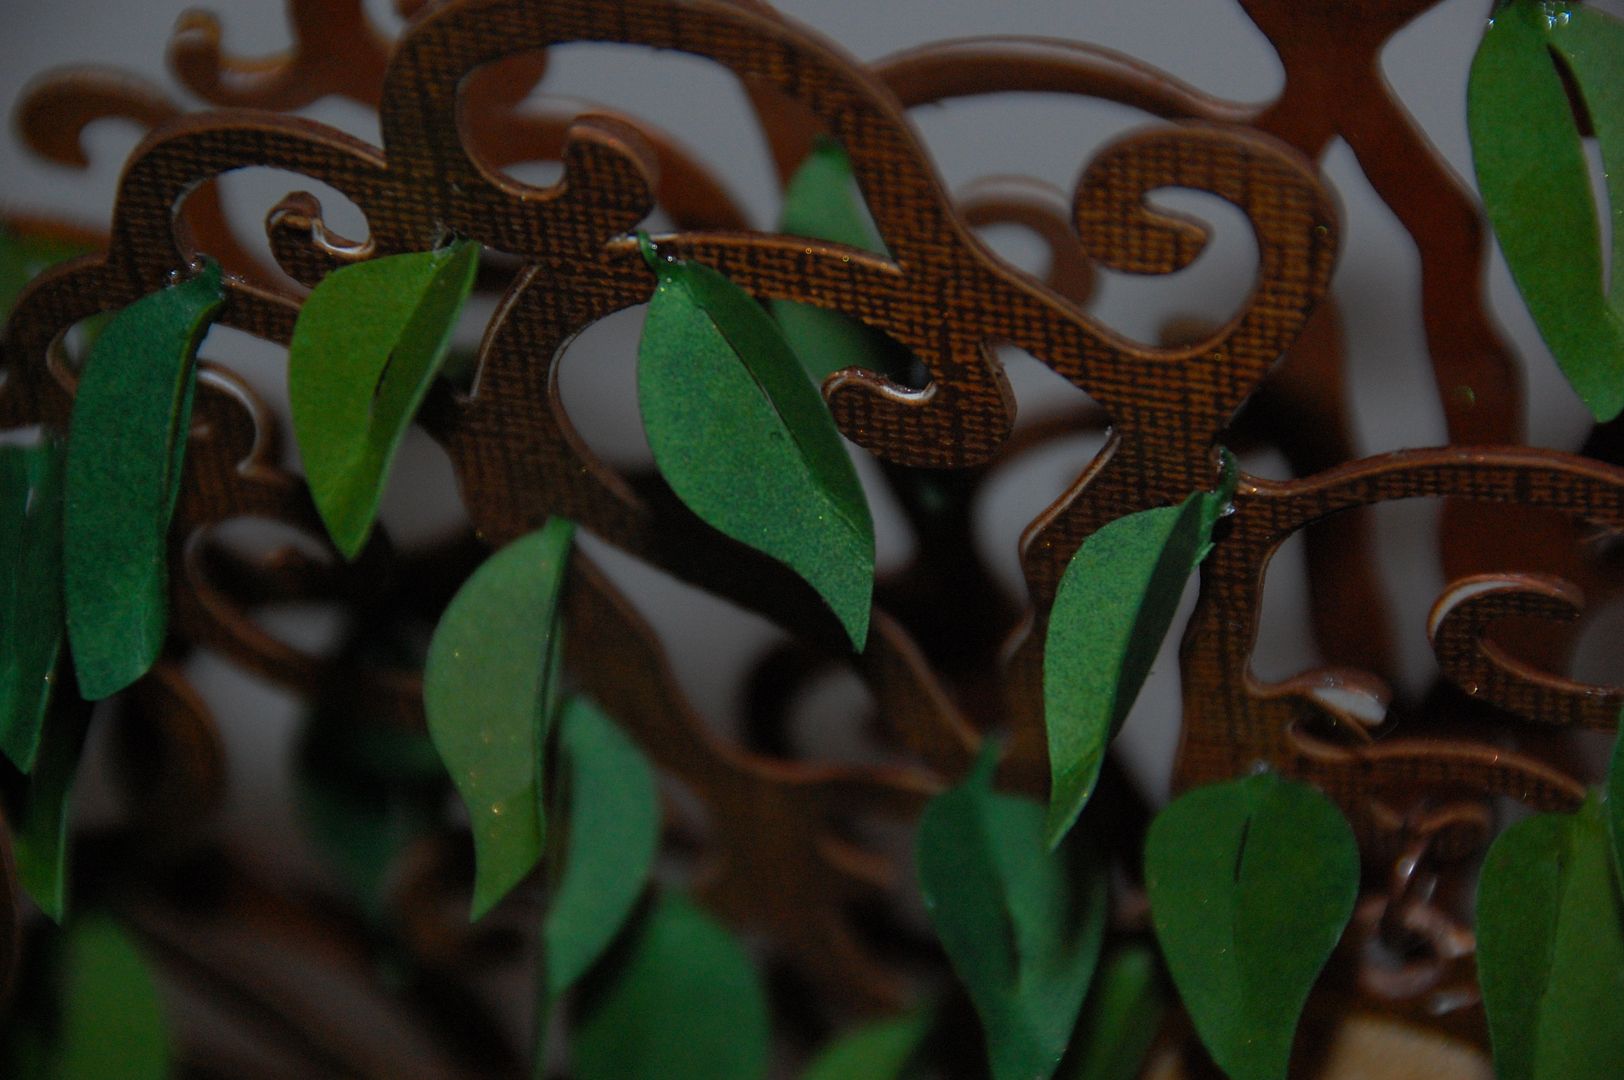
The leaves were cut at 1.72 inches and were inked with Crushed Olive and Pine Needles Distress Ink. I used Zip Dry glue to adhere the leaves between the layers. 
The Charms
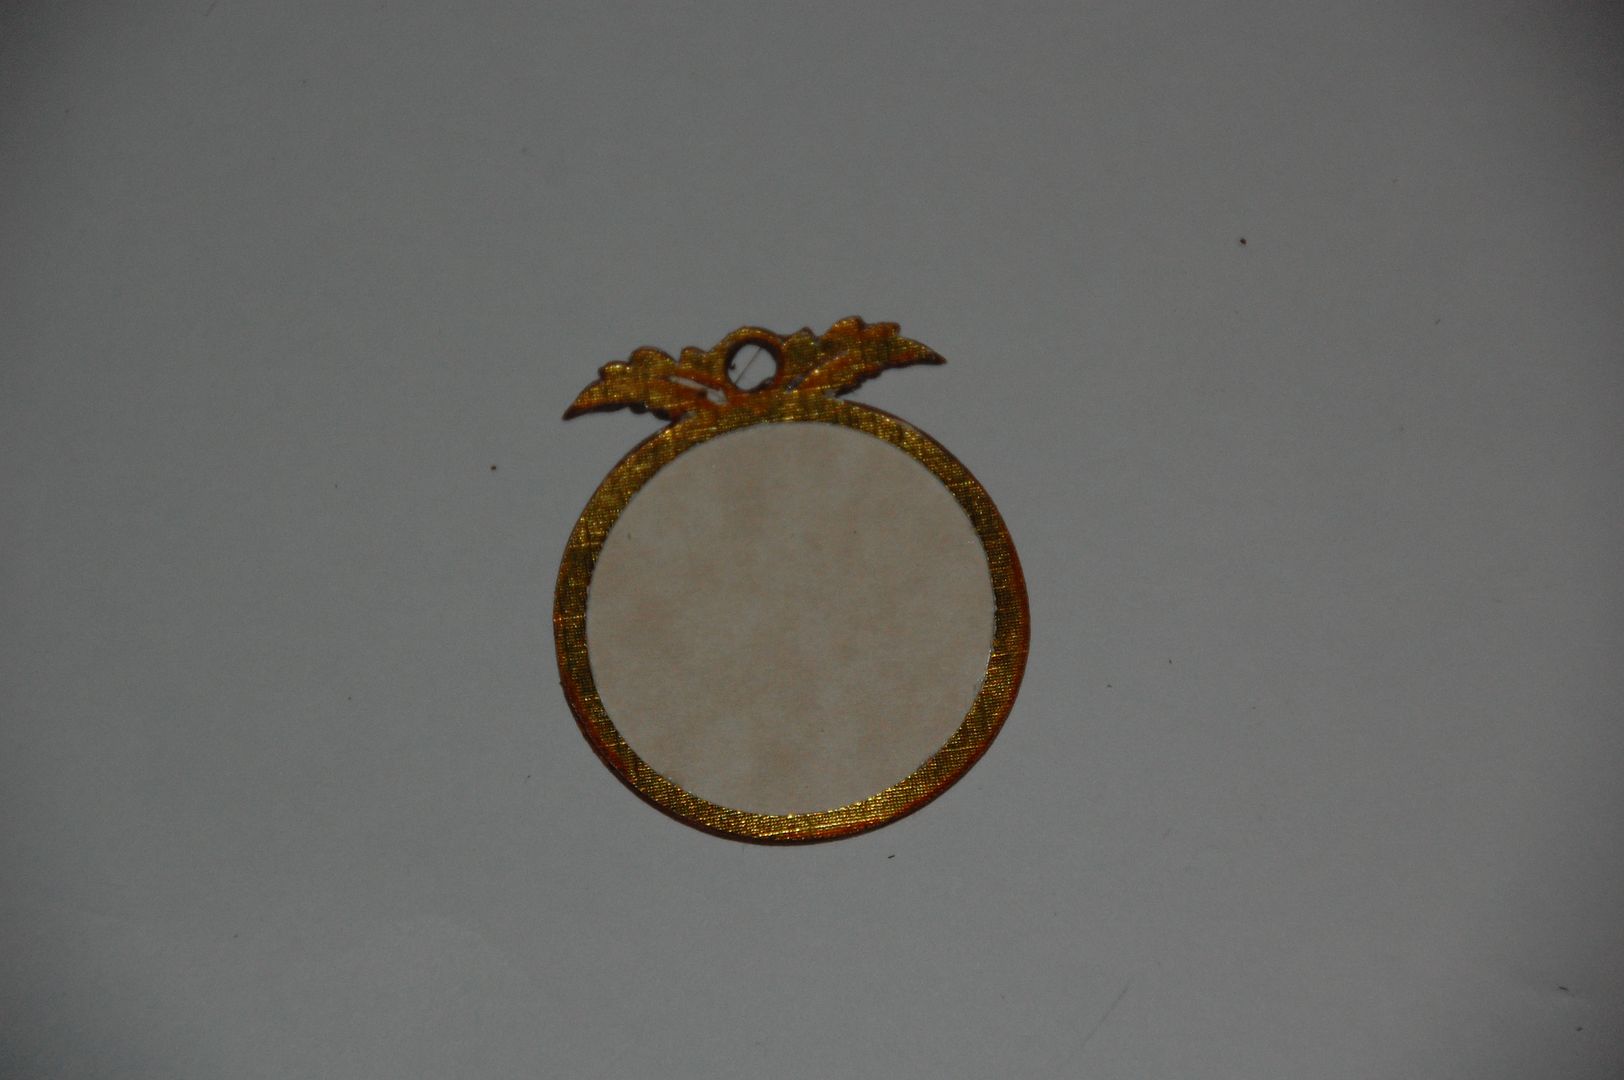
The charms are cut at 2.06 inches.  I was careful to cut a front and back for the charm by flipping the image.
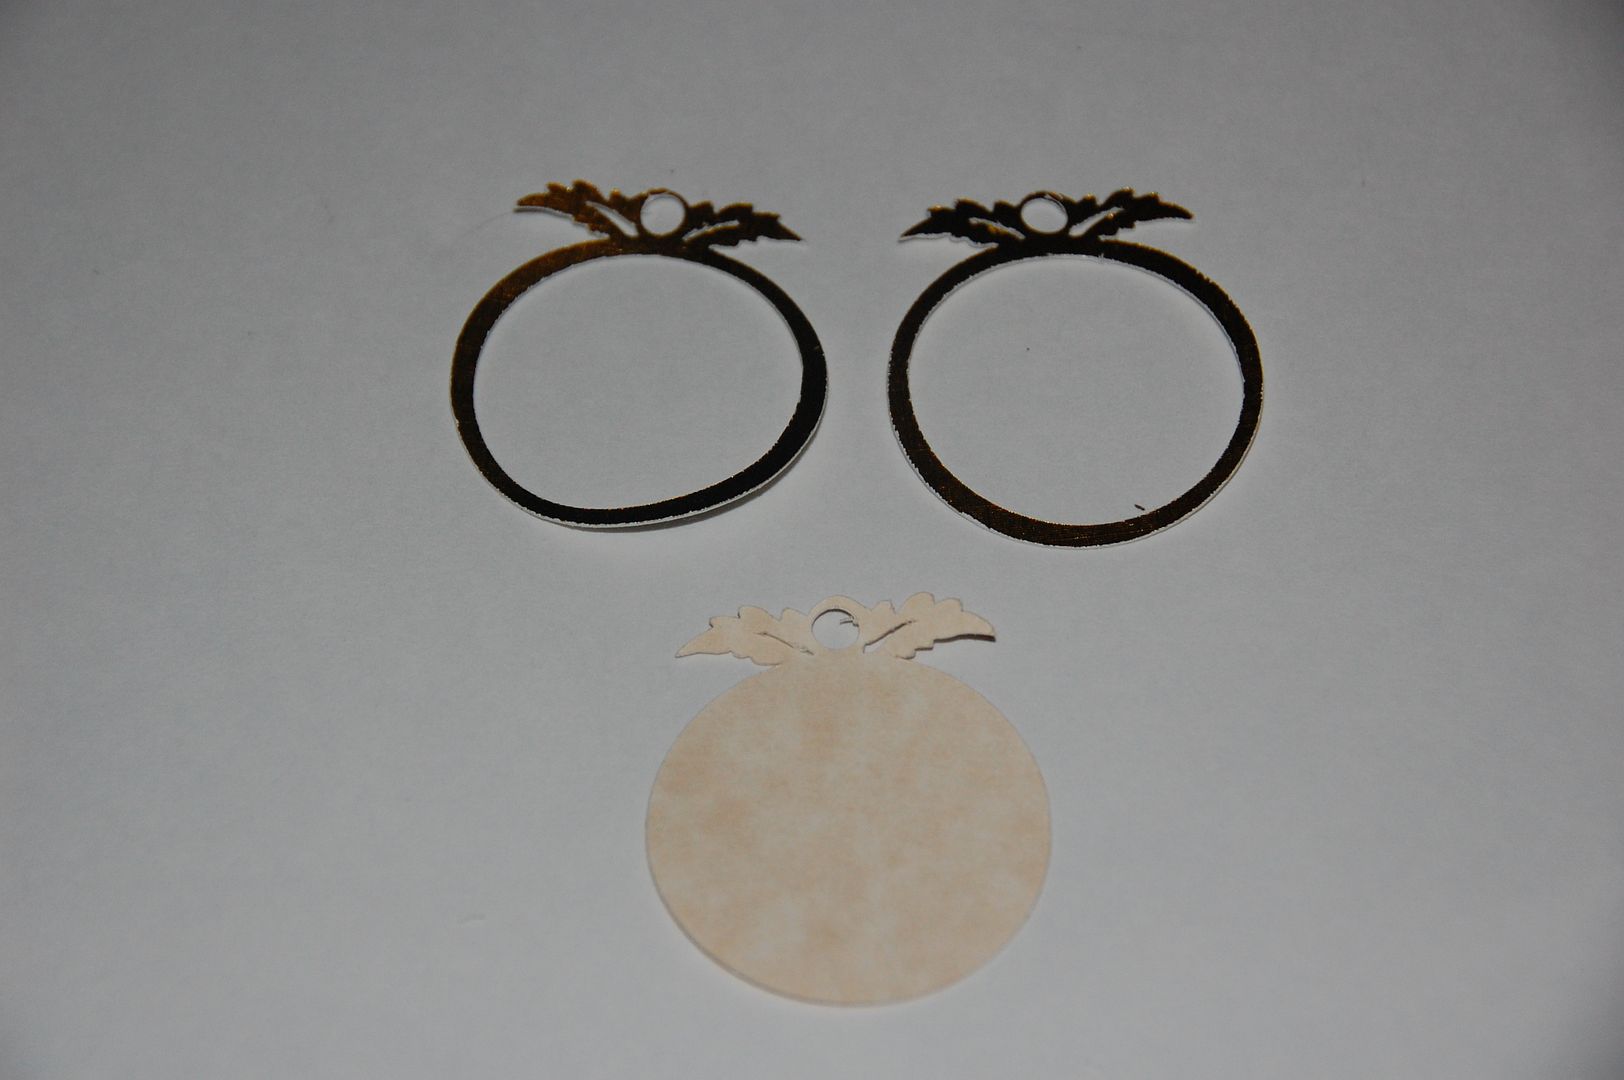
I also cut a blackout for each charm.  The letters are from Plantin Schoolbook and are cut at .89 inches out of black chipboard. 
The edges were inked in Chestnut Roan. I used Wild Honey Frayed Burlap to ink the centers. 
I then wrapped a jump ring to the top so it could hang on the tree.
The Embellishing
To hide the white base and the top of the flower pot, I hot glued Sphagnum Moss to the top.  To add a bit more dimension I took a sponge brush an tapped some Aileen's quick dry glue and sprinkled Sage Flower Soft into the glue.
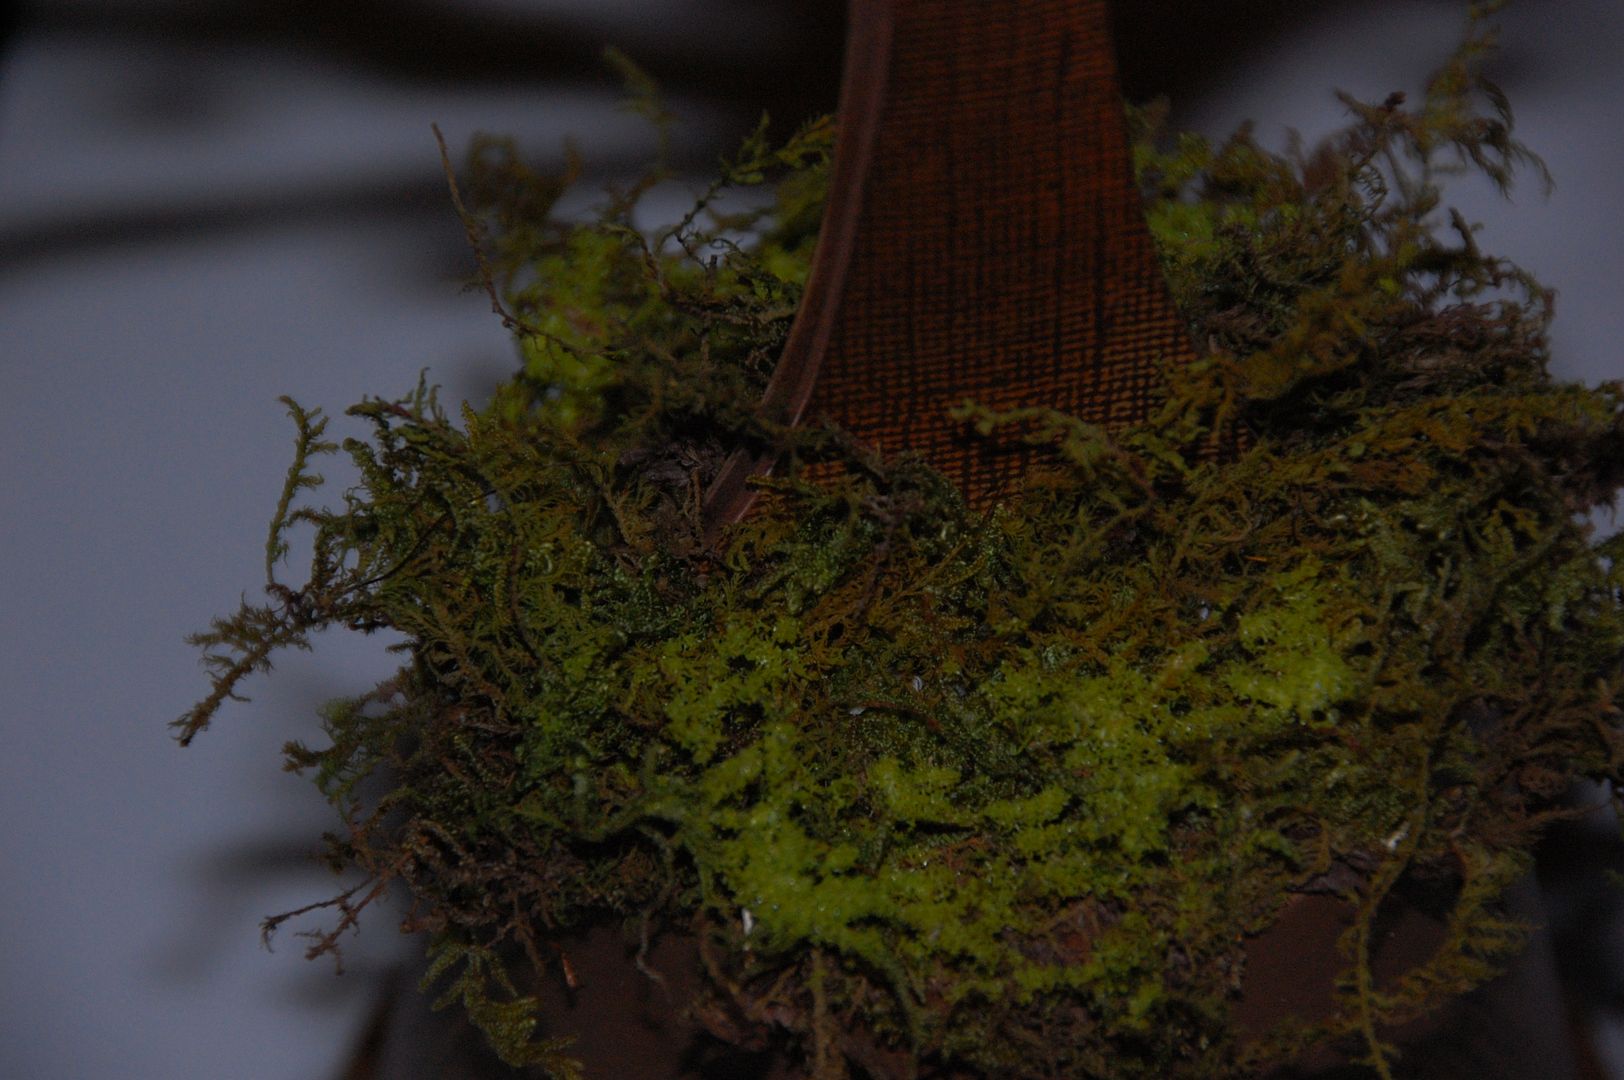
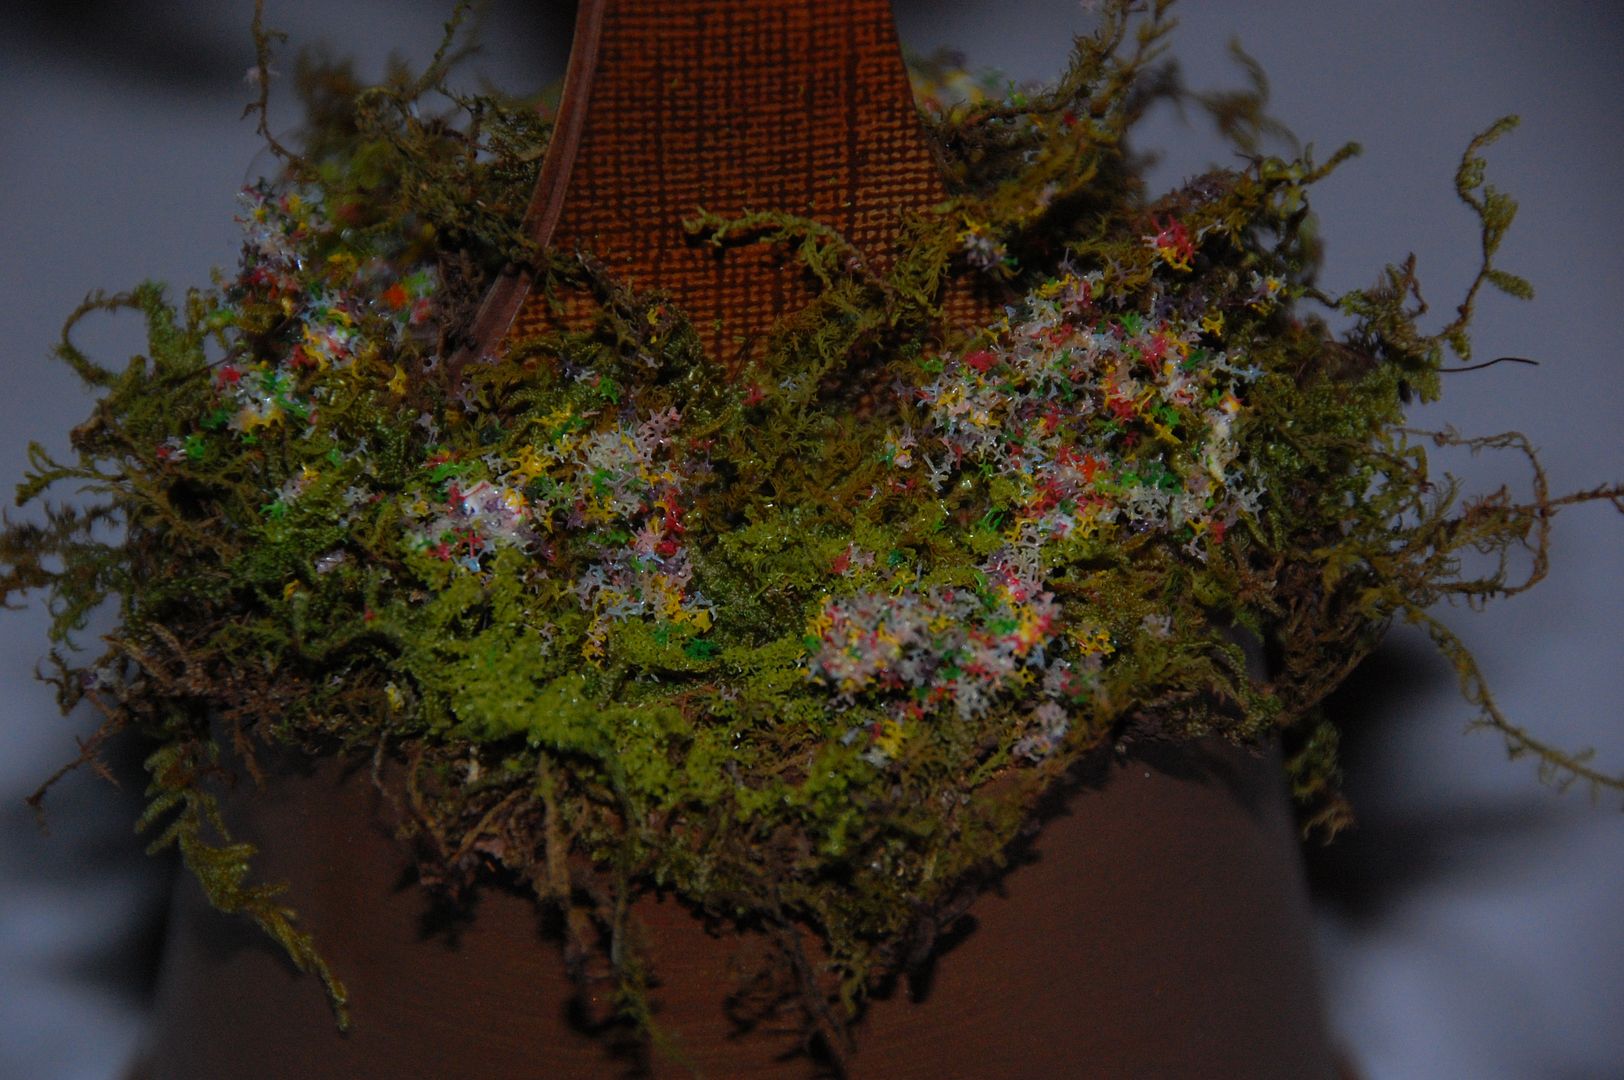
  I let that layer dry and then tapped a little more glue in a few spots and then sprinkled in the Spring Flower Soft.  The bird is hot glued on top.
I cut the phrase "Our Family" at 3 inches out of black chipboard. 
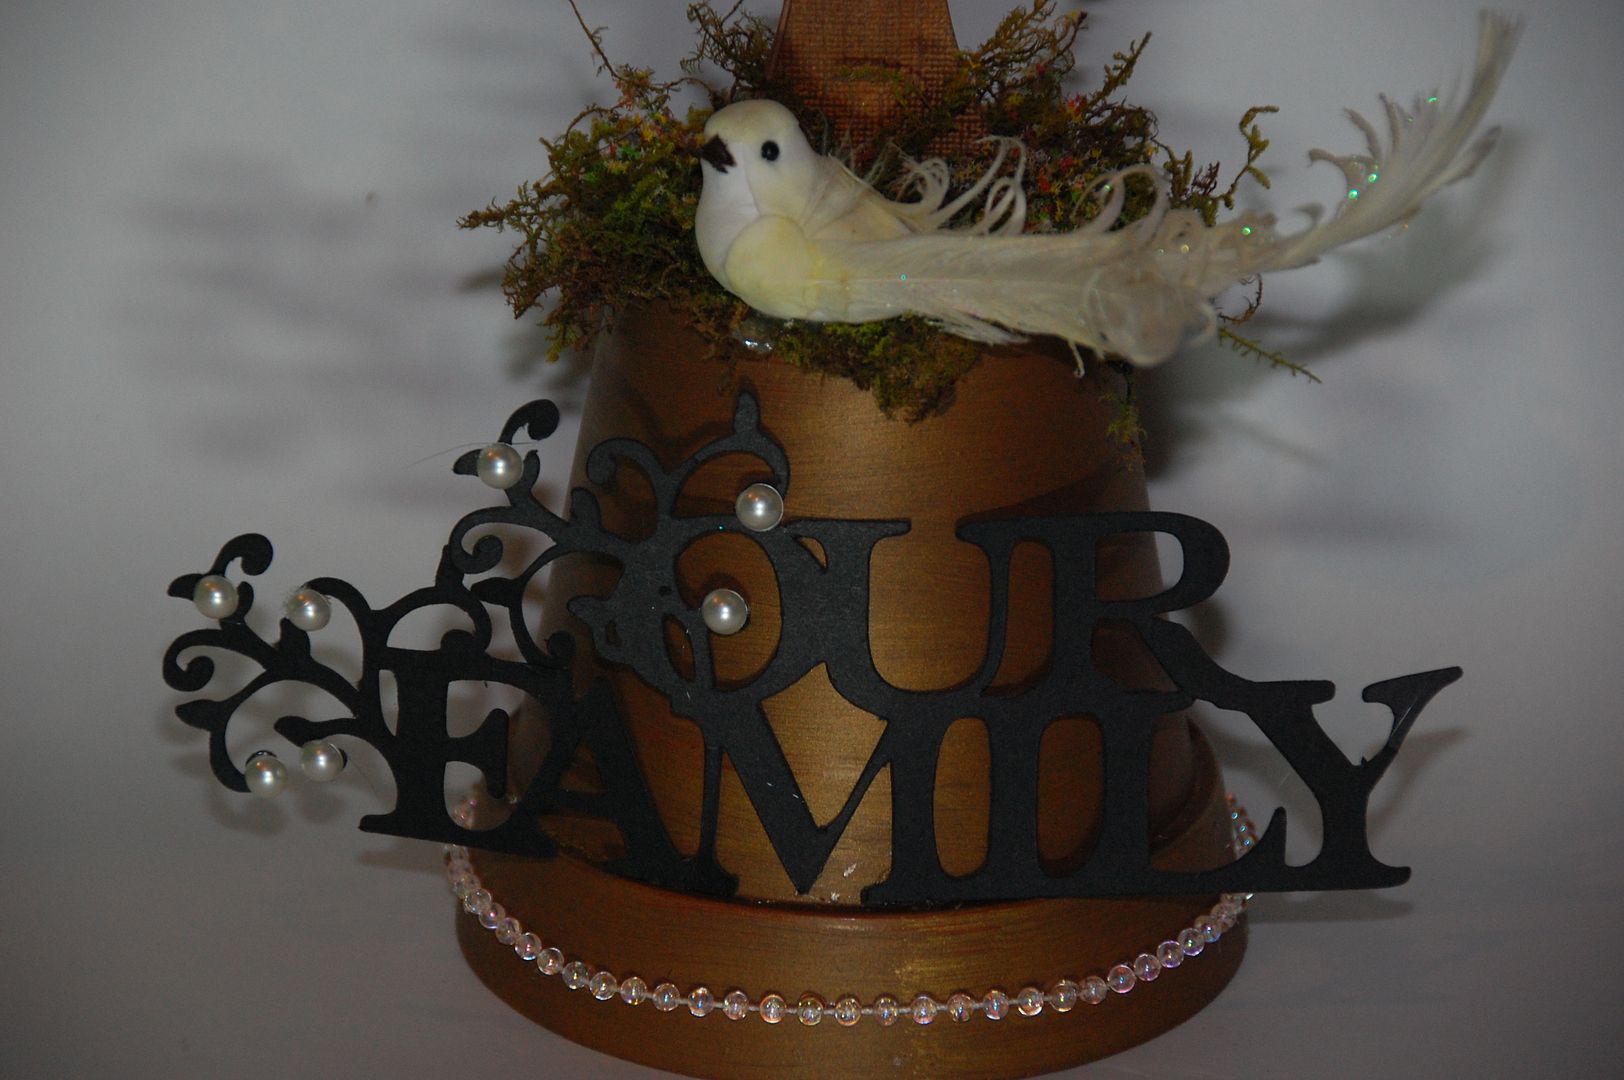
These were two different images, both from Heritage, but I welded them together to create this solid image.  The bottom pearls are from a trim in the fabric department at Hobby Lobby.  I found this little bird in the floral department at Michaels.
I hope you enjoy this video to see some of these fabulous features in action! 
To download this Gypsy File, please visit my blog 217 Creations.

May 27, 2010

Coupon organizer

Hello everyone! This is TraciVee here from http://neverfullpricescrapbooking.blogspot.com/ . If you are a follower of mine, you might already know that I'm a penny pinching, coupon clipping, money saver. I thought it would be prudent to include my passion for saving money into my project. And so the idea of creating a cute coupon organizer was born....

Here is the 'recipe' :
2 pieces of Tim Holtz grungeboard
1 1/4 in Zutter o-wire
brown acrylic and metallic acrylic paint
10 5/8 in long piece of white elastic
Brenda Walton Brookfield Scrap Pad to go
two large eyelets
9 Prima-type flowers (mine were Paper Studio)
3 brads
adhesive
chalk ink

I first used my Gypsy to cut the rectangles used for the pages. I think I just used a rectangle shape from Plantin Schoolbook but resized it to 10 3/4 in by 8 in. Cut out as many of these as you wish. I like to have a lot of categories to sort my coupons into, so I cut out 10 of these, which will give me 20 pockets!


Here are all the pages after I cut them out. I really like this stack...it's full of homey earth tones-my favorite!


Next, you score each page halfway down the long way.....


...and about 3 5/8 in into the short way.


Then you fold each along the score lines as shown. You're gonna fold the short side up and then fold along the long side so that when you are finished your pockets are on the outside.


Here are all my folders all ready to go....


Next, I punched them all with my Bind it All...what a job that was!


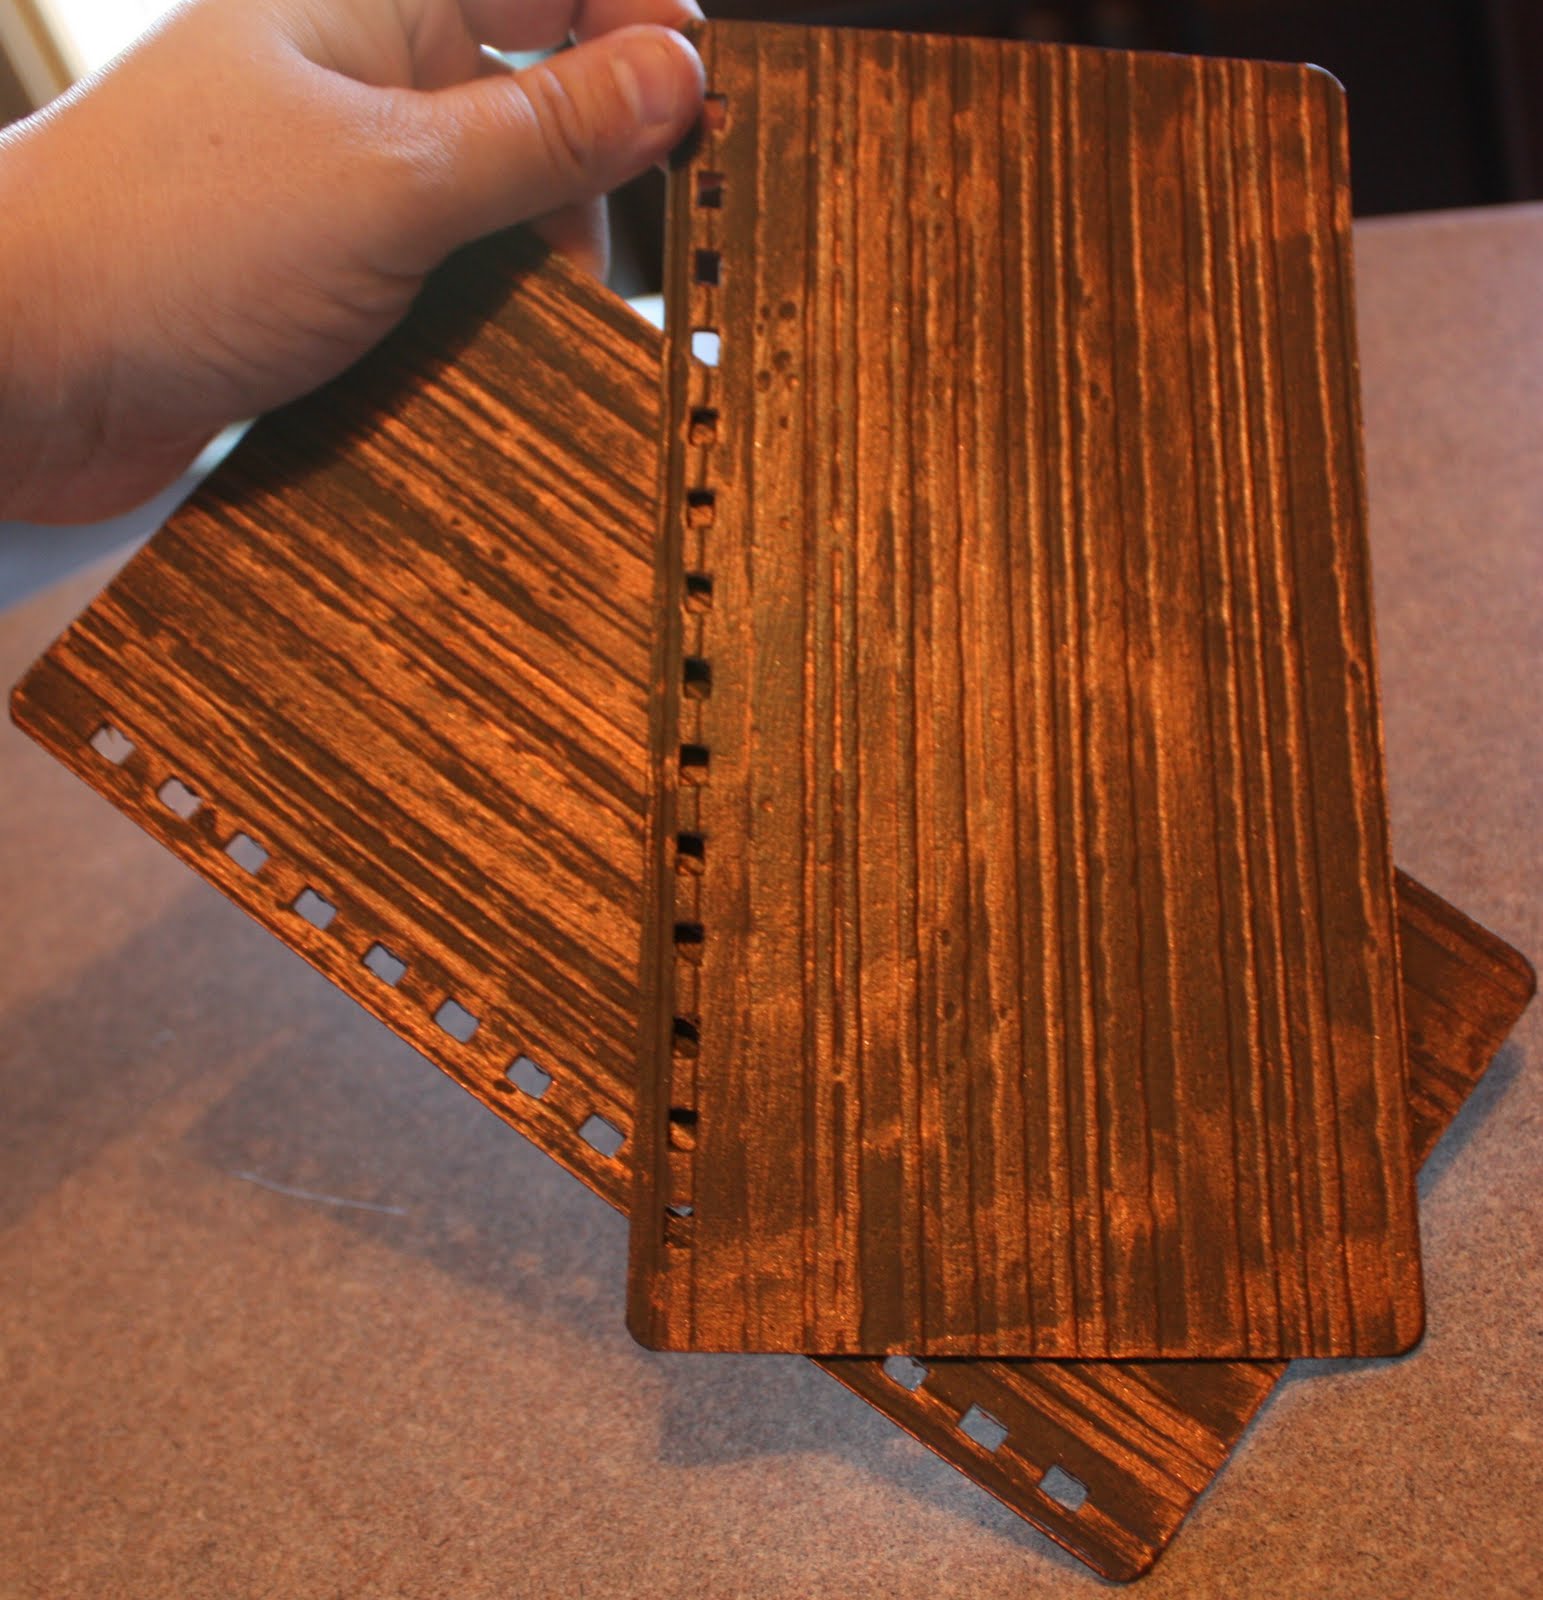
Next, prepare your naked Grungeboard. I cut two pieces at 7 3/4 in by 4 1/8 in. Then I rounded the corners for a more finished look. Next, line up the Grungeboard with one of your coupon folders and punch holes.


Next, I painted my Grungeboard with dark brown acrylic paint.


After that dried, I lightly brushed some copper metallic acrylic paint on top, but wiped it off right away with a paper towel. Some of the copper stays on, but the dark brown still comes through. This technique kind of gives it a rustic kind of look. Very cute!
*Sorry but this photo is not terribly true to life in its color...but you get the idea....*


Next, I used my Gypsy to create the labels for my coupon folders. Cut as many shapes as you need. I cut 20 in cream colored card stock and then cut out another 20 out of coordinating paper in shadow feature.


After cutting them all out, I inked them using chalk ink and an ink blending tool.


Here are the shadows....


Now, I wanted a more finished look so I used my computer to print out my labels. You can just write them in if you don't feel all this is worth it. :)
What I did was print out my labels....


Then I used repositionable adhesive to stick them to the piece of paper that I printed them out on...I used Okie's method of doing this. She has a great video tutorial on how to do this- http://okieladybugsscrapnmore.blogspot.com/search/label/Video%20Tutorial%20-%20Printing%20on%20Cardstock%20shape


After I got them printed out, I adhered them onto the folders and put the whole thing together. Hello Mr. Bind It All!!!


Okay, so after all that I knew I'd need some type of closure so that my coupons don't fly out all over the place. What I did was punch a couple of holes and used an eyelet to hold my elastic in place. Be really careful when placing the elastic when you set your eyelet so that it won't come undone.


I looked high and low for colored elastic, with no luck! ... so I broke down and bought white thinking I could just color it with a marker...and that is just what I ended up having to do!
At this point, I just prettied-up the cover. I punch three holes and added my flowers with a couple of brads. Nice 'n' easy.....


I set my coupon organizer up for the way I shop...I always go around my Super WalMart the same way....Health and Beauty first...then my cleaners...then condiments...and so on and so on...I'm kinda ritualistic when I go grocery shopping, LOL.
I used that idea to order my coupon labels. Toiletries, Cleaners, Condiments, Canned Goods, Pasta/Rice/Boxed Dinners, Baking, Snacks, Beverages, Breakfast &Cereal, Paper & Plastics, Dairy, Frozen Items, Bread/Bakery Items, and Produce.


And-what would you know!- right after I finished binding my coupon organizer they went and remodeled my Super WalMart and now my book is all out of order!!! Doesn't that figure??? lol Oh well....


Oh...and last but not least...my FAVORITE coupon category...


Crafty Coupons---NEVER leave home with out them! :)
I hope you all enjoyed my project. Thanks so much for looking. If you have questions or anything, feel free to stop by my blog and I'll be sure to answer you! Have a great day!


May 25, 2010

Victorian Note Card Purse

Hi My name is Randi aka Coralz from the cricut mb. My day to be guest designer is here, I am so excited to share with you my project. I have had my Gypsy and my Cricut since the day they were each first released and I love everything about them. I love teaching and sharing my projects I have made with my Gypsy, I hope you enjoy this one. Pop over to my blog http://www.craftycricutcreations.blogspot.com/ to see more.

My assignment for this was to use page 30 from the Forever Young Cartridge. If you have re numbered your books that would be button number 7. Using my 12x12 mat, I chose 5.60 as my cursor size and then I rotated it to fit. I then used the girl from button 7 at 4 inches and welded her to the flap.
On mat number 2 I layed out all my pieces. I cut in brown the girl topper, the monogram C (from elegant cakes cart) and the shilouette image for my note card fronts. I also layed out some flowers. I wanted to create a distressed flower similar to the ones made with the Tim Holtz tattered flower die. You need 2 lg 1 med and 1 small to get this look. I just use random flowers from this cartridge. Mine measurements are 2 at 3.10, 1 at 2 and 1 at 1inch. I used a 10mm pearl for the flower center.

Here to create the note cards I used the oval also from page 30 button #7. I placed 2 on my mat at 3 1/2 inches. These fit into the gift bag nicely. I made sure they were side by side and that their Y axis were the same. Then I highlighted 1 and hit flip. After this I grouped them together and nudged them until they slightly overlapped. Once I previewed and saw the weld I highlighted the whole image and hit copy/paste (by the way I love that button) and duplicated it 3 more times rotating 2 of them until they all fit on the mat


I used 2 sheets of Cosmo Cricket "Something Special" 2 sided cardstock, 1 sheet of Bazzill Carob Brown and some plain white paper for the flowers, smooch spritz and lots of pearls to finish up this project. I hope you like it and I can not wait to see your version.

May 17, 2010

Layout using Gypsy Font & Mother's Day Cartridge


Hi,

I have been crafting, sewing, quilting, etc. most of my life but I am fairly new to the Cricut, Gypsy, scrapbooking & papercrafting...so please be gentle :) I'm still in the "early learning" stage!

I don't have the cartridge you all are working from so I hope you won't mind my project. I did a simple layout using Gypsy Font & the Mother's Day cartridge. I do not have any video equipment - sorry.

The background paper is from DCWV "Be Mine" stack.

Stickers are from EK Success "Heaven Sent".

Plain cardstock from "the Paper company".

Martha Stewart edge punch "Doily Lace".

1/8" white ribbon "Spool o Ribbon".

Glitter glue.

I used my Gypsy & the Mother's Day cartridge & I cut the lace doily from tan cardstock at 8.12" wide x 7.62" high. I used a brown ink pad & a foam brush to ink the edges of the doily. This was glued to the DCWV base/Be Mine page.


I placed the "Heaven Sent" stickers above the doily on the base.

I trimmed my photo down. I then cut strips of white card stock a little longer than my photo edges & punched them with the MS doily lace punch. I used my quilting ruler to help mark & score the 45 degree angles on these strips to miter the corners & glued them together forming a frame for my photo. The edges were rounded with a corner rounder. The photo was glued to the back of the white frame & then glued to the doily.

I used Gypsy Font for the fancy lettering for "Grandma". This was cut at 8.22" wide x 1" high out of green cardstock. I cut shadows at 9.34" wide x 1.11" high out of black cardstock & glued the green & black pieces together. I layed them out where I wanted them on my page & used repositionable tape to hold them in place so I could put the ribbon underneath. I slightly twisted the ribbon & slid it under each letter & then glued the letters down. I tied a bow & used a glue dot to hold it on to the top of the first letter & the last letter.

I cut 4 of the 3D flowers/leaves & put one on each corner of the frame. I used a little brad thru the center of the flower to hold it together & glue dotted them down. The leaf portions were cut at 1.39 wide x 1.34 high. The flower was cut at .87 wide x 1.34 high. ***for some reason some items have an outline box around them that is bigger than your object & is included in the dimensions but the flower is proportionate - it's not really 1.34" high***

I used some scraps of paper to make the 2 little tags out of green CS shadowed with black. I used a hole punch for the hole so I could attatch the ribbons & glued these to the sides of the page. I used gold glitter glue to add a little sparkle around the doily.

The photo is of me holding my very 1st brand new grandbaby, Cade, for the first time...what a blessing!!! Even if my project is simple you might get some enjoyment from the photo.


Thanks for letting me play with the "big kids"!!!

Sherry

Cricut MB - SherryBarnes1