Welcome to Tuesday Treats. Hope you have a pleasant journey browsing and getting inspired by the projects you find here. We appreciate and treasure your comments so please leave us some blog love and comments. But before you start your journey here just a small note . Do please read and then you can continue on. Copyright: This blog has a many designers showcasing their projects. Please look up their individual site to check their copyrights for any infringements. My files & projects are also all copyrighted. They can be used as inspiration and for personal gifts only but cannot be used in classes, in magazines or for contests. Please look in the side bar for more details on the copyright. Disclaimer: The designer's designs belong to them and them only & not to TuesdayTreat and The TuesdayTreats will not be responsible or liable in any way for any results or consequences from those designs.
This is Joy from Obsessed with Scrapbooking and Everyday Cricut and today's gift packaging idea is the matchbox cut from the Tags, Bags, Boxes and More Cartridge. This matchbox is the perfect size for a gift card! It just dresses up and makes that gift card a little more special.
Now, this matchbox was made by cutting the matchbox 1 on page 123 of the handbook at 6". This cut makes the outer wrapper. Next, you cut matchbox 2 on page 124 at 6". This cut makes the inner box. There are also options to have a clear window on the outer wrapper which you could cover with acetate that has been stamped with Staz-on - that would be a cool look. I used Core'dinations paper since it is so wonderful and strong!
The top pieces and paper are all from Anna Griffin's Isabelle Line.
To attach a ribbon pull, I punched a hole through my felt ribbon and the box itself and then threaded a large red brad through it. Brad was by Basic Grey. Ribbon is from Papertrey Ink.
A word about the outer wrapper - it's a snug fit. You can rest assured that this matchbox isn't going to suddenly open up and dump out its contents. Altering the size you cut things at significantly changes the way the box works so I don't recommend that. Using my Gypsy, I laid out both parts of the box so I could cut everything once on a 12x24 mat. That helped save time!
Overall, the box was quite easy to make once I figured out that I needed to cut matchbox one for the outer wrapper and matchbox two for the box itself. I use some Georgia Pacific cardstock I got at Walmart to do test cuts and that really helps to cut down on wasting "good" paper. I highly recommend you get some - it's 150 sheets for less than $6 and is in the office supply aisle.
Hi, it’s Wini from LooneyBugDesigns – also known as poohbearbaby on the Cricut Message Board.
I am so honored to be your guest designer today. Honestly it was kind of intimidating when I saw who the other designers were this month (talk about MAJOR TALENT) – but I figured we all have our own styles and I might just be able inspire someone out there. My style is fairly simple and my project today is no exception.
I wanted to make a card that was simple and easy to reproduce and since graduation is fast approaching I decided to make a money holder card. I love that this basic design can be used for any occasion (just change your color scheme) and can be decorated simply – as I have done today – or more elaborate to fit your own personal style.
I also decided to step out of my comfort zone and make a video of my card. This is my first “official” video and I have decided I hate my voice but it is what it is and I can’t change it – LOL! I know it isn’t the best video out there but it is a big step for me. I hope you enjoy it!
My project today features Tags, Bags, Boxes and More Cricut Cartridge and Plantin Schoolbook Cricut Cartridge.
My video is in 3 parts - guess I need to learn how to speed these up - but it isn't so bad for my first attemt. If anyone wants offer any advice or tips - I would be more then happy hear them!
Here is the finished card and a close up of the flower and the "Bling" from the Spica Marker - LOVE THIS!
Good Morning everyone, its Sheila aka SassyLady and I am so excited to do this TBBM page for you today. A TuesdayTreat on Thursday!!! This is a simple page that anyone can do. This is my handsome hubby and I at our daughters wedding 11 years ago! I used TBBM for the circle and the grunge flowers. The word Love is from the Sweethearts cart and the swirls are from Home Decor.
The background flocked paper is from Me and My Big Ideas... the Sassy Stack (imagine that), the glitter paper is from HL and the black and white patterned papers are from K and C Company from their
Specialty Stack. While at HL I just couldn't help but use a couple of items from the bridal department to complete the look of this page. It's amazing what your can find to put on your pages to dress them up for little of nothing... and I am partial to the pearls.
The first thing I do when I make a layout is design it... everything I want on the page appears on my first page of My Gypsy Woman. I then highlight the item, tap add a page and paste so it will be the exact size I want. I use any square box from any cart to show where my photos will appear. I always cut out extra flowers as I always end up with more on the page than my layout shows. After I alter the flower they will be a different size and I don't want to loose the look I started with.
I just love this.... one cut... To get this look I used one TBBM circle and copied it, set one right on the other and then resized till I got the look I liked and welded them together. I then added the swirls and once again welded for that beautiful single cut.
I actually have two pages of flowers but didn't want to bore you with another page of them. I did cut the word Love three times from scrap card stock from the DCWV Taj Mahal stack. This gave it the look of chipboard and more of a presence on the page.
Beautiful clean cut, the blade was set at 5, pressure 4 and speed slow. cut 3 times.
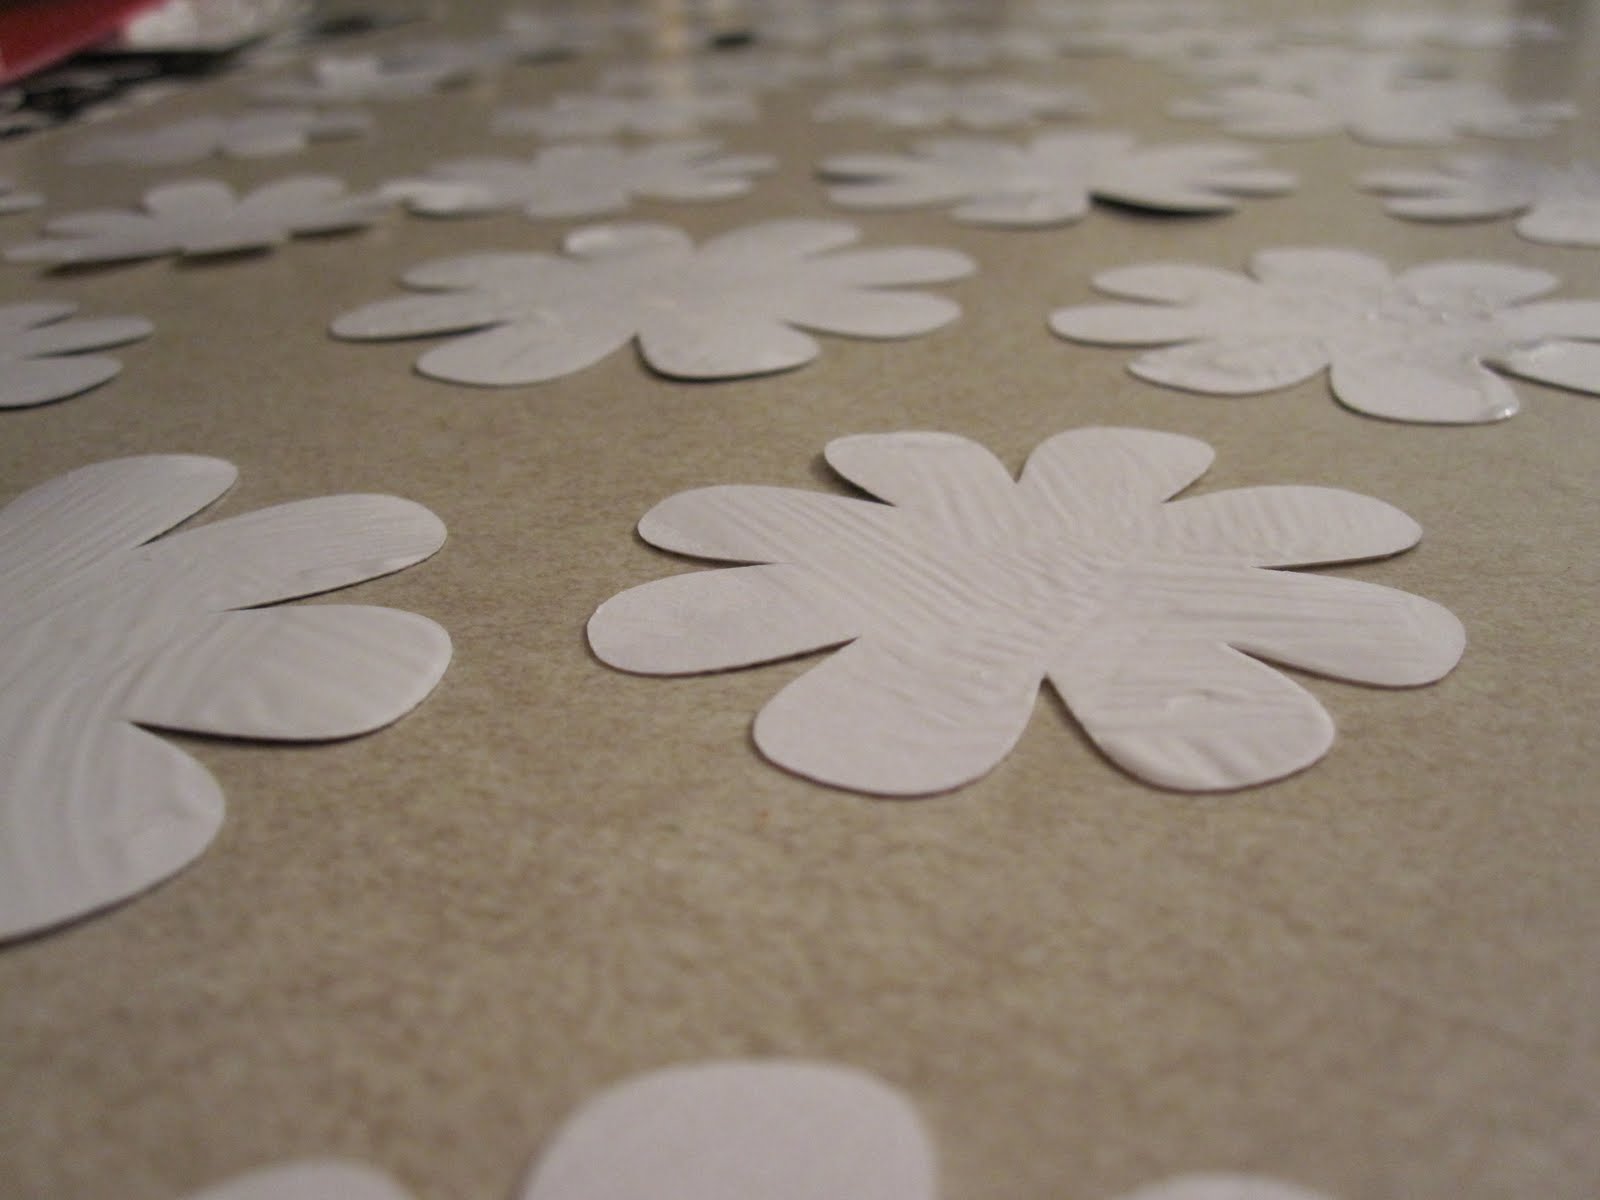
I coated the back of all the flowers with Mod Podge to keep them from ripping with I rolled them with a thin cuticle stick or you could you the base of a slim paint brush. I rolled each petal toward the bottom. Christina from Creations from Christina has directions for this flower on her blog, however this one was totally altered for an eight petal cut.
I removed two petals for the center of the flower.
And only 1 for the next.
I glued the two together and then trimed the bottom a little so they would sit flatter.
I used a little tiny black flower with a pearl in the center on the inside of the flowers I am making. I place the center into the two bottom pieces that were just glued together just staggered a little. I did all eight flowers not knowing how many I would actually use.... as they are black and white any leftovers can be used on many things.
For you Pam.... this is what I do after I get all my cuts ready. I lay all the pieces on the background paper and start placing any embellies on the page too. In this case I chose the charm I wanted, and the pearls... I used two different sizes and styles. After I get the look I want then I adhere all the components.
So lets put it together... I used pop dots under the photos so they would be lifted off of the glitter circle to prevent the photo from having a slight crease. The pearls, flowers and charm were adhered by using large glue dots.
I used a silver charm and tied a white ribbon on it and used glue dots to adhere it to the paper, and I used cut portions of the pop dots to lift the word Love.
Well I sure hope you liked my little TBBM project today and hope you have fun making one also! Gypsy cut file available at ShesASassyLady.
Thank You for your sweet~sweet words of encouragement within your comments. I always look forward to reading them as they are so inspiring!
Hi! I'm Cheryl, aka CherB on the Cricut MB. I am so excited and honored to be the guest designer this week at Tuesday Treats. First I want to thank Pam and Mya for starting the Tuesday Treats blog, and for their help and all the other wonderfully helpful people over at the Cricut Gypsy Messageboard. I don't get to participate and post there a whole lot, but when I do have a question, I can always get an answer there and if I need some Cricut Inspiration, I can find it there for any project. Oh, and Cindy, with your help, I learned how to make a watermark for my photos and then forgot to add it to these. :-( Maybe I can edit later, but I wanted to get them posted.
I also wanted to thank my family for being so supportive of my crafty obsession, most especially my dear daughter. She cooked a few extra dinners and helped extra around the house to give me time to learn how to create and edit video. Keep her in your thoughts today; she is having her wisdom teeth out this morning, so I'll be able to now spend some time and help take care of her for the next few days.
My Tuesday Treats assignment was to create a bag using the little bag on page 115 of Tags, Bags, Boxes, and More (TBBM) and my Gypsy (named Essy).
When I saw this bag and realized my date would be after Valentine's Day, I thought "What a great time to design an Easter Bag!" What I envisioned was a clear Easter Bag with grass around the bottom and little designs on the front and back - filled with Easter Treats. To create a clear bag, I wanted to use something that #1) I had on hand, and #2) something everyone could easily obtain. I decided to use overhead transparency. This did limit my creation to be able to fit inside an 8.5 x 11 rectangle.
It also took a lot of experimenting with designs and adhesives to work with something clear. I'll tell you now that you need to practice first and your adhesive needs to dry quick enough that you are not stuck in a Yoga position for long trying to hold the edges while it dries, and yet slow enough that you can align your edges before it starts drying and creates a mess. The best glue I found for this is Helmar 450 Quick Dry Adhesive. The next one in line was Beacon's 3-in-1. I'll admit now that none COMPLETELY disappeared, but I'm happy with the final product. I made one with patterned paper also, so don't feel like you are limited. And you can also add or subtract any designs and change it to be as big as you want.
I did include images from Easter 2010 and Plantin Schoolbook for my final design.
There are a total of 5 videos. I tried really hard to edit and make them shorter, but one problem is that YouTube limits you to 10 minutes. Don't worry, not all of my segments are 10 minutes, but I had to find good transition points to edit the videos. The other problem is that I struggled with giving everyone enough information and direction that even those of you that just received your Gypsy yesterday could follow along and hopefully learn something. But, I also hope even those who are Gypsy wizards can find a little something - at least some inspiration or ideas. So, go pop some popcorn, grab a drink, and join me as I show you how I created my version of this bag.
Here is the page I created for the embellishments.
Here is an example of taking advantage of laying out your paper for your cut. I find that with heavy patterned paper and general cardstock, with my blade at 6, pressure at 3 and multicut at X2, I'll get a clean cut. However, with glitter paper or bling carstock, set mutlicut X3. Speed with my Gypsy is always set to lowest speed. I do believe that each machine may be calibrated just a little different, so you need to find what works best for you.
I cut the transparency with a deep cut blade set at 6, pressure at 3 and multiple cut x3. This seemed to give me the smoothest cut. My speed is now ALWAYS set at the lowest speed possible. Because this bag had images welded to the edge, my score marks were not cut - which worked out just fine for me since I was working with a clear bag. The best way I found to score for me, was to use my Scor-Pal and a rotary scorer to get down into the grooves. I lined up the score places in a groove and then made sure the edges were parallel to one of the other grooves. This made sure my scores were straight.
Again, practice first with gluing a bag. I found it easier to use a block form inside the bag to hold it firm while gluing the edge. A little goes a long way and will squeeze out if used in excess.
I used a bone folder to burnish the bottom after I glued them together before it could dry.
Score and assemble all other pieces.
(yes, don't pay attention, but I put the grass on first and had to do it again. If you want the scalloped corners behind the grass, adhere those first.
Adhere extra pieces to your bag and embellish as desired.
And more pictures of the final projects.
So, there you go! My Easter Bag. Please click on any of the pictures above for a closer look and PLEASE don't hesitate to ask me any questions. If you would like to download my Gypsy cut file, please click HERE. And I would really appreciate a comment on my blog if you download this file and let me know if you have any trouble with the file.
Some humble request from fellow bloggers. You can download the files for personal use and inspiration only. Please do not use it for commercial purposes, for contests or for teaching classes. The same goes for the posts, photos and videos . Please do not post them in your blog directly but you can link this blog to yours.
As this blog is an amalgamation of projects from multiple designers - this content will also be found at the designer's blog. Please respect the designer's conditions for sharing.
You can contact either the designer directly or email us and we will contact them in case you need any additional clarification as to the copyright as each designer has different rules and requests. If you know their original blog (which can be found by navigating from the navbar ->Our designers) please do visit and check as to the exact conditions stated there regarding their copyright.
Designers - A request from you all too . Since we just showcase your project here and make it a fun learning spot , it falls on you to be responsible in making sure you are not fringing on another person's copyright. Please do take appropriate measures.