Knowing is not enough; we must apply! - Johann Wolfgang Von Goethe

Welcome & Copyright & Disclaimer

Welcome to Tuesday Treats. Hope you have a pleasant journey browsing and getting inspired by the projects you find here. We appreciate and treasure your comments so please leave us some blog love and comments. But before you start your journey here just a small note . Do please read and then you can continue on. Copyright: This blog has a many designers showcasing their projects. Please look up their individual site to check their copyrights for any infringements. My files & projects are also all copyrighted. They can be used as inspiration and for personal gifts only but cannot be used in classes, in magazines or for contests. Please look in the side bar for more details on the copyright. Disclaimer: The designer's designs belong to them and them only & not to TuesdayTreat and The TuesdayTreats will not be responsible or liable in any way for any results or consequences from those designs.
Showing posts with label Guest Designer. Show all posts

August 24, 2010

Fun and Easy Cupcake Box!

Hey everyone, my name is Kimberly and I am so excited to share this project with you!  Be sure to stop by My Craft Spot for more fun projects and vidoes!  I don't have the 'Life's a Beach' cartridge, so I decided to use George and my Gypsy.

This box was soooo fast and easy to make! You can download the free gypsy file on my blog! Just click on the 'cut files' tab and download the file (3" Box).


 Be sure to watch the video to see how I put it all together!


Have a great day!

August 19, 2010

Life is a Beach Inspired Project

Hi Everyone!  It’s Wini from LooneyBugDesigns here with your inspiration for the day.
Orchid 7 
As much as I love this months cartridge Life is a Beach (LIAB), for some reason I do not own it yet.  Even though it is on my list of cartridges to get, there are others that I want more so I decided not to go out and get it right now.  Instead I turned on my Gypsy and started looking over the images on LIAB for inspiration.  I loved the Orchid Image and decided I would use that as my inspiration.
Next I needed to pick an Orchid type flower from a cartridge that I do have.  I decided to use 50 States since it has so many different flowers and found one that I liked.  I placed 4 flowers and the matching layer on a mat on my Gypsy and used my favorite feature Hide Contour to erase all the parts I didn’t want.  I LOVE THIS!  Here is a picture of my Gypsy Mat all ready to cut.
Orichid 1
Now why did I use 4 flowers?  Because that is how many fit on the paper that I was planning on using.  No other reason then that.  I cut them out of white paper so that I could color them with my Copics any color I wanted.  I love to start with a blank canvas.
Orchid 2
I airbrushed the Leaf on all 4 of the bottom layers (I only ended up using 2 of the bottom layers but I colored all I had in case I made a mistake – and besides it is so fun to airbrush! I ended up using 3 colors of green and a hint of pink on the leaves.
Orchid 3
Next it was time to color the flower layers.  I airbrushed the tops and backs of all the flower layers so that I could curl them up and add lots of dimension to the flower.  The flowers have 3 colors of violet, some pink and on the top sides (sorry didn’t get a picture of that) some yellow in the center.  I shaded them lightest in the middle and darkest along the outside edges – because that is the way I thought they looked good.
Orchid 4
Next I layered my flower, curling up the edges as I went and added some yellow Flower Soft to the middle because I felt it was too flat.
Orchid 6
My last step before putting my airbrush system away was to color some cream ric-rac to match the flower.  The dimension on this card is perfect and reminds almost more of a Lilly Pad flower then an Orchid but I still like it anyway.
Orchid 8
Remember just because you don’t have a cartridge that someone used on a project doesn’t mean you can’t make something.  I love to improvise and add my own twist to things.  So break out your cartridges and imagine what you can make with them!
Thanks for visiting today and come back Tuesday for another great LIAB Project. 
Wini aka LooneyBug aka PoohBearBaby from the Cricut  & Circle MB’s

August 17, 2010

Lifes a Beach Bon Voyage card

Hi, I'm Flo and I am a guest designer this month for Tuesday Treats. I am Flohill on the cricut message board and my blog is http://flos-a-scrapin.blogspot.com/ This months cartridge for Tuesday Treats is Life is a Beach and I designed a card from this cartridge.
LIAB
The first Pic shows the gypsy and the icons from LIAB that I put on the screen.
LIAB
The 2nd pic shows where I placed the papers to cut the icons. I have always used CDS or a gypsy. I have used the whale, the dolphin, the gekko, the starfish and the chairs at 2 inches. The waves at the bottom are at 1 inch and the 2nd layer is slightly smaller to fit the mat. The wording is 1 inch. I used textured cardstock from http://www.grant.com.au/ and A5 designer Paper 'Azalea' from Rosie's Studio. Both of these I cut on medium speed pressure 4 cutting blade 5 and double cut. The tops of the starfish did not cut well so I discarded those. Once cut I put together the layers of the dolphins, the chairs and the whales but the gekkos I left without the layer as I had cut them in coloured paper.
LIAB
I used a premade card from a pack and used SU ink pads to sponge the background inside the card. I used 3 shades of blue- Brocade Blue, Brilliant Blue and almost amethyst and for the sand used creamy caramel, barely banana, and summer sun. To get the sun I sponged around a circle and left the centre white. You can see in this 3rd pic. I have added the whale and also added the first bank of waves.
LIAB
I have added 3 sets of waves and have made these stand up by making them pop up like a pop up card with the attachment to either the waves behind or to the back of the card. I have added the whales to the back of the card and the dolphins to the waves so when you open up the card the waves and the dolphins pop out from the back of the card. You will see I got a bit messy and ended up with blue ink on my sand so I used the starfish to cover this and then added the gekkos. The life's a beach wording came from the cart and has been cut at 1 inch and outlined in gold pen.
LIAB
LIAB
The wording on the bottom of the card reads Bon Voyage again from the LIAb cartridge.
LIAB
LIAB
LIAB
This is the front of the card and again the wording is from the font on LIAB and the whale and the beach chairs.
Below I describe how I have made the waves pop up.
I made the waves from the card pop up so I could put the dolphins in the waves. I used the system I describe here but made the boxes very small so they would be hidden behind the waves.
How to do the popup parts. I have made this box large so if you are unsure how it works you can see it but when you are using these to do popup cards make the box so the object you are popping up hides the box.
strip of paper to make box
Take a strip of paper and make a square. box
Adhere one side of the square to the base of the card directly in front of the fold of the card. box adhered to base of card
Adhere the back of the square to the top of the card so now when you open the card there is a square box in the fold of the card. box adhered to back of card
Adhere the object that you want to popup to the front of the square. Look at the pictures and you will see the card now can close and the object lies flat and pops up when the card is opened. place object on front of box stand back of card up object stands up object bends forward and down when card folds
The waves I made were quite small and the boxes behind are about 1/4 inch but they have worked well and the waves and dolphins pop up. I hope you have enjoyed looking at how I di this card as much as I enjoyed making it. Check out my blog to see other things I have done.

June 22, 2010

Heritage Brooch

Hi!  It’s Wini from LooneyBugDesigns.  I am poohbearbaby on the Cricut Message Boards.  I am honored to be your designer for today.  I would love to share my Heritage inspired project with you today.

I have always associated Brooches with Grandmothers.  I don’t know why but just the word Brooch makes me think of my Grandma.  I don’t remember any of my grandmothers wearing a brooch so I am not sure where the association comes from – just my weird way of looking at things.

I decided that I wanted to make a brooch for you but I didn’t want it to be made of paper and therefore look off – so I decided to try my hand at cutting fabric with my Cricut.  I had this picture in my head of this flowered brooch that was somewhat old world looking.  Where did the image come from?  Your guess is as good as mine but it was there.   I had never tried anything quite like this but thought I would give it a try.  Here is the brooch I came up with:

TT Finished Brooch

I started my project by picking out my fabric and trim.  I didn’t know what exactly I was looking for – but I wanted it to look a little vintage (which is typically not my style).  Here are the fabrics that I choose – I LOVE the way they look together.

TT Fabric

I chose two fabrics for my flowers because I wanted them double sided.  So I fused the butterfly and the blue fabrics together to make a single two sided fabric.  I also fused the green dotted fabric to itself to make that two sided (with the same fabric on both sides).  You can’t really tell from the photos but the blue fabric has silver thread in it so it really sparkles in the light.  I thought about tea dying the fabrics and the lace but that was just too vintage for my style – so I left them as they were.

TT Gypsy

Next I set up my file on the gypsy.  I used the blackout feature on the Home Decor Cricut Cartridge to get the flower I wanted.  I turned the real dial size feature on (see the a button is highlighted in yellow) so that I could get the exact size flowers that I wanted.  I then sized the width of my flowers starting with 2.5” and going down in 0.25” increments to 1.25” – 6 flowers in all.  I put my fabric on my stickiest Cricut Mat and away I cut….

Now here are some things to keep in mind when cutting fabric:

  1. Use a new blade
  2. Don’t use thick fabric
  3. Don’t put your images too close together
  4. Don’t cut too fast

Do you know how I know all this?  Yup – I didn’t do any of those things and big surprise, my fabric didn’t cut very well.  I will have to try it again when I get some new blades.  So in the meantime… I cut my file again using some scrap cardstock – traced it onto my remaining fabric and cut them out by hand – UGG – Remind me to ALWAYS HAVE SPARE BLADES ON HAND! I hate to cut by hand – the Cricut has really spoiled me!!  Anyway here are my cut out flowers.

TT Starting Pieces

Starting with the smallest flower – fold your flower almost in half and hot glue the center together (yes I discovered that hot glue works best for this project – who knew?).  Fold the next flower the other direction and glue it to the first section.  Continue until you have just the largest flower left.  I folded this the same way as the previous flower so that the back of my flower would look uniform. I know that I didn’t describe this process very well – If anyone is interested in seeing a video of how I did this just let me know in the comments and I will make one up and get it posted.  Here is my finished flower.

TT Flower Close Up

I then took two strips of the green fabric and folded them over to form leaves.

TT Leaf

I glued the two leaves onto the back of my flower.  I played around with them giving some extra tucks until I had them looking just how I wanted them.  Here is what my flower looked like when I was finished.

TT Messy Back TT Flower w leaves

I wanted to add this really soft ivory lace that found – so I glued that to back of the flower.

TT Adding Lace

I think it really added a lot of charm.  It was just what I was imagining!  I love it when that happens!!!

To finish up my brooch I glued the flower to a chipboard circle and attached a 1” pin backing.

20100621_24

I love this close-up of the brooch – I can’t believe that it turned out so close to the picture I had in my head when I started!
TT Finished Close Up

May 11, 2010

Details, Details. Details!

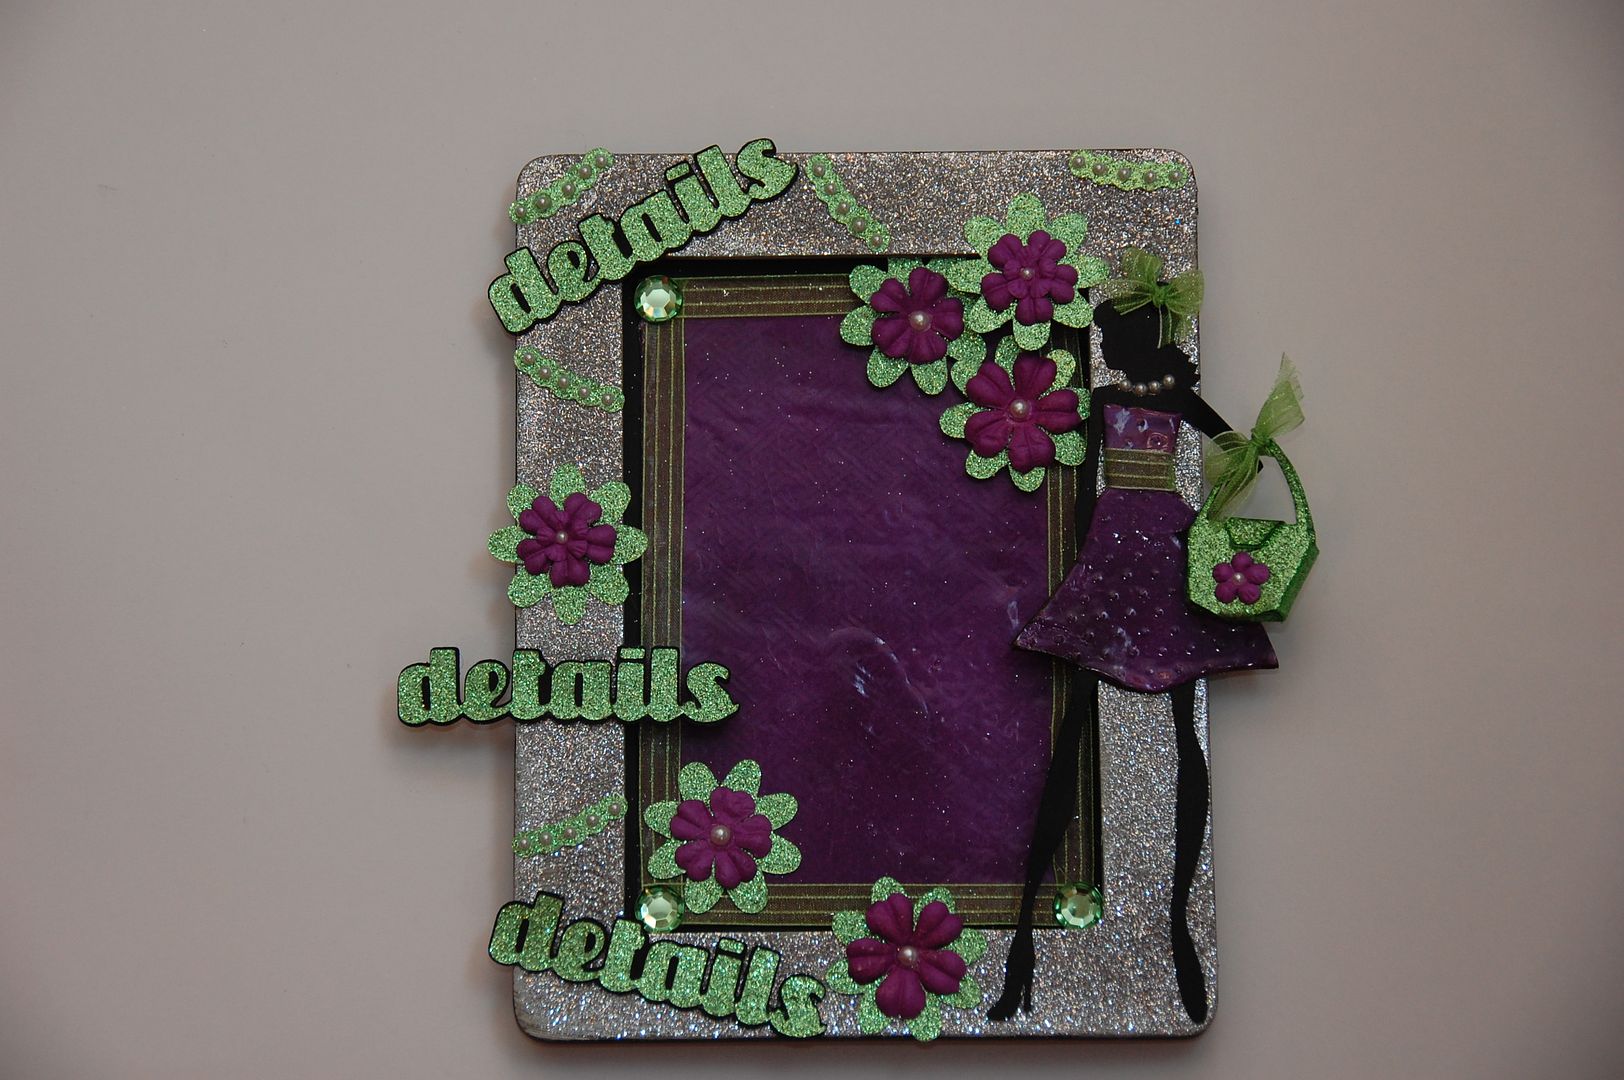
Hi Everyone! This is Elizabeth from 217 Creations.  Today is my debut here at Tuesday Treats and I am super excited to share this cool altered frame with an adorable twist! We all know that in papercrafting the details can make all the difference between blah and a knockout!  In today's project, I am going to show you some cool detail tricks along with assembly of this frame. 
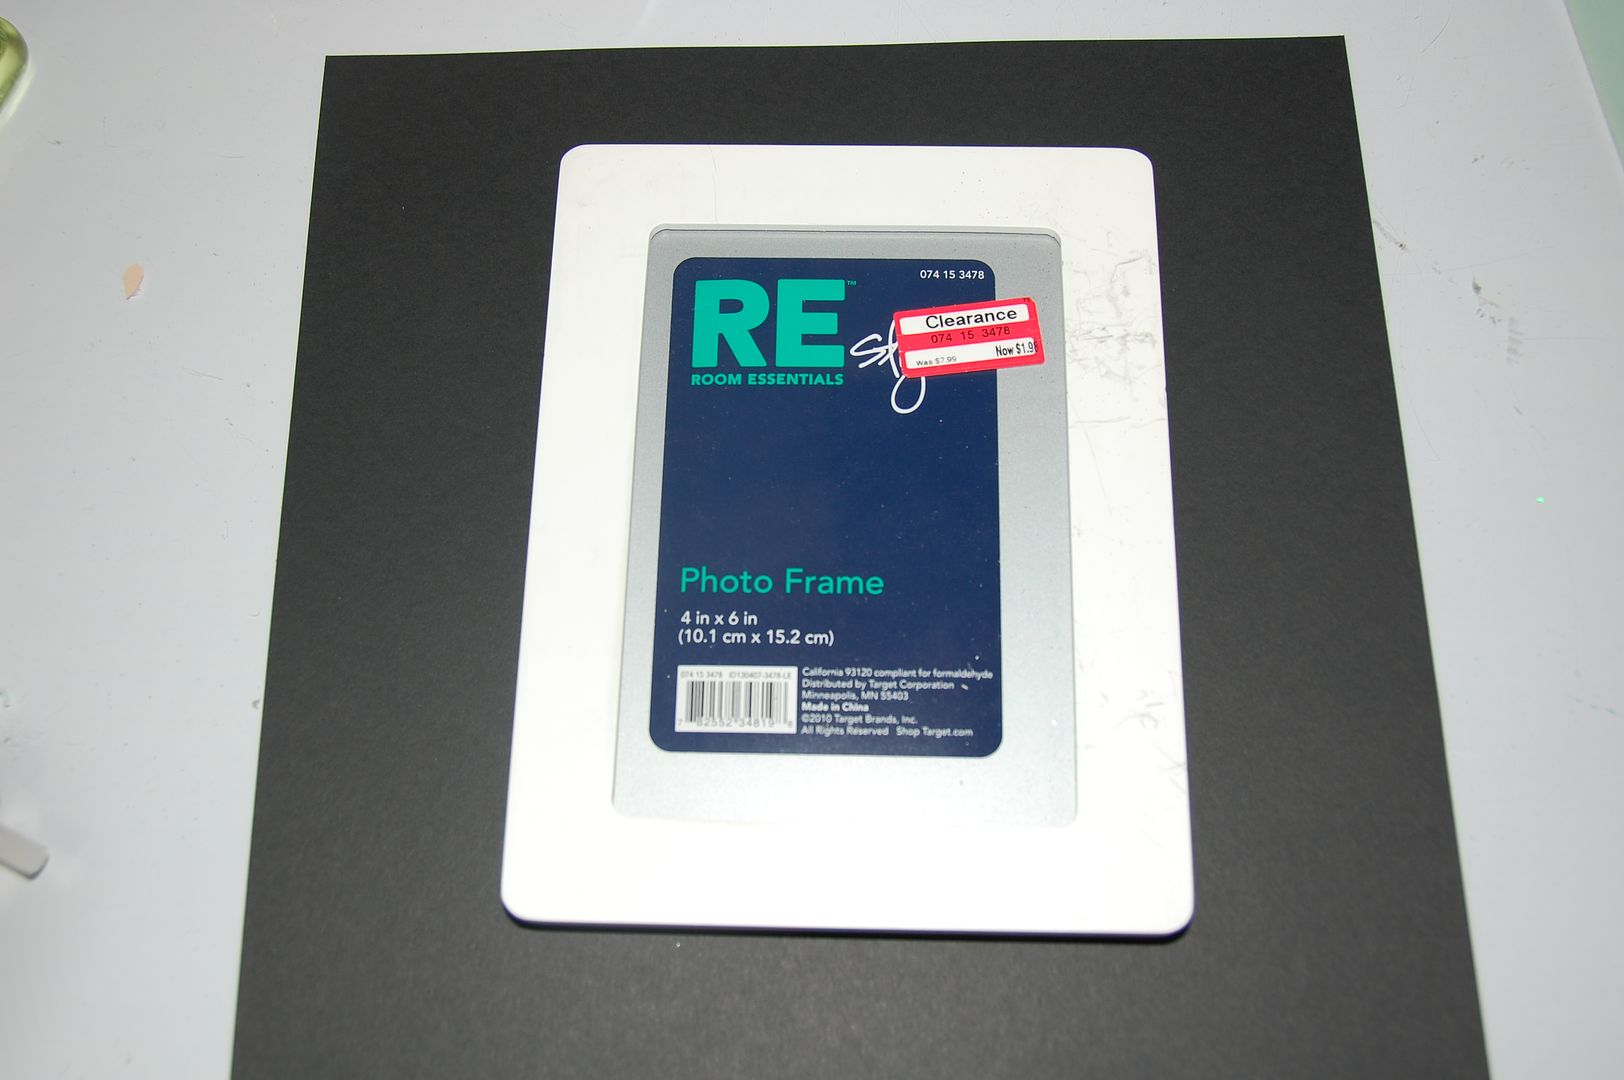
I bought several of these frames at Target for $1.98.  My husband asked, "Why are you buying so many and why would you want them if they are all dinged up?"  The answer is simple . . . I love to alter items and I always want more than one!
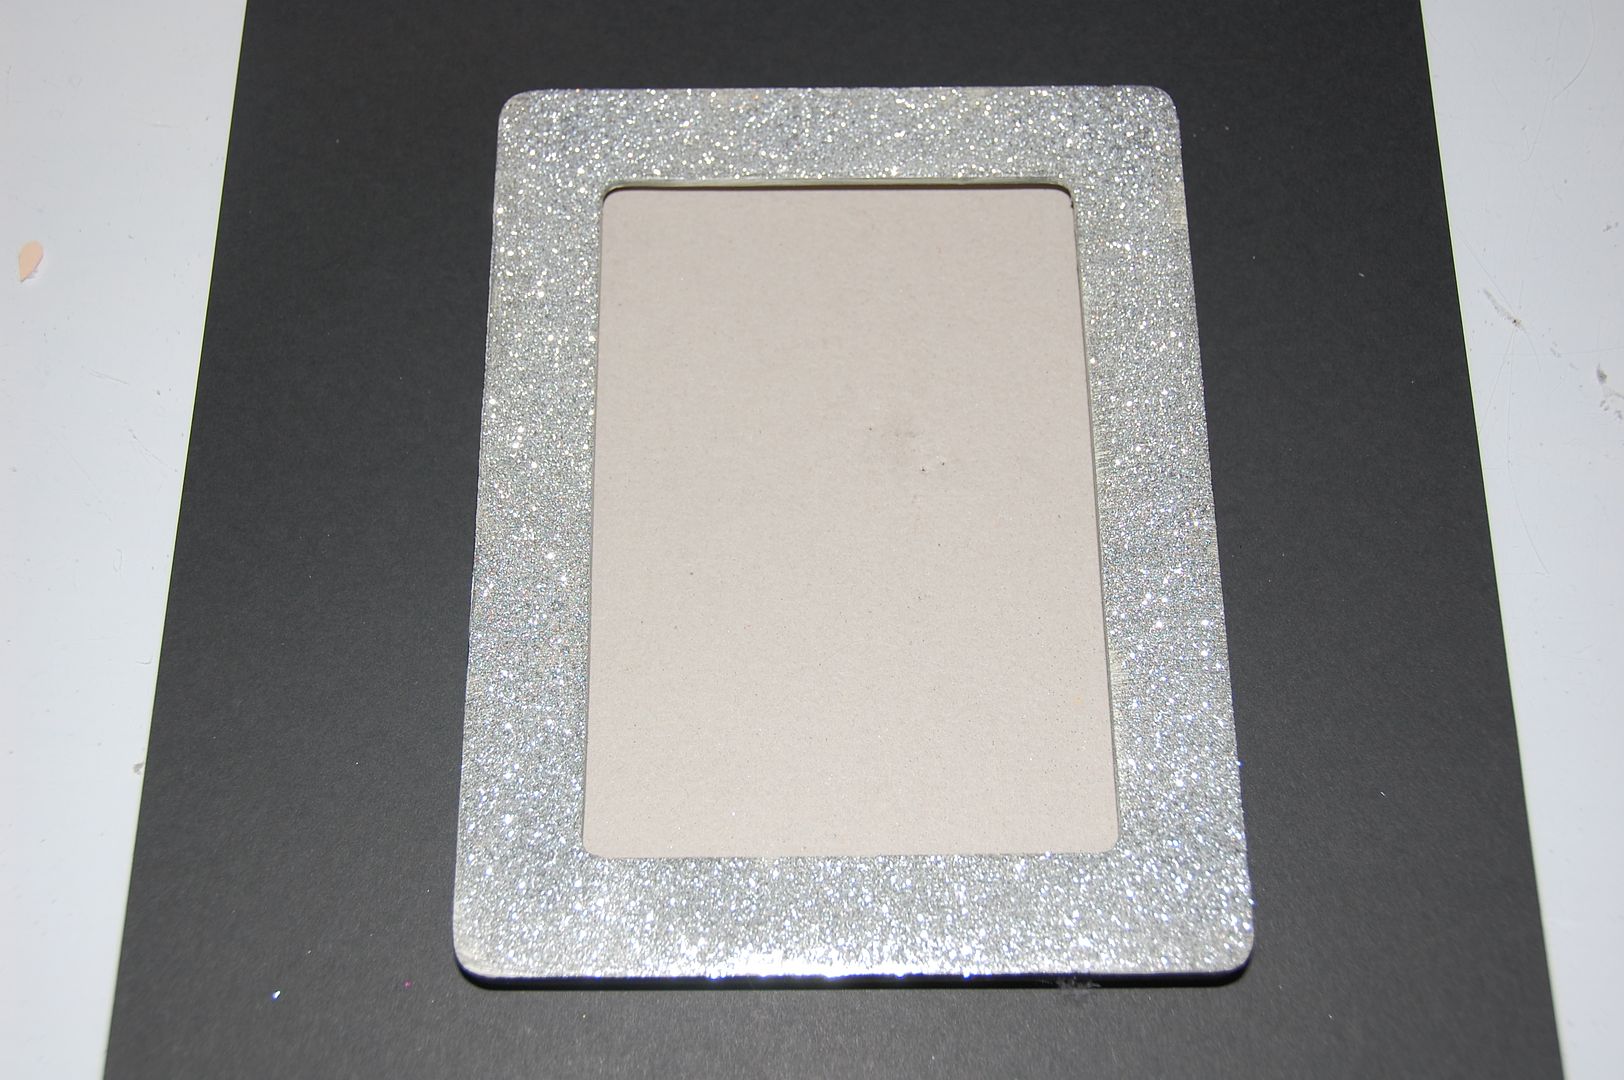
So I bought all 8! I started my taking out the glass and inside fillers.  I painted the frame with a grey acrylic paint.  I let that dry and then sprayed a nice even layer of Permanent Crafter's Companion to the frame.  I then sprinkled Sterling Microfine Glitter from Martha Stewart over the spray.
 Next I used rubber cement to adhere a background the frame.  I cut a piece of black paper sized to cover the chipboard.  Then I cut a peice of purple cardstock and dry embossed it with one of my Asian Cuttlebug folders.  Then I used Ultra Thick Embossing Powder (UTEE) to make the background shiny and smooth. I then trimmed the purple cardstock with sheer green ribbon and placed large rhinestones in the corners.

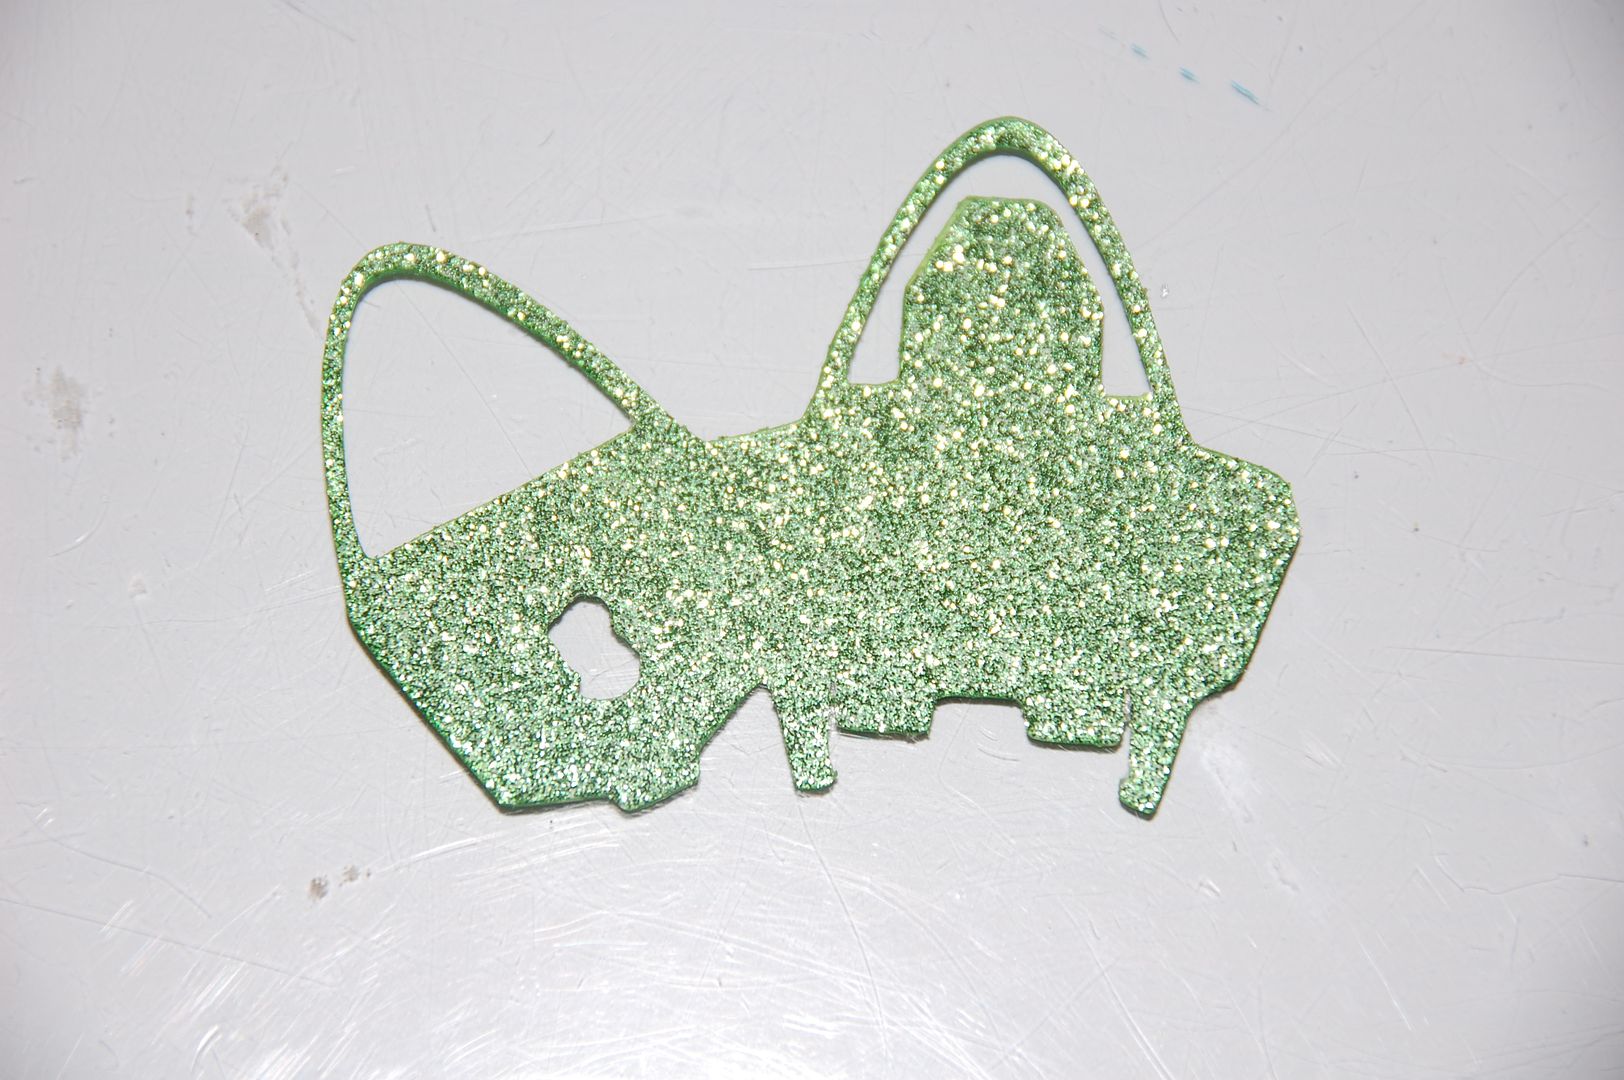
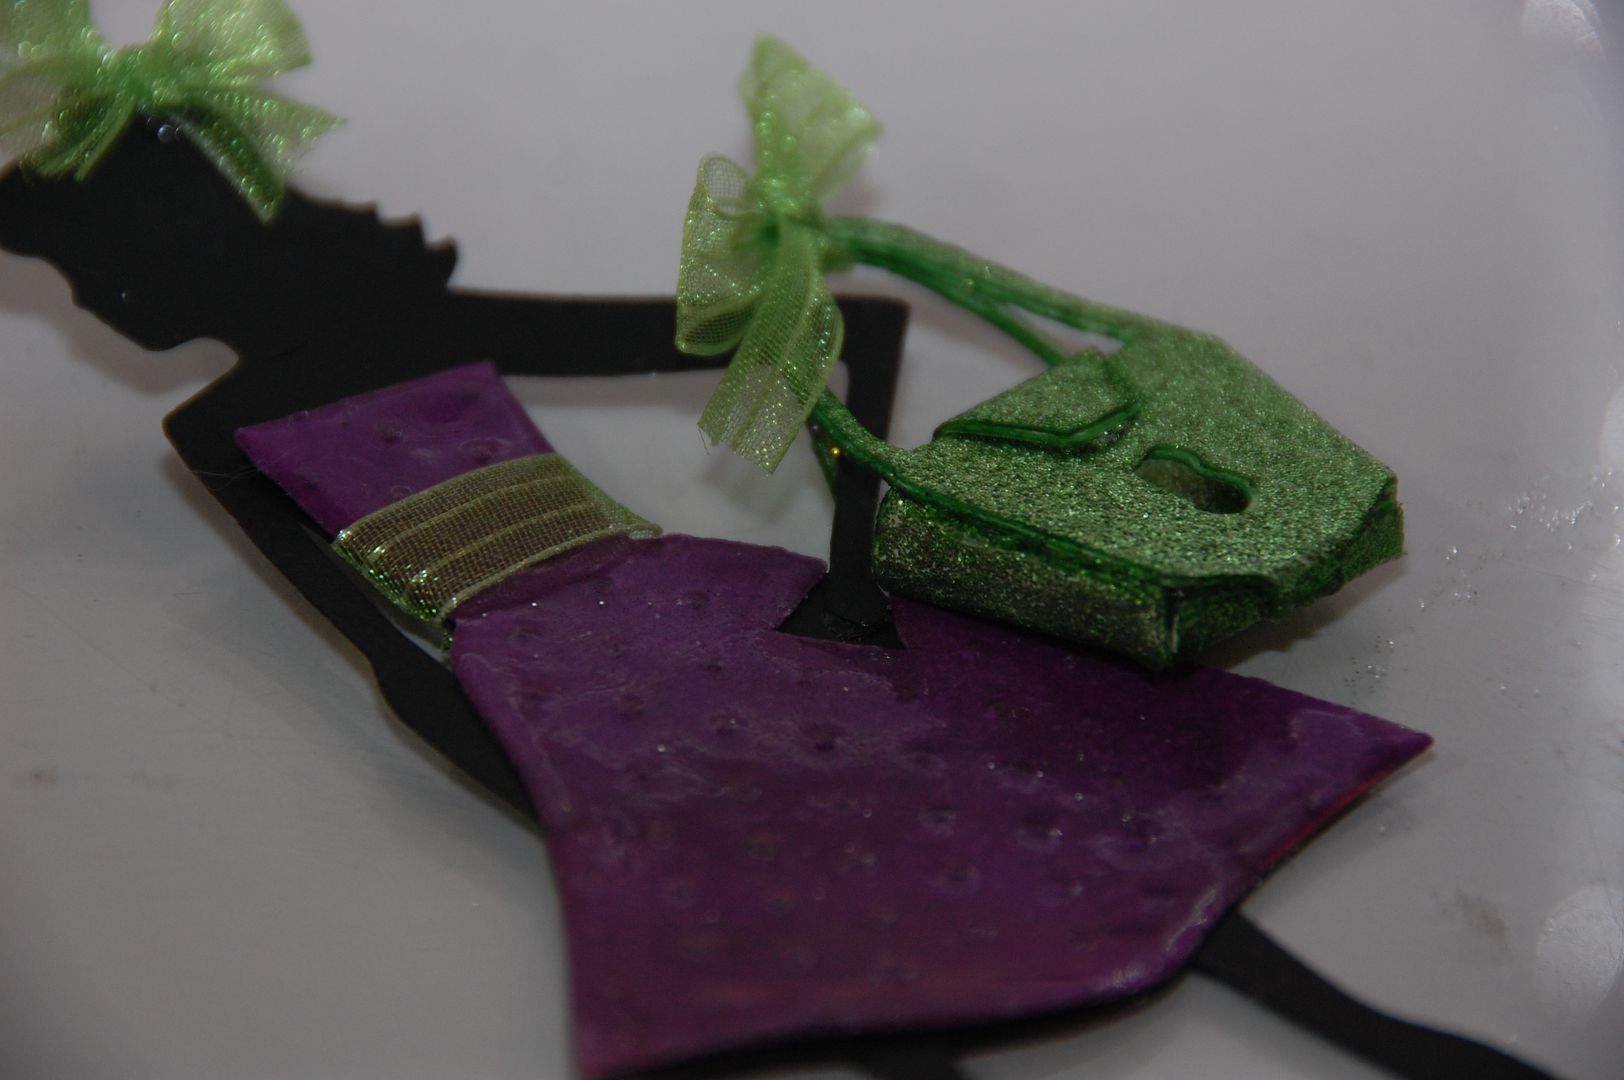
All the cuts for this frame have been done with Button Number 3 on the Forever Young cartridge. This file is 4 pages. Page one is the purse.  It is designed at 1.34 inches. I made a copy and flipped the image. This will allow the purse to have a front and back. The purses are cut from lime green glittered cardstock. 
Once I had my cut I ran the bottom side through my Xyron.  I then placed the backsides back to back, so now I have one piece.

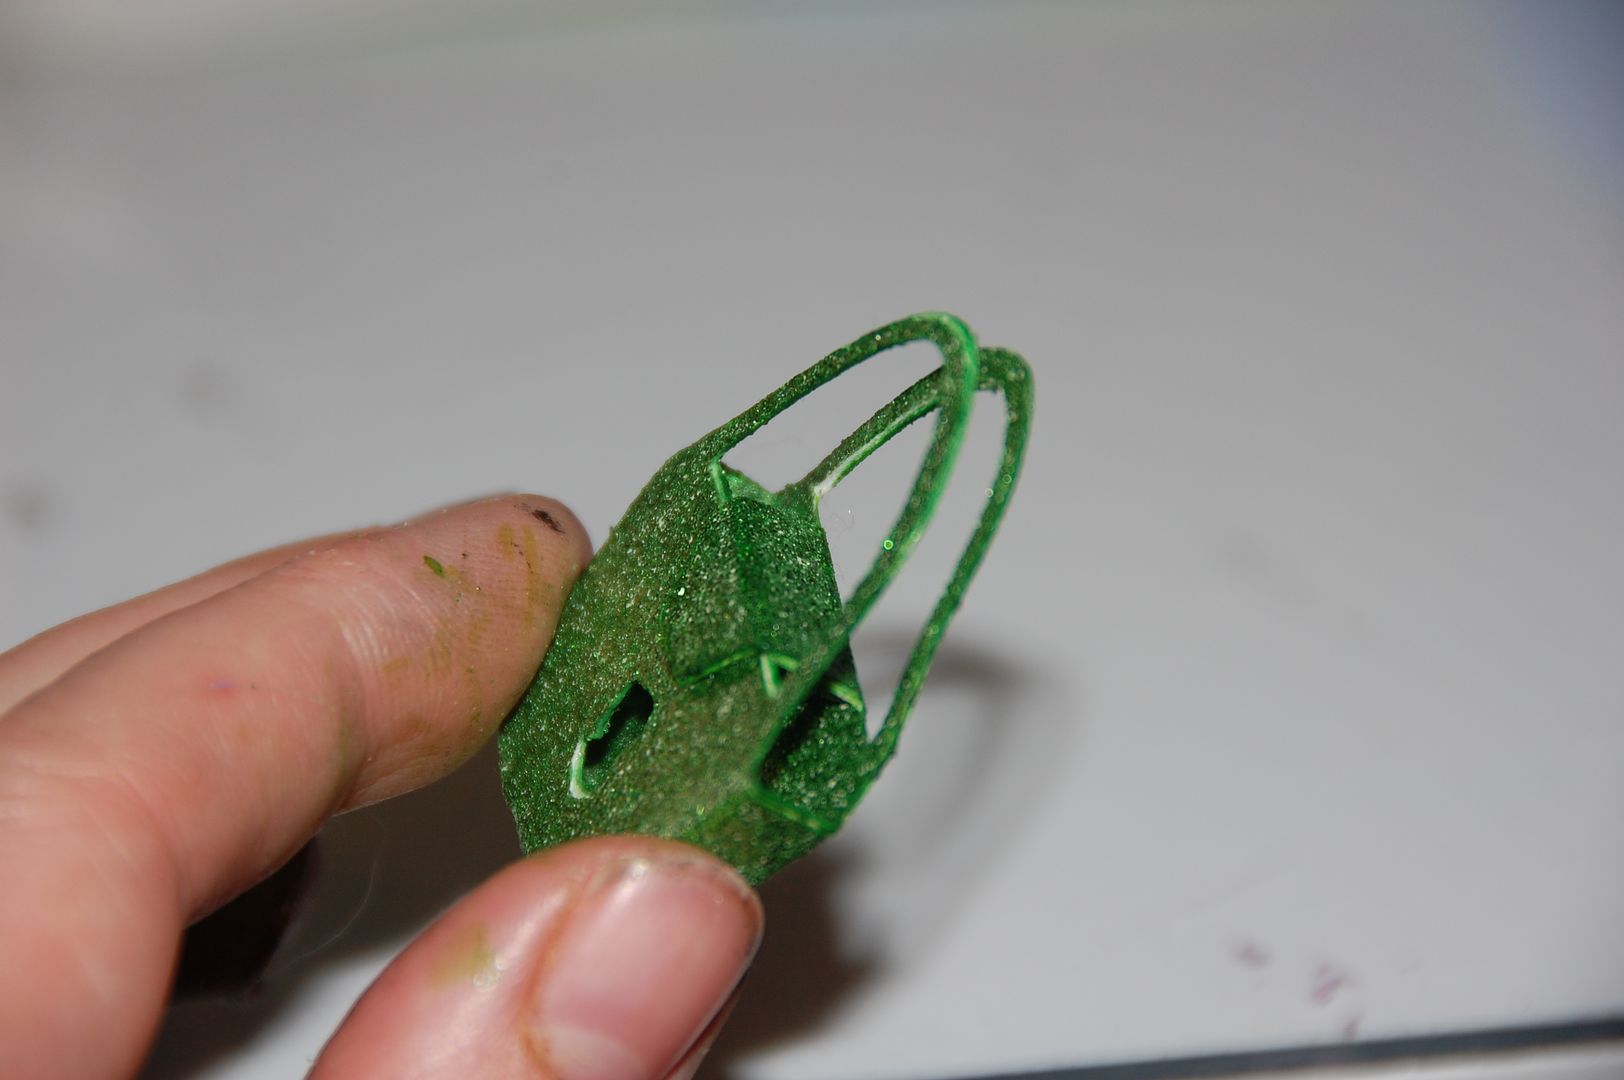
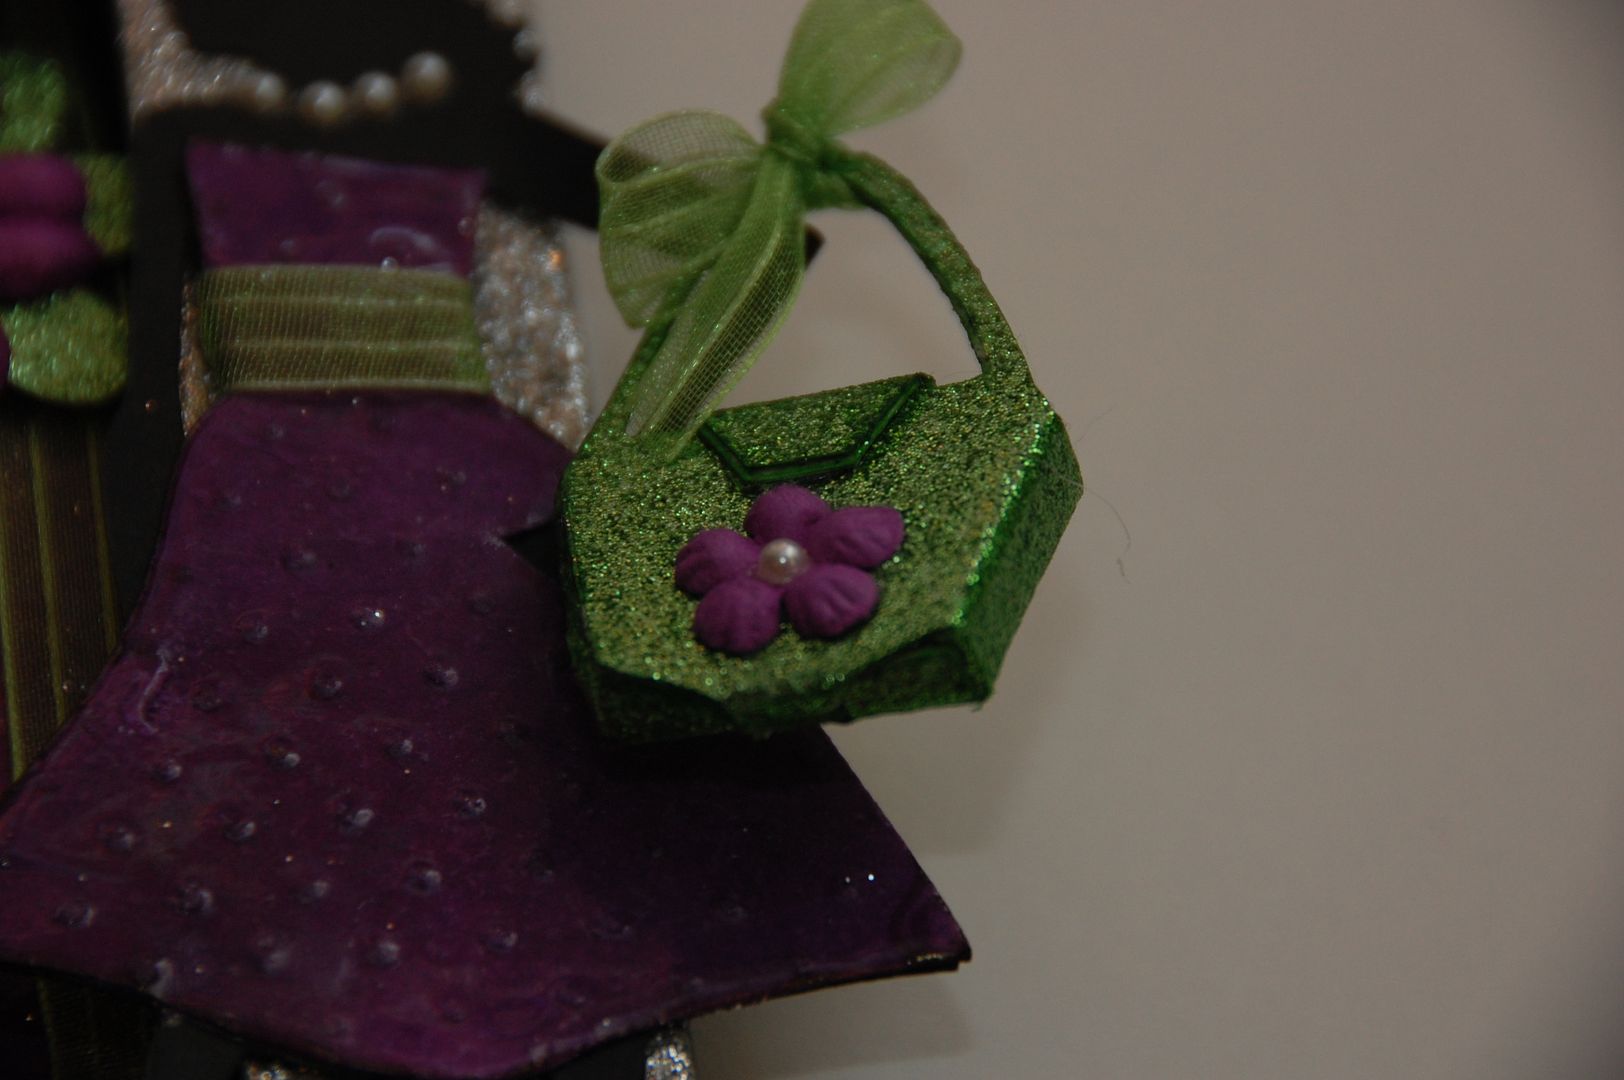
I followed the scoremarks on the purse and used hot glue to adhere the edges together. I then took a lime green Bic Mark It permanent marker to cover the white core of the glittered cardstock.  The finished purse is about 1 inch wide and 2 inches tall.
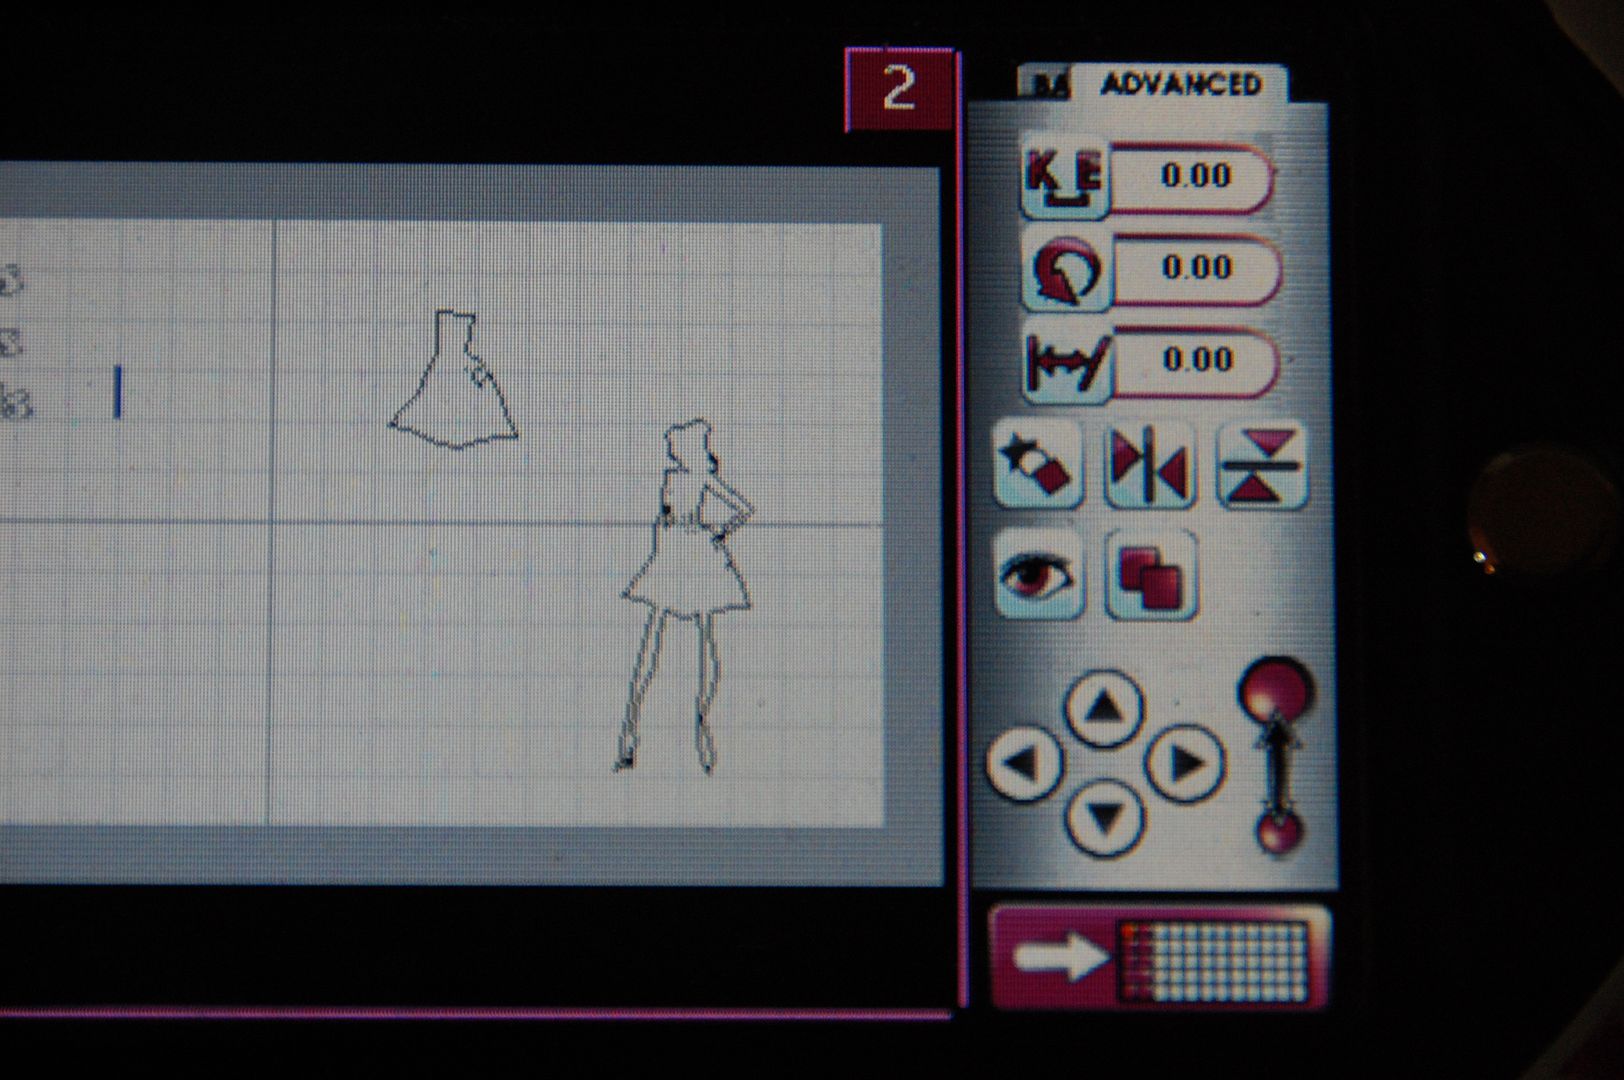
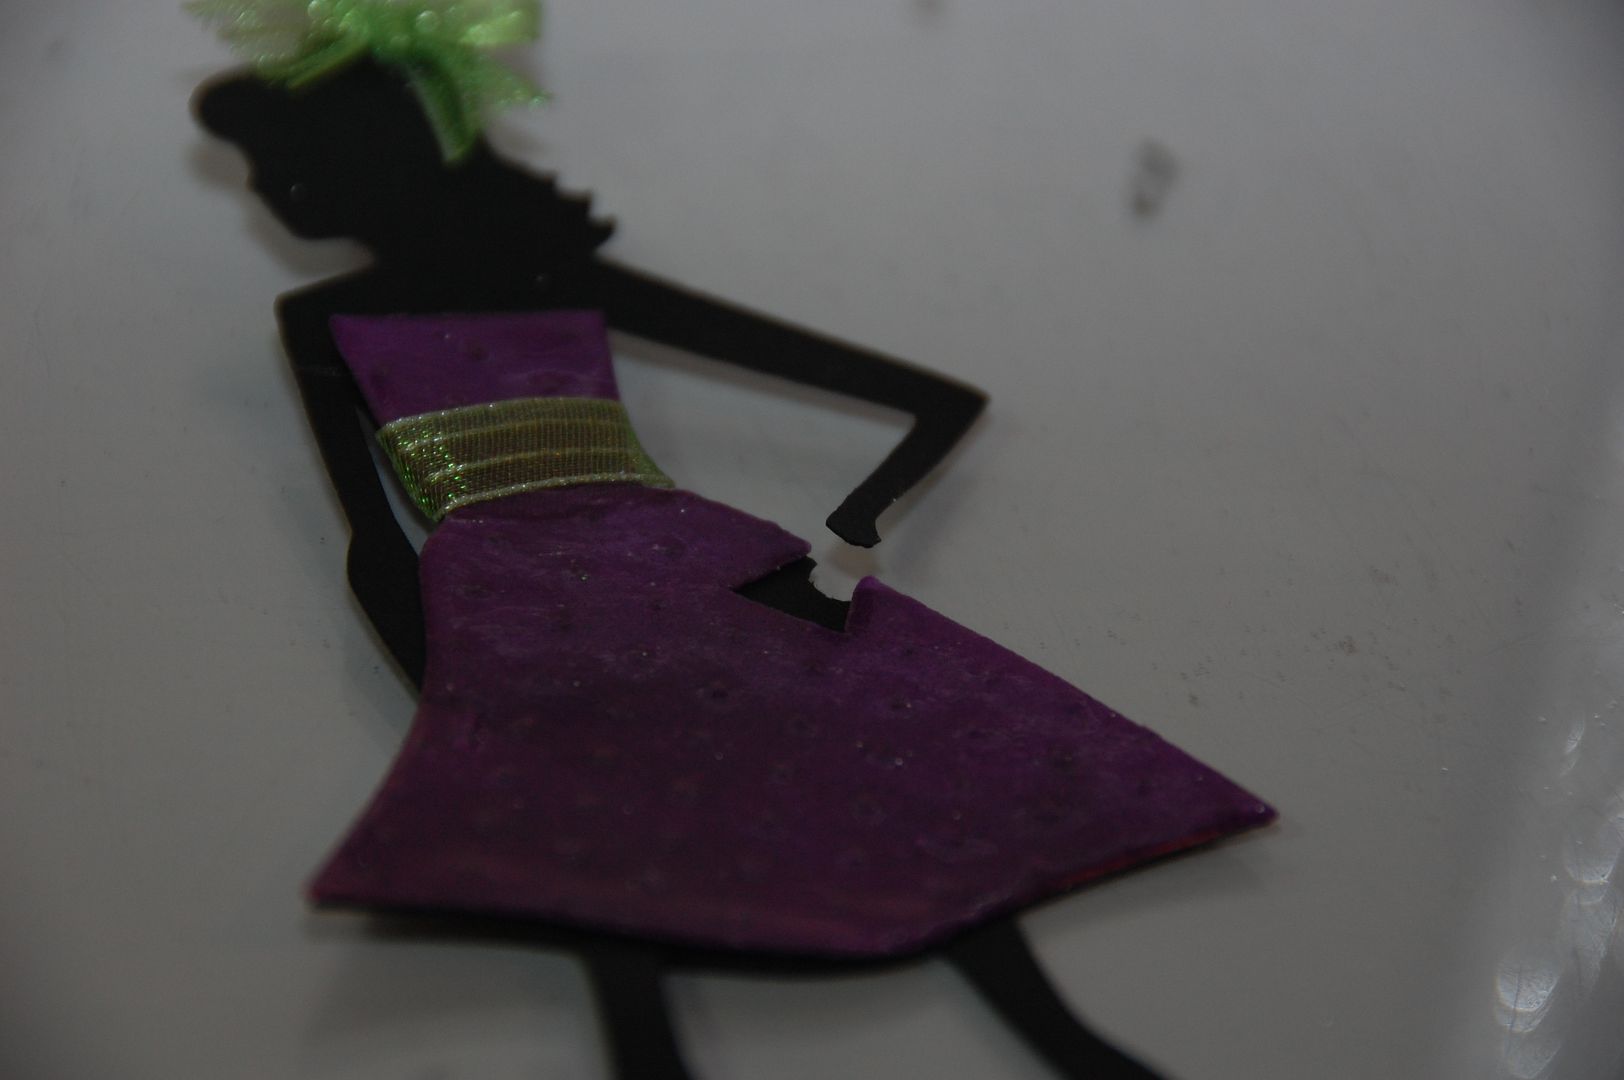
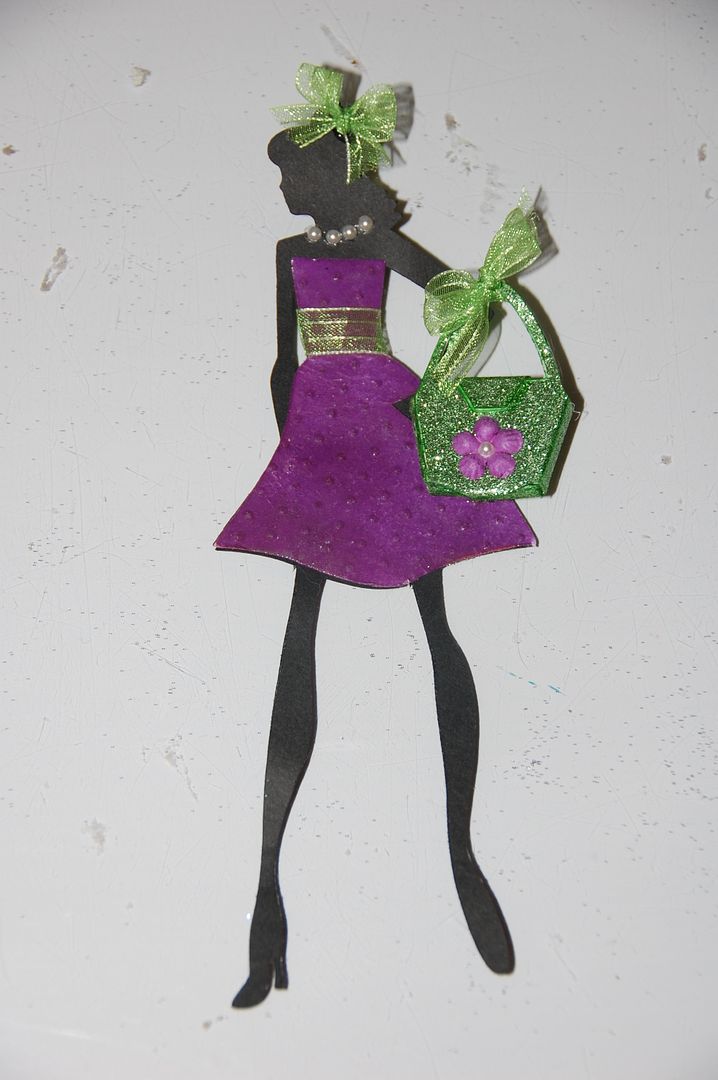
Page 2 is the doll her dress.  The real size is off so the dress and doll will be in proportion. They are sized at 7 inches.  I cut the dress out of purple cardstock and the doll from black cardstock.
Once I had my dress cut, I embossed it with Swiss Dots Cuttlebug Folder.  Then I used 2 layers of Ultra Thick Embossing Powder (UTEE) over the embossing to make the dress look shiny and smooth.I then took some sheer green ribbon and tied a bow for the dolls hair and hot glued it to the cut.  I also used the same ribbon to decorate the dress. In order to slip the purse on the doll's arm, I then cut the hand from the doll
 I slipped the purse straps through the arm of the doll.  I then hot glued the arm back down.  I tied a small bow on the top of the purse to match her hair bow.

Finally I added some flat backed mini pearls around her neck to create a pearl necklace. I also added a small purple flower to the bag.  I then placed one of the small pearls to the center of the flower.

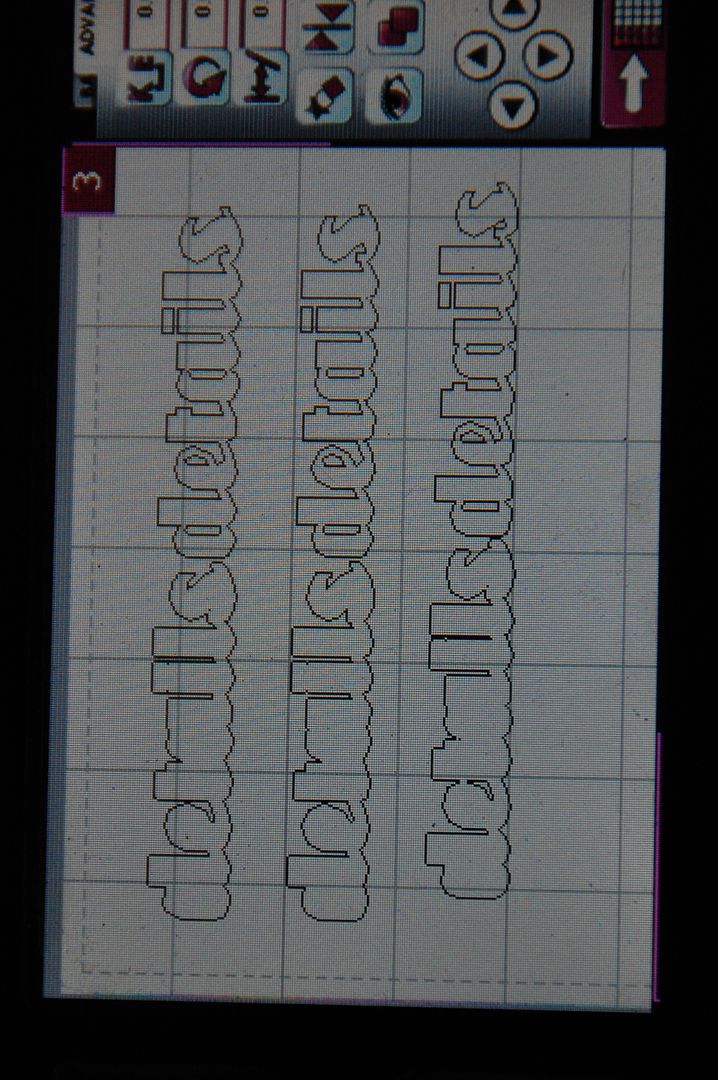
I cut the word details and shadow at .75 inches.  The shadow was cut from chipboard and the foreground was cut from the same lime green glitter paper as the purse.


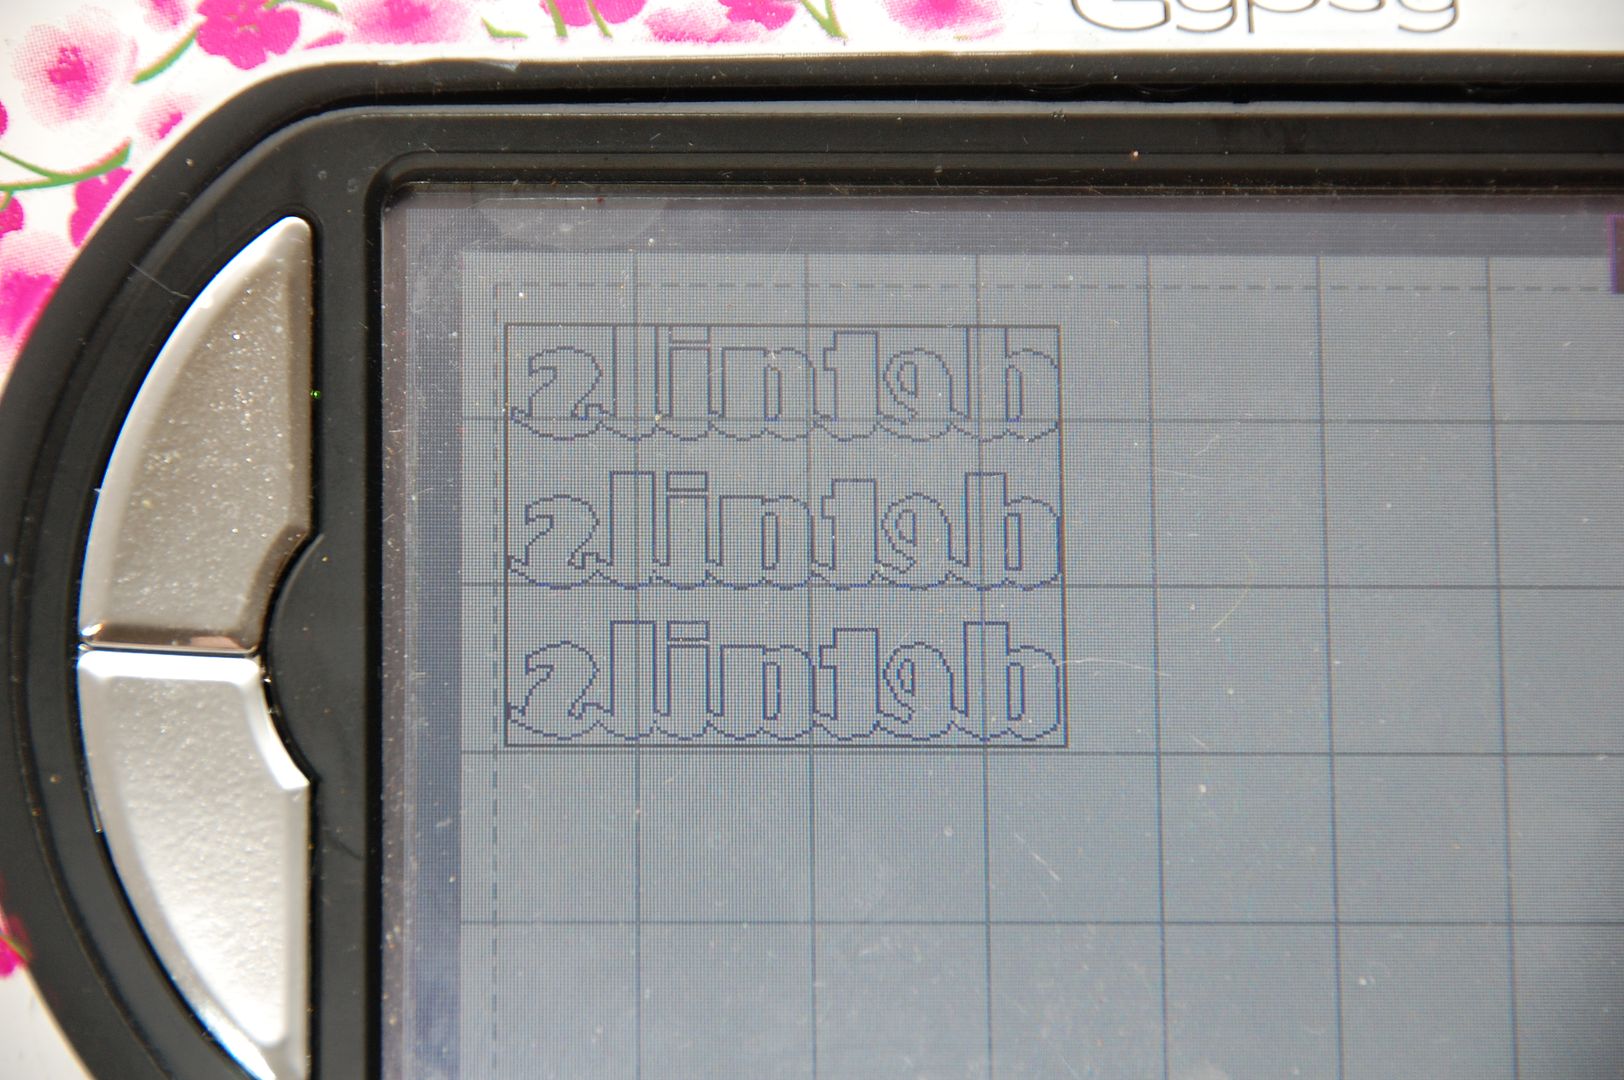
In order to cut the glittered cardstock smoothly, I flipped the wording on my gypsy. 
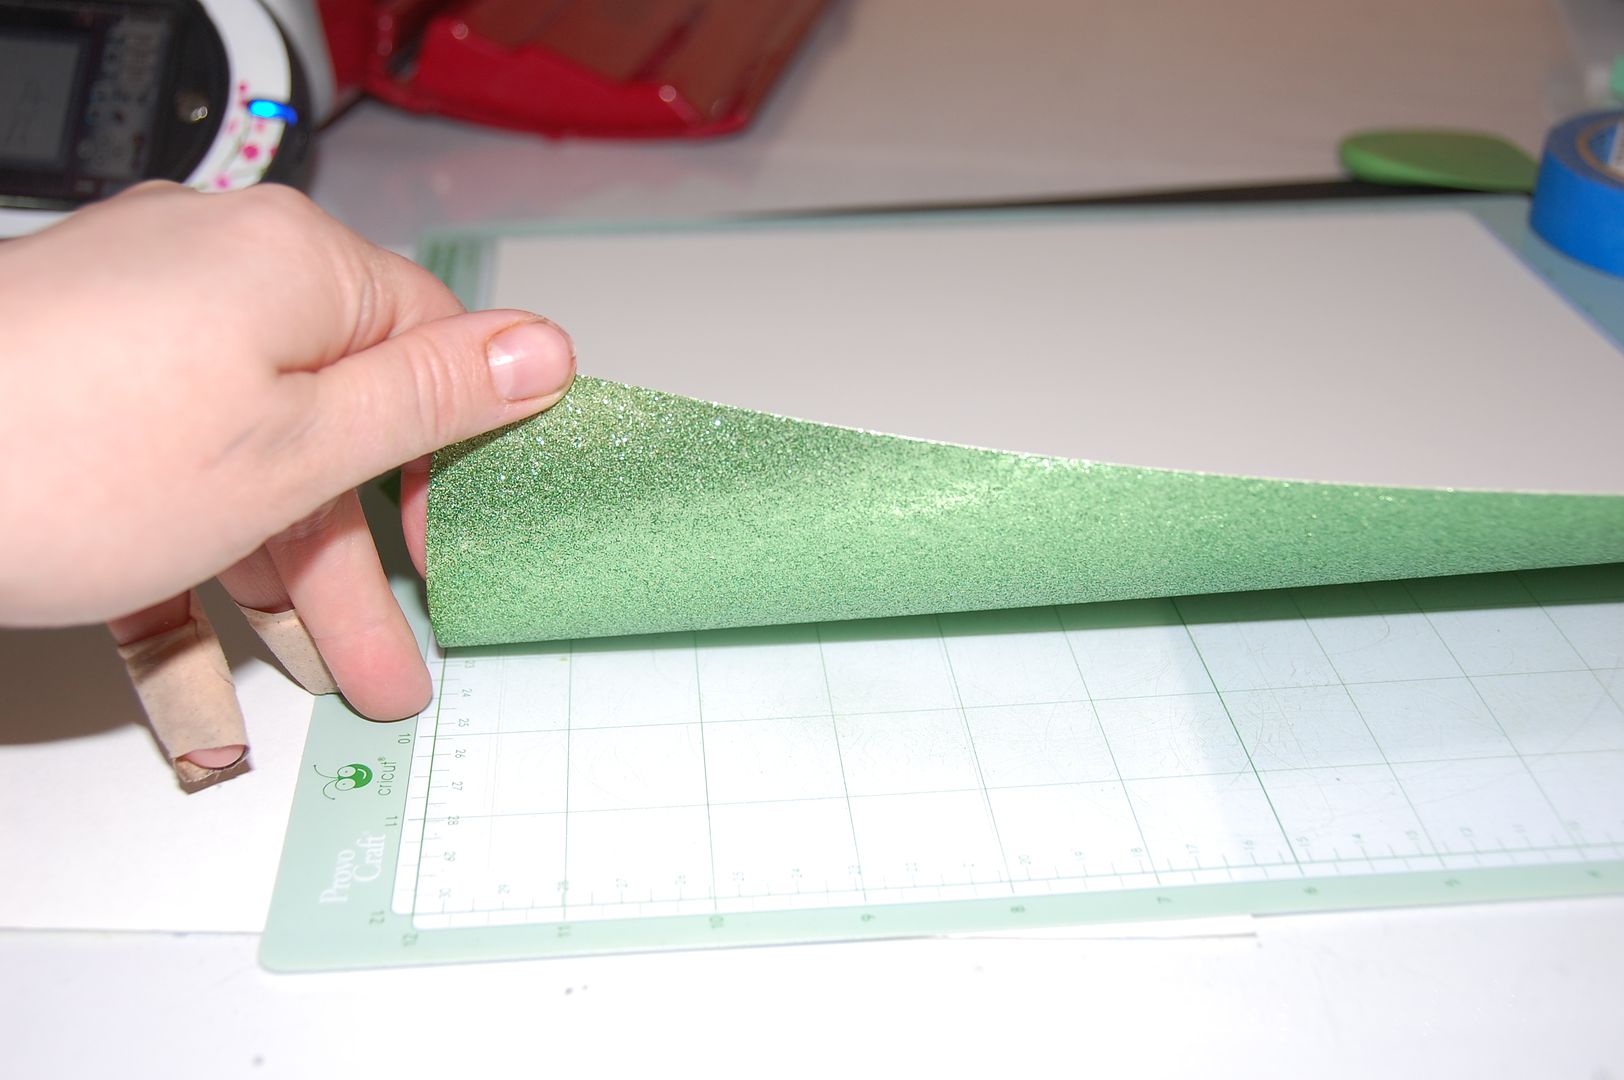
Then I placed my paper upside down on my mat.
 I painted the chipboard with black acrylic paint and adhered the glittered cardstock to the dried chipboard.
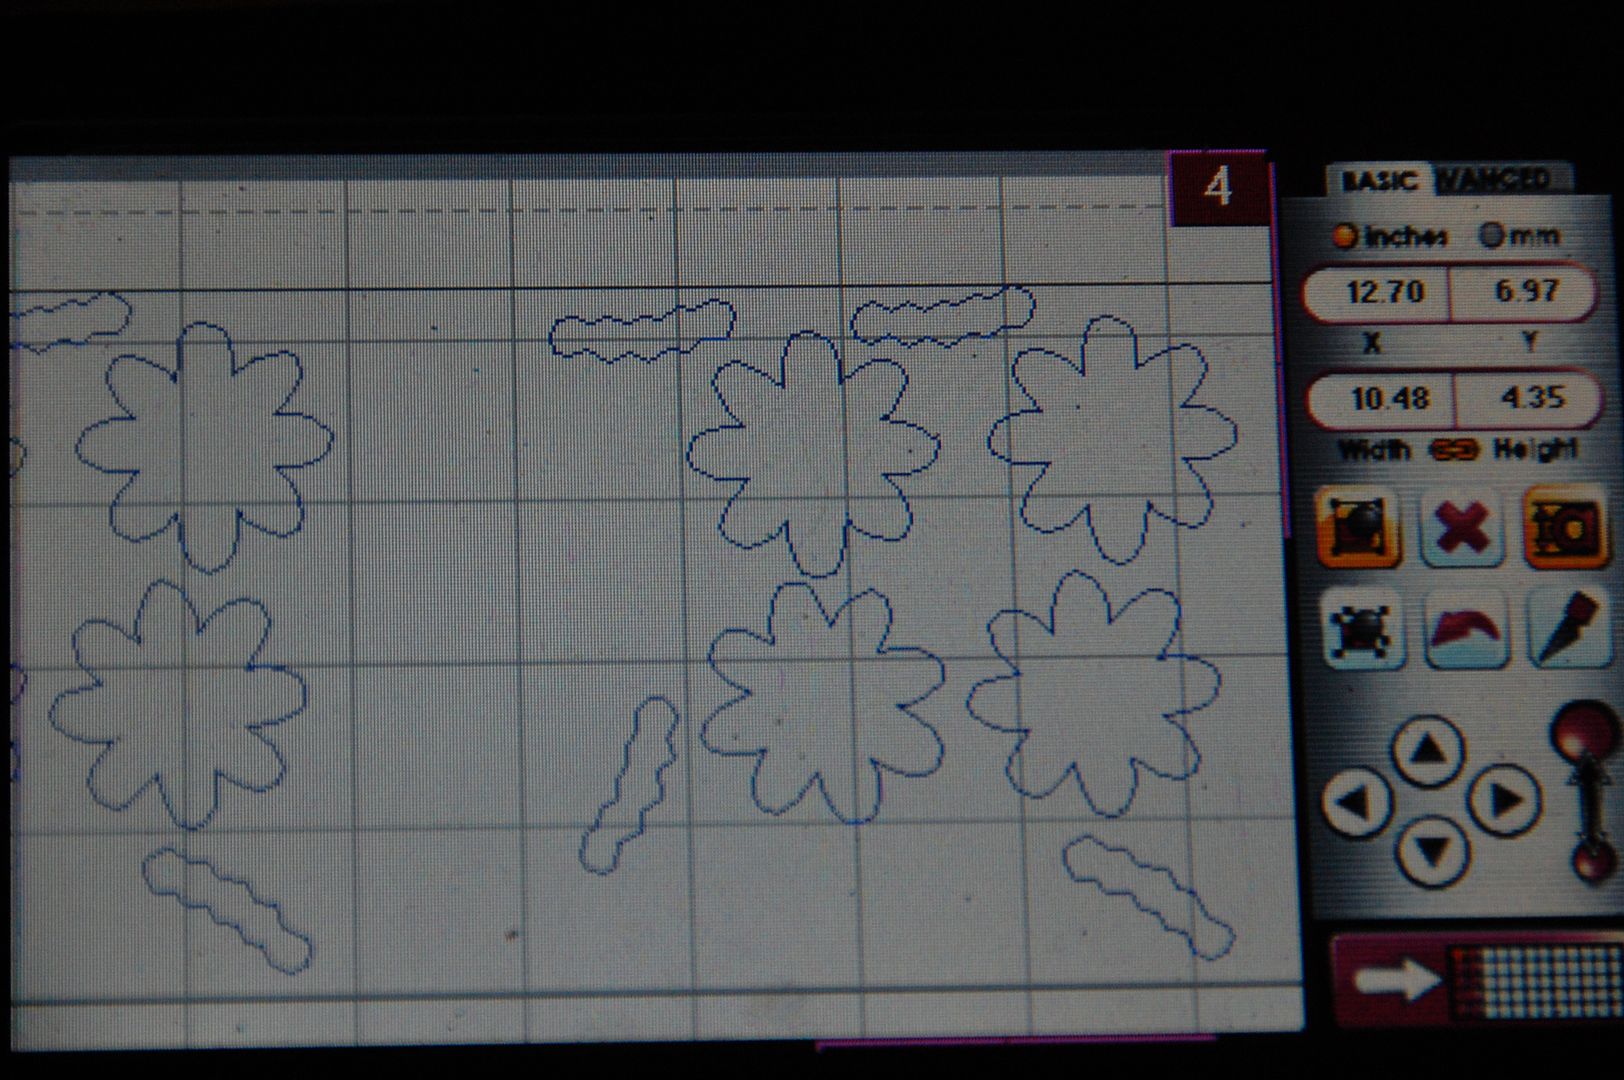
For the flowers and the the strings of pearls, I turned on the the Real Size for the accessories for the cut. I sized them to 1.75 inches out of the gsame lime green glittered cardstock.
I used the mini pearls to the small scallops to make it look like a string of pearls.  I added small purple flowers to the green flowers and also added small pearls the centers.
All my cuts have been hot glued to the frame.  I have left room for a small picture. I realy had fun making this frame. It took a lot of work for the details, but it was totally worth it!
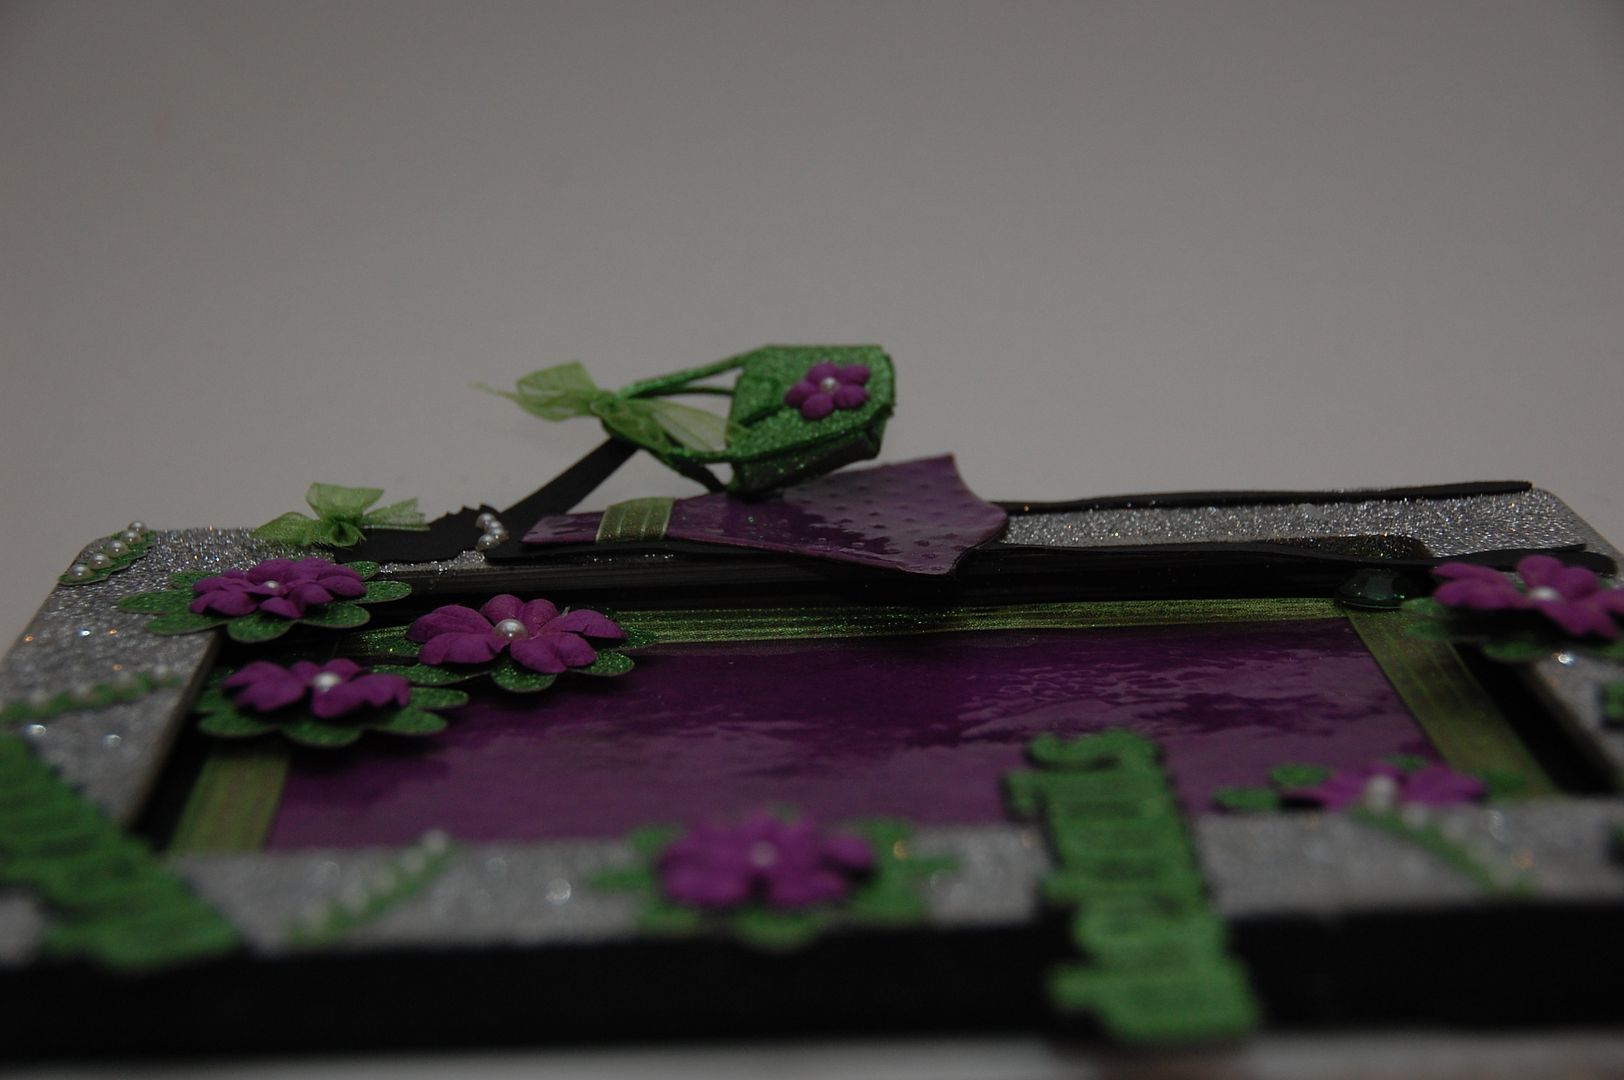
The dimension from the purse is just perfect!
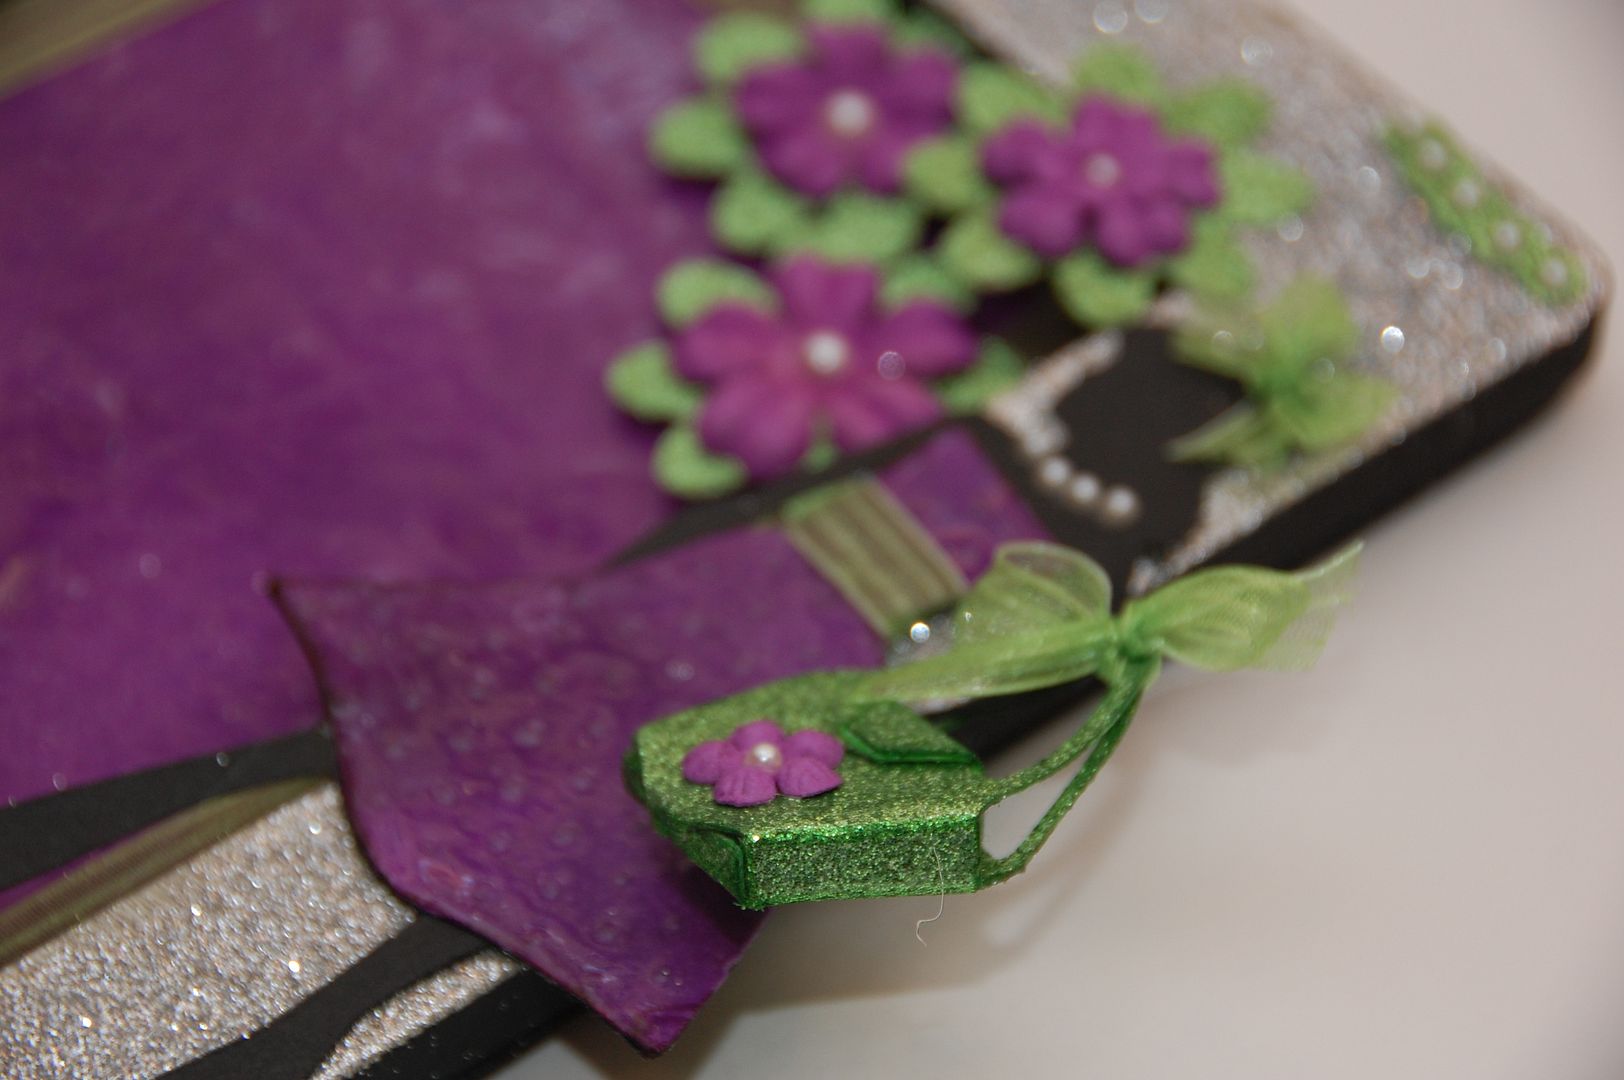
Here is a close up of the bag.  I want one for myself!
All the layers really work together to create a complete look. By using the same embellishments and paper through the entire project, everything becomes coordinated. Thank you so much for leaving comments.  I love followers too!
The file is available for download at my blog 217 Creations
As always thank you for the comments and also for following!