Knowing is not enough; we must apply! - Johann Wolfgang Von Goethe

Welcome & Copyright & Disclaimer

Welcome to Tuesday Treats. Hope you have a pleasant journey browsing and getting inspired by the projects you find here. We appreciate and treasure your comments so please leave us some blog love and comments. But before you start your journey here just a small note . Do please read and then you can continue on. Copyright: This blog has a many designers showcasing their projects. Please look up their individual site to check their copyrights for any infringements. My files & projects are also all copyrighted. They can be used as inspiration and for personal gifts only but cannot be used in classes, in magazines or for contests. Please look in the side bar for more details on the copyright. Disclaimer: The designer's designs belong to them and them only & not to TuesdayTreat and The TuesdayTreats will not be responsible or liable in any way for any results or consequences from those designs.

July 12, 2010

Framed!!!

Well I have been framed at the Cricut MB and people call me "The Enabler" but guess after reading this you might think  the term "Crazy"  is more applicable Crazy 1and you may even be justified in thinking thatRoll

This is Pam from TheBugBytes . Go grab some coffee and maybe a Donut or sandwich too as this post is exceedingly long..

My project for today is (clearing my throat and nervously just getting the dreaded  word out in a whisper!  Nervous 2)  Layout from sentimental.

So knowing that this maybe just the 5th or 6th layout be kind to me.Well even if the layout sucks and you want to do this  Pie In Face  just take the time to read this because I have tried a new technique - making your own customized woodenized frame - and even if the layout doesn't appeal at least you might use the technique (Btw if you like all these emoticons and want to use them on your own blog - it is as easy as posting with firefox after downloading and installing greasemonkey.)
Ok without further adieu. Here is my layout. Except for the title which is from graphically speaking, the border in the pattern paper using Martha Stewart lace punch, the ribbons, lace , pearls and the flower embellishments all the cuts are from sentimental


Yes! That Includes the Frame!!!
It looks like wood doesn't it?
In a way it is .  So Mya not copper or gold!   but a wooden texture got by using wood filler - the drying sandable kind - on chipboard  and then sanding, staining and sealing it.  Ok my secret is now out.Teethy .
Very easy process. Not time consuming in the sense you do not need to  labor over it. But the process to dry in between stages does take time.  So plan to give 2-3 days time before you want your  layout finished.

Materials I have used
I have listed  almost all important material


  • 2 sheets - chipboard - .022 thickness acid free (I get mine form uline or in small amount - ckresales)
  • cream color cardstock 2 - 3 - sheets
  • DCWV stack - shimmer and old world
  • antique linen distress ink - Tim Holtz
  • sakura white souffle pen for feather texture
  • ancient glass embossing liquid by Plaid (found at Micheals)
  • lace and ribbon
  • some flower buttons
  • some tiny cream color ribbon roses
  • Martha stewart lace punch
  • cutter's, scissors
  • blister pack - plastic (which I always save after freeing out the cartridges)
  • gold foil pen
  • glue - pop darts, glue dots, zipdry and zig


  • Cartridges - graphically speaking (only for the title) and sentimental


and of course for my technique

  • a drying sandable wood filler. Be careful if you get a  wood putty for most of that is nice to roll out but does not dry . (I have used Elmer's wood filler - walmart)


  • a wood stain - color of your choice ( I used Red Mahagony miniwax)


  • a sealant - Be careful about this too. Read the instructions on the stain in the shop itself and get the recommended stain.  I have used the polyurethane as it clearly said that for Red mahogony I have to avoid polycrylic and use this one. Also choose a finish. I have chosen satin but you can also choose glossy.


  • A plastic palette knife and foam brush )
  • texturisers like toothpick, Q tip with cotton removed etc.


  • Rags and some water.

 Now for putting the layout together. Note you do not need the gypsy or CDS at all as there is no weld in this layout. But neverthless for sizing I like to use one of them as  it also allows me to alter some  images according to my needs.

Here are the videos

Part 1


Part 2


And here are the images from the gypsy file.
Note: I have modified the layers a bit from these images to include the ink bottle 3rd layer (you can find it in shadow layer as the color of the shadow is the same) and I have added a circle (from sentimental) to the lens shadow so that you need not search around for a circle punch

page 1 -" layoutdonotcut" - Do not Cut. As this is just the layout sketch


 Page 2 -  "framecut2"- cut 2 pieces with chipboard (if you are trying my technique). Retain the inside oval template. It will come handy in cutting your photo. I have cut mine going a quarter inch inside


page 3 - "frameshadow" -  the mat which the frame and photo sits on which is the shadow feature of the frame. I have used cream colored card stock and distressed it with antique linen tim holtz ink.


page 4 - "accesories". I cut all using cream colored cardstock and again aged it with distress ink except the feather. Then played around with some images using liquid glass embossing, inking, drawing with pens etc


page 5 - "shadows" - I cut this with the shimmer DCWV cardstock - a deep winish brown color. This color is also used as the base on which you can put the lace edge punched cardstock from Old world .


page 6 - tag layer which I cut with a leftover cardstock which coordinated well with these.


Now that the file is done

 I first cut only  2 pieces of frame - page 2 with chipboard - as I mentioned 2 to 3 days before . I used the brown side up (mine is white on one side and brown on anther) so that if there is a peek through somewhere it can be easily camouflaged.
 I kept one piece aside for backing as I was sure the process will mess up and stain the back and I did not want to put that dirty back on the pattern paper.
Then I opened the wood filler and as it was too wet and liquidy I allowed it to set for about 10 mins and then applied on the chipbard. Warning ! the whole process is Messy. Protect your surface and for staining and sealing it is also recommended that you have open windows - so take it out in that stage.
I used a plastic palette knife, some water to smoothen and applied a thick layer rather like cake frosting  about 1/8th - 1/4 inch thick  depending on how smooth you want . Then allow it to set for 5 mins and then add texture. Mark deep groves because if you sand after drying you do  not want to loose the lines. When the stain settles insie the groove it looks dark and gives a lovely look. Keep fiddling to your liking. You have 1/2 an hour to play . After it set for 1/2 an hour I punched and got back the holes in the frame where it had filled up. You can do I anytime within that time frame (or maybe even more).
Then I allowed it to dry.
Watch the video part 1 to see the technique
Here is how my frame looks dried and unsanded


I did not sand it much as I did want an aged wood look. So I used a fine grain sander and sanded it just a little. You can also go back and keep adding more after all the filler is just wood crumbs mixed in glue. Just use water  to bond. and smoothen and play.
I then stained - 2 coats - each coat allowed to dry after removing excess with rag (outside the house - in the backyard)


and sealed


after it dried I added just a touch of gold foil to unify the design elements on the layout


Glued the 2nd piece at the back after this completely dried.


Well that's the new technique. Isn't it worth the time and effort.  Think of the possibilities. You can make lightweight wood out of any cricut cut and so customize it. 1 box of filler, stain and sealant go a long way. :)
 Now for the rest of the layout.
I just punched the side edges of the pattern paper from Old world with Martha Stewart punch so that it sat about half an inch lesser than the plain base.  Aged a lace and added it to this to form a Cruciform composition dividing the one piece rectangle of the pattern paper to make it visually interesting by dividing it unevenly.
Then I took the cream colored feather cutout which was the only piece undistressed. I took a white souffle sakura pan and drew white feathery lines. This when dry acts as a resist and then I applied the ink and attached it to the shadow cut


As for the inkpot I did cut out an extra piece (no the shadow but a main one) using the purple shimmer (same color as shadow) and cut the top and bottom so that just the word ink remained. The cream color cutout I cut hiding the ink word. I will modify my  file before sharing. Then I used gold foil and applied Antigue glass embossing liquid. and after drying - some places became green/blue - a happy accident as I liked the patina look it gave. I just added more gold foil over some places to cover up and left some as it is.


As for the lens. I punched the shadow with a circle punch and added plastic/blister pack material at the back to hold the glass finish and still remain transparent.


I also assembled the tag
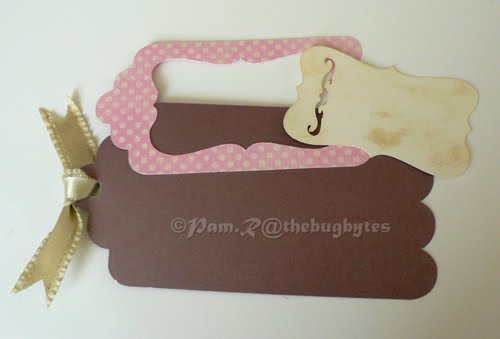


pop darted the back of the cream mat on one side so that the  2 tags can slide in and out at and angle


Stuck it down , penned the title to pop up just a bit. added cut with scissors to cricut cut from sentimental as I liked the sentiment on it, pop darted the lens, ink and lens and added to layout. The lens while drying showed a crack as my son accidently dropped something on it while watching. I again liked this happy accident . I overlapped the transparent glass on the title a bit
And then added some flowers, flower buttons and pearls (left over from the purse from forever young last time around).
here are some close up views.


& my whole layout once again. Btw yes that little girl is me and that's my grandfather. That's why I decided to include the journal note ( cut out from another pattern paper) - Beginnings.


Whew! That was rather Lonnnnnnnnnn..........ggggggg wasn't it.
So I hope you enjoyed this project. As makeugirl217 says I love followers & comments. Do visit my blog TheBugBytes to see many projects one a whole lot of awesome designer's and the file for sharing can also be found there
Thanks for reading. See you again the next time...

July 9, 2010

Tropical Sentimental Pocket Mini from 217 Creations

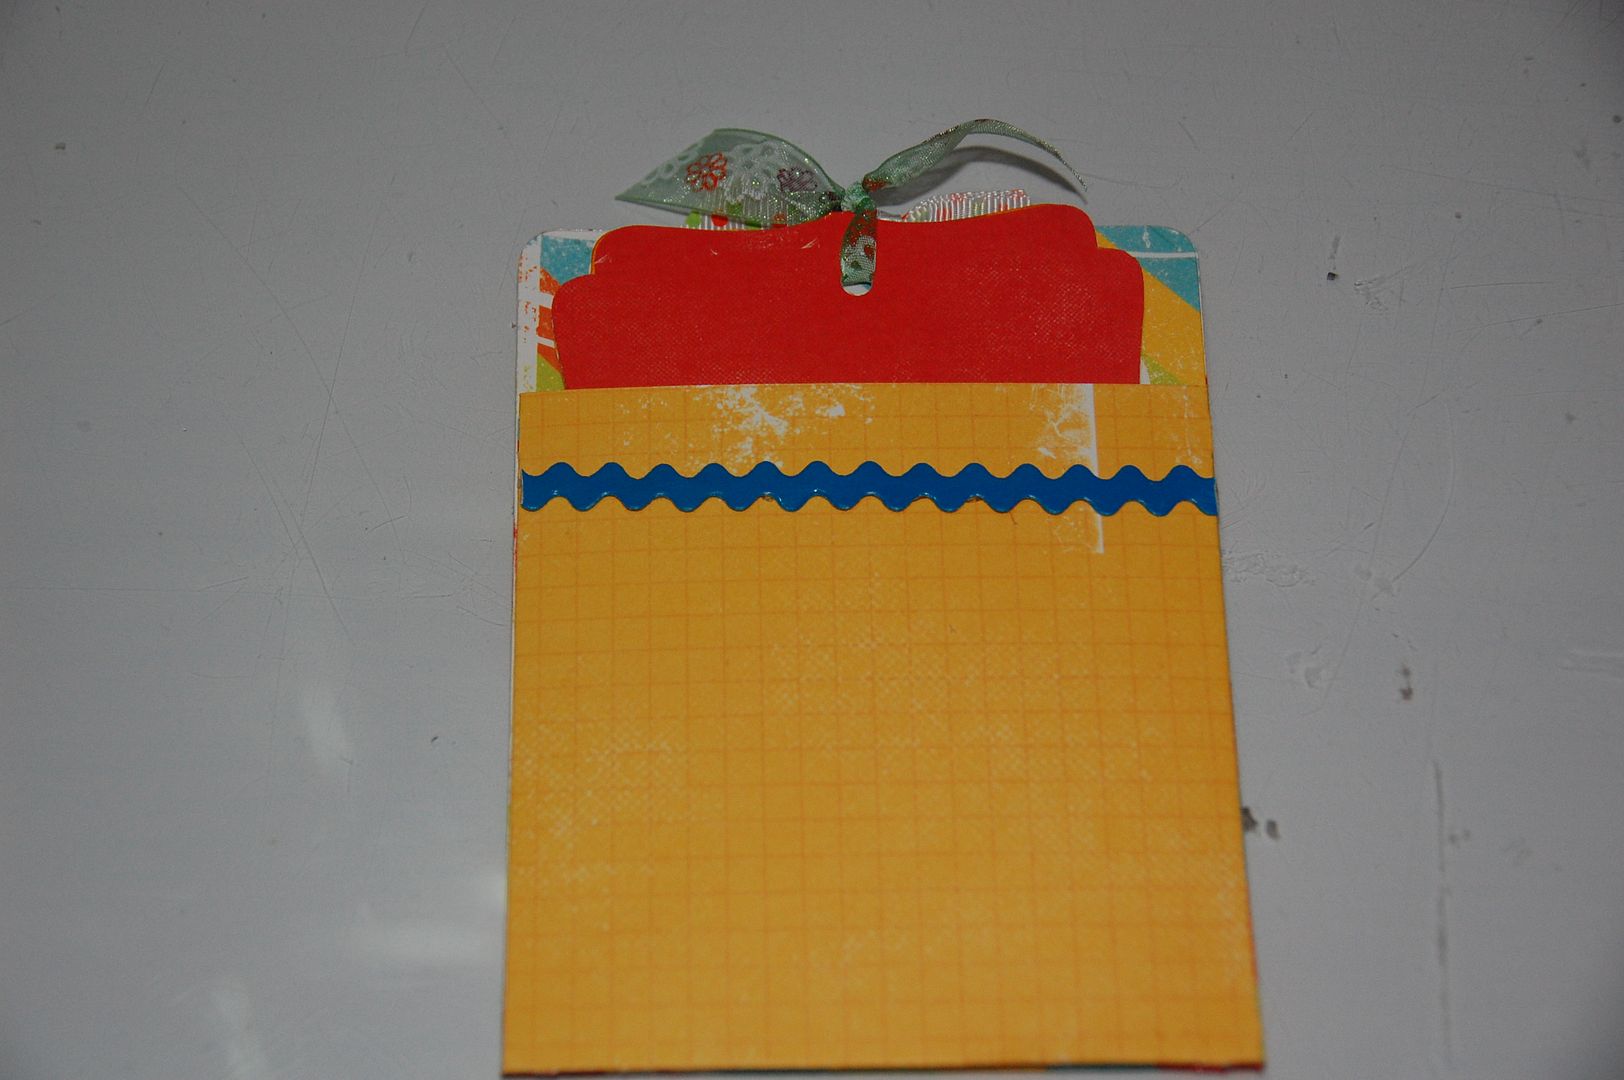
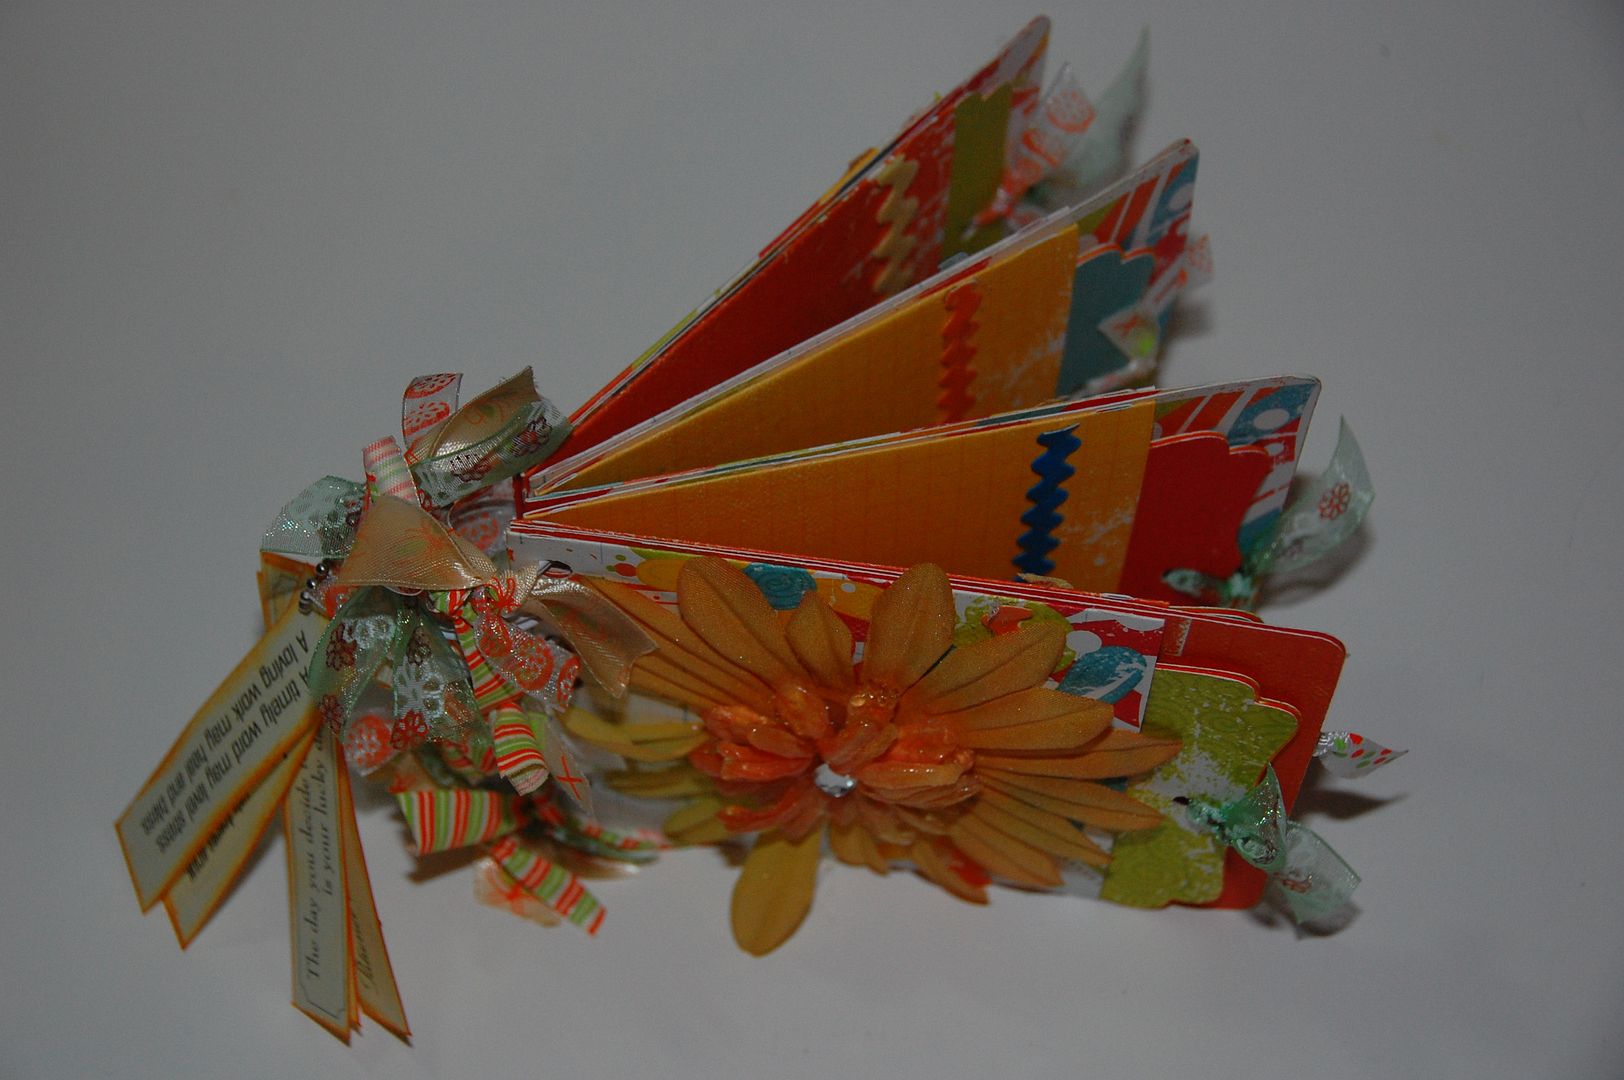
Aloha Everyone! This is Elizabeth from 217 Creations.  I am happy to be sharing a great summer project with my fellow crafters here at Tuesday Treats. This is my tropical inspired pocket mini.  The whole album is made from Sentimentals. This is by far the easiest mini have made yet.  I spent more time embellishing than cutting and assembly.
Here's the video tutorial.  If you prefer a step by step, please view the photo tutorial just past the video.

Supplies:
Double Sided Paper
Chipboard
Yes! Paste
Zip Dry
Hole punch or Crop a Dile
Ribbon and Embellishments
Binding Machine (I used a Cinch)
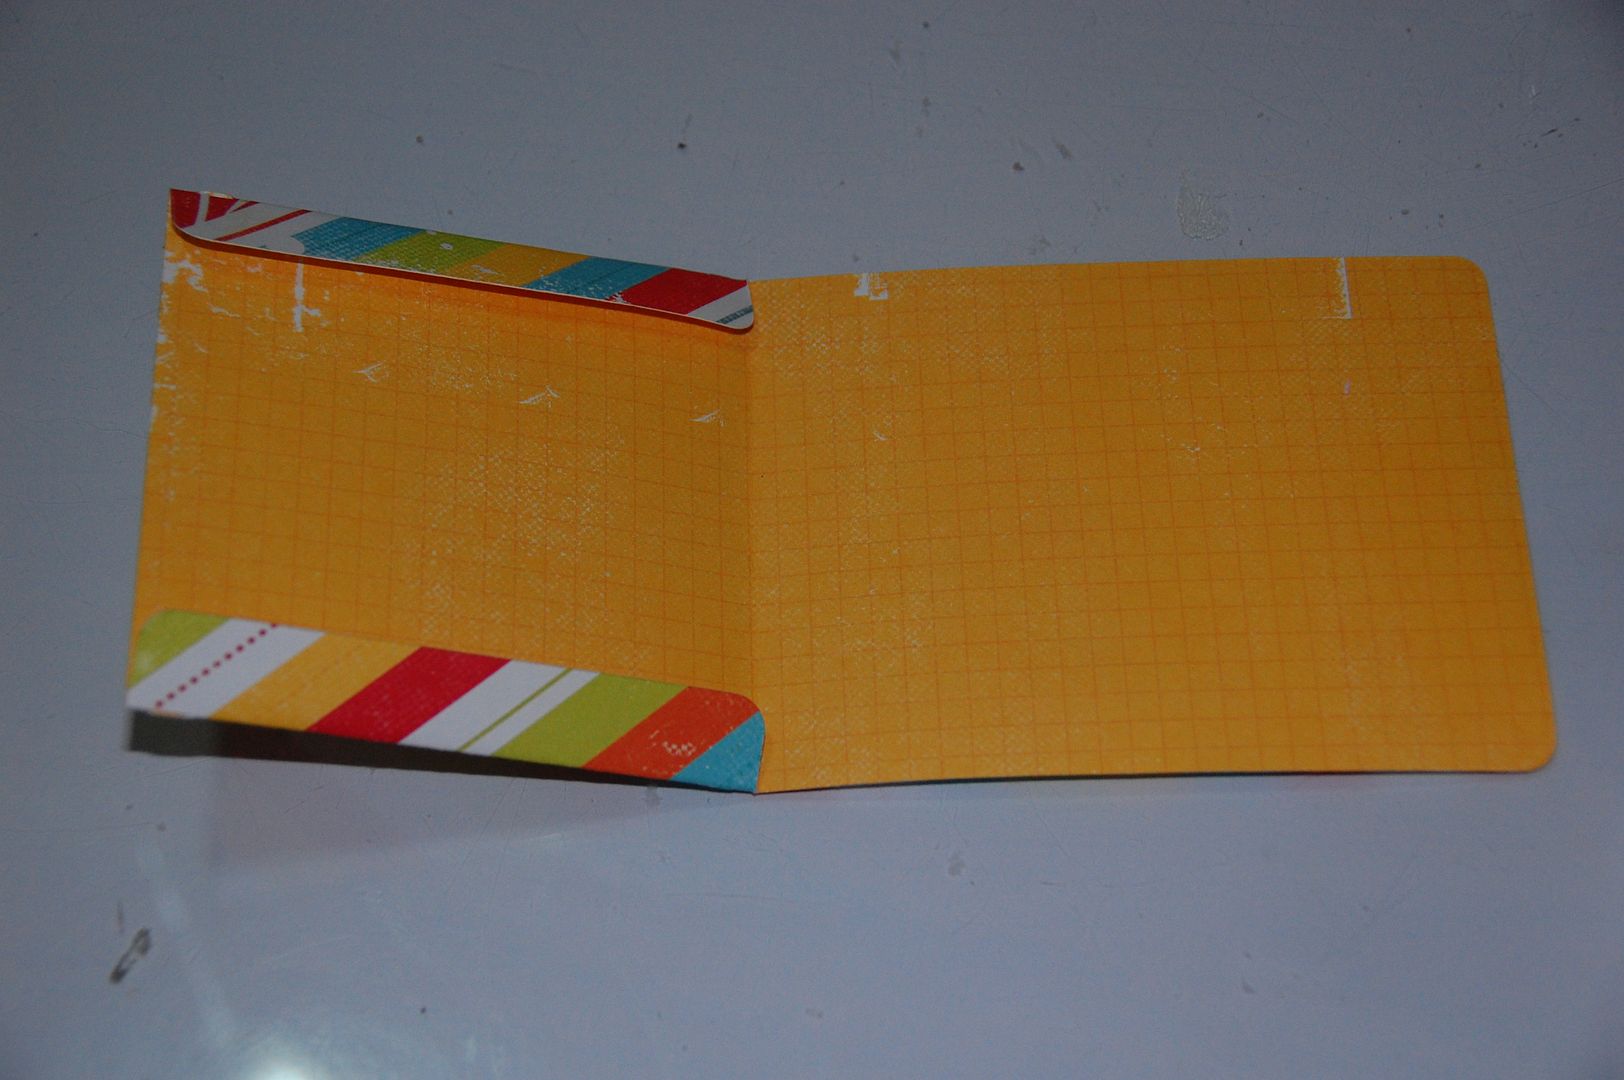
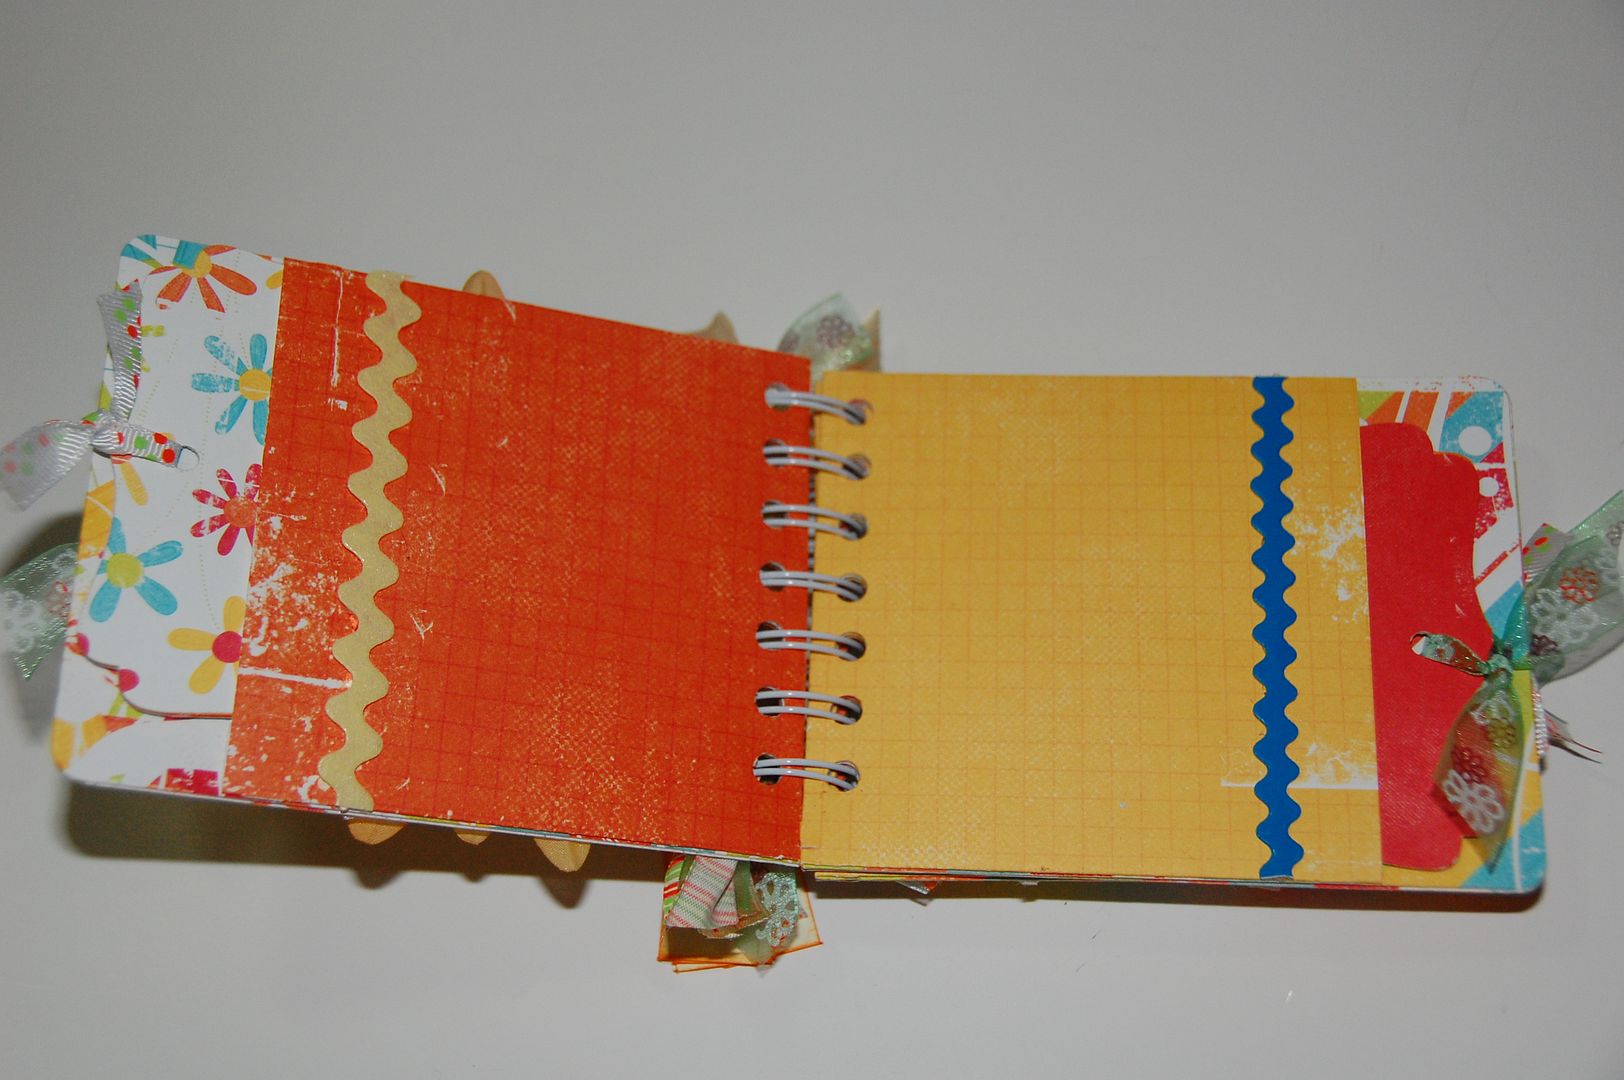
First decide how many pages you want.  In this case I wanted a total of 8 pockets.  So I knew I would need to cut the envelope pocket out 8 times and then cut the tag out 8 times from chipboard. I then repeated my cutting with my paper to cover the front and back of each tag, to yield a total of 16 cover peices.  I inked all edges of the white chipboard with Spiced Marmalade from Tim Holtz.

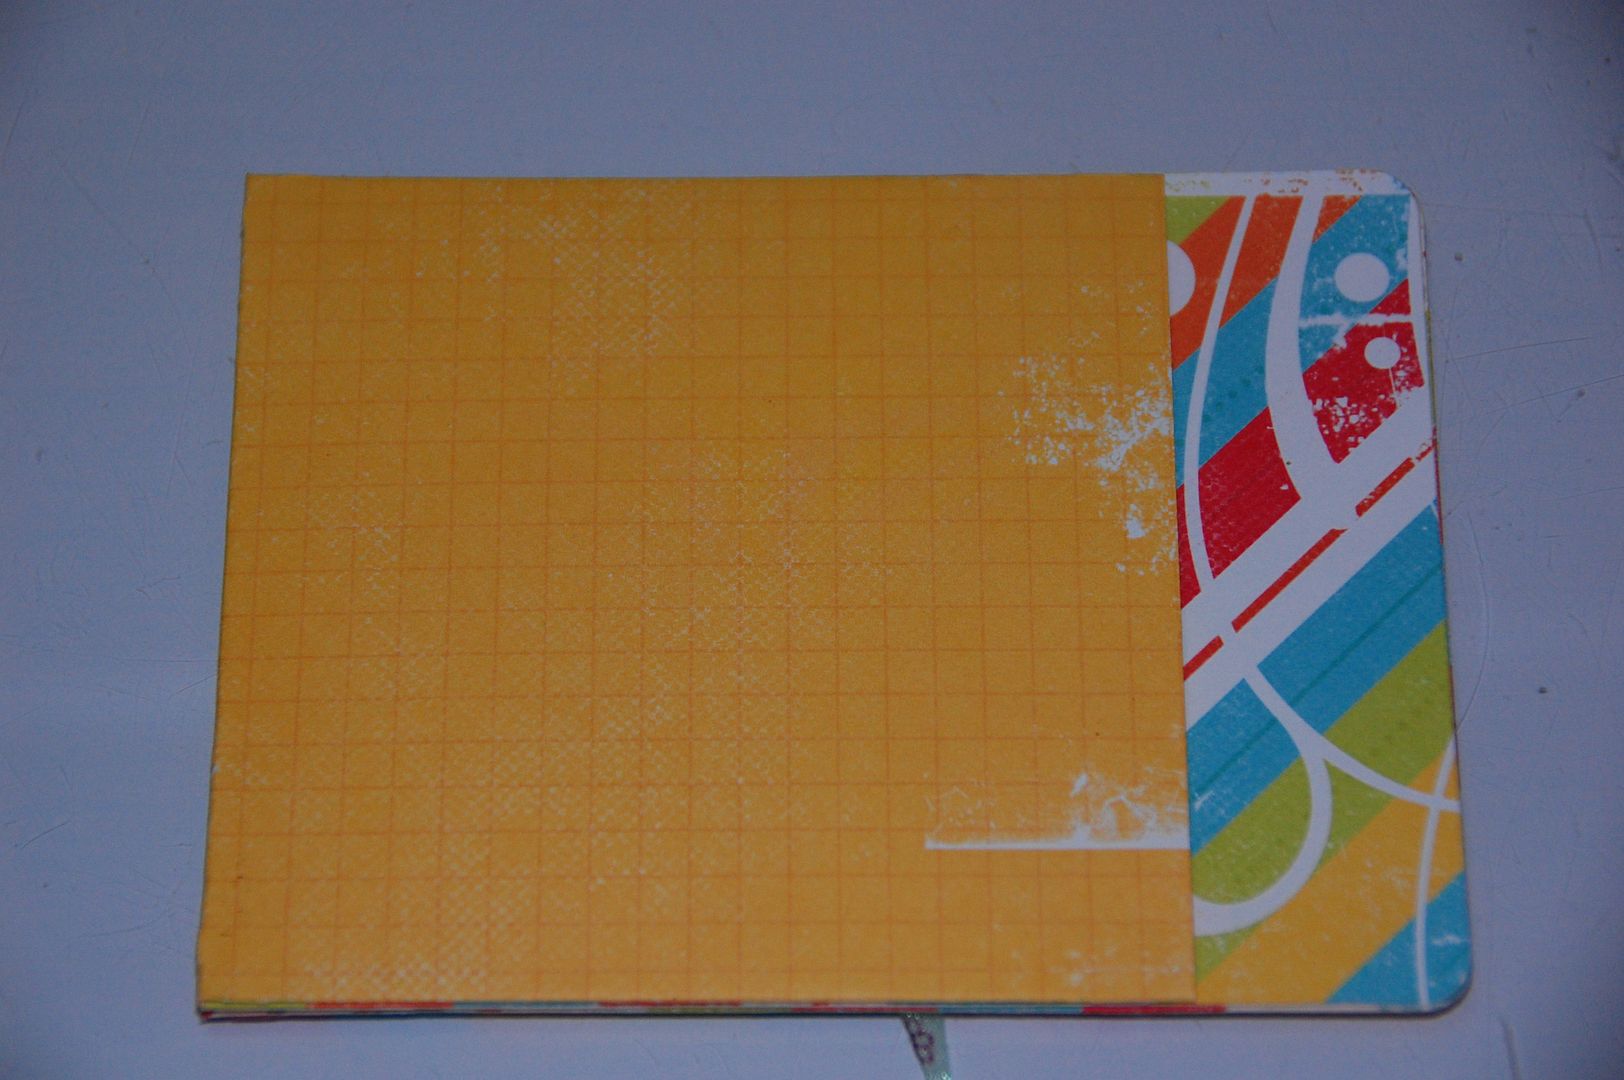
I then took each envelope pocket and followed the scoremarks to create the pocket.  I used Zip Dry to seal the edges. Each time I folded the envelope I switch which side was the outside and which side was the inside.  This is the benefit of using double sided paper.

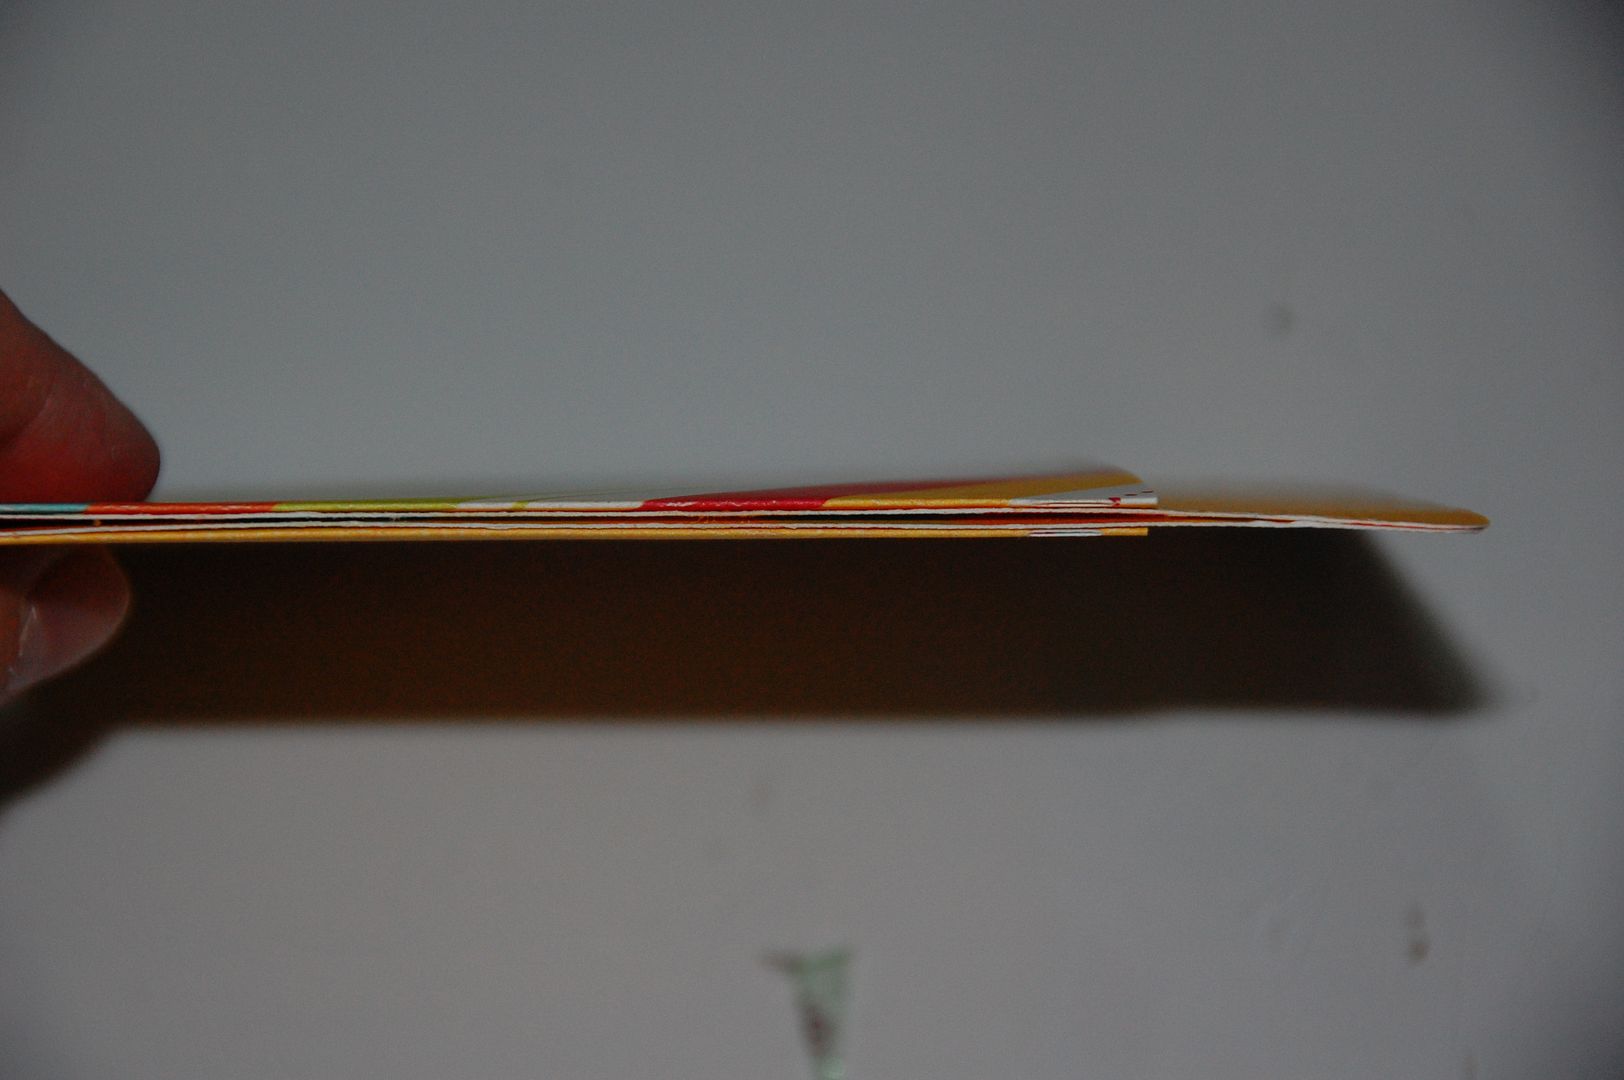
Once I had all my envelopes assembled. I took Yes Paste and glued them in pairs back to back.  Each page should have a pocket on it.
 
Next I took each tag base and began attaching the fronts and backs with Yes Paste.  I assembled all 8 of the tags.
 I took my Crop A Dile and punched a hole into the top of each of the 8 tags and tied ribbons through each hole.  So now all 8 tags fit into each pocket
I added a small amount plastic Ric Rack that I bought at Joann's fabric department.
Here another one
Then I used my Cinch binding machine from WeRMemoryKeepers and bound the book with 1 inch white coil.
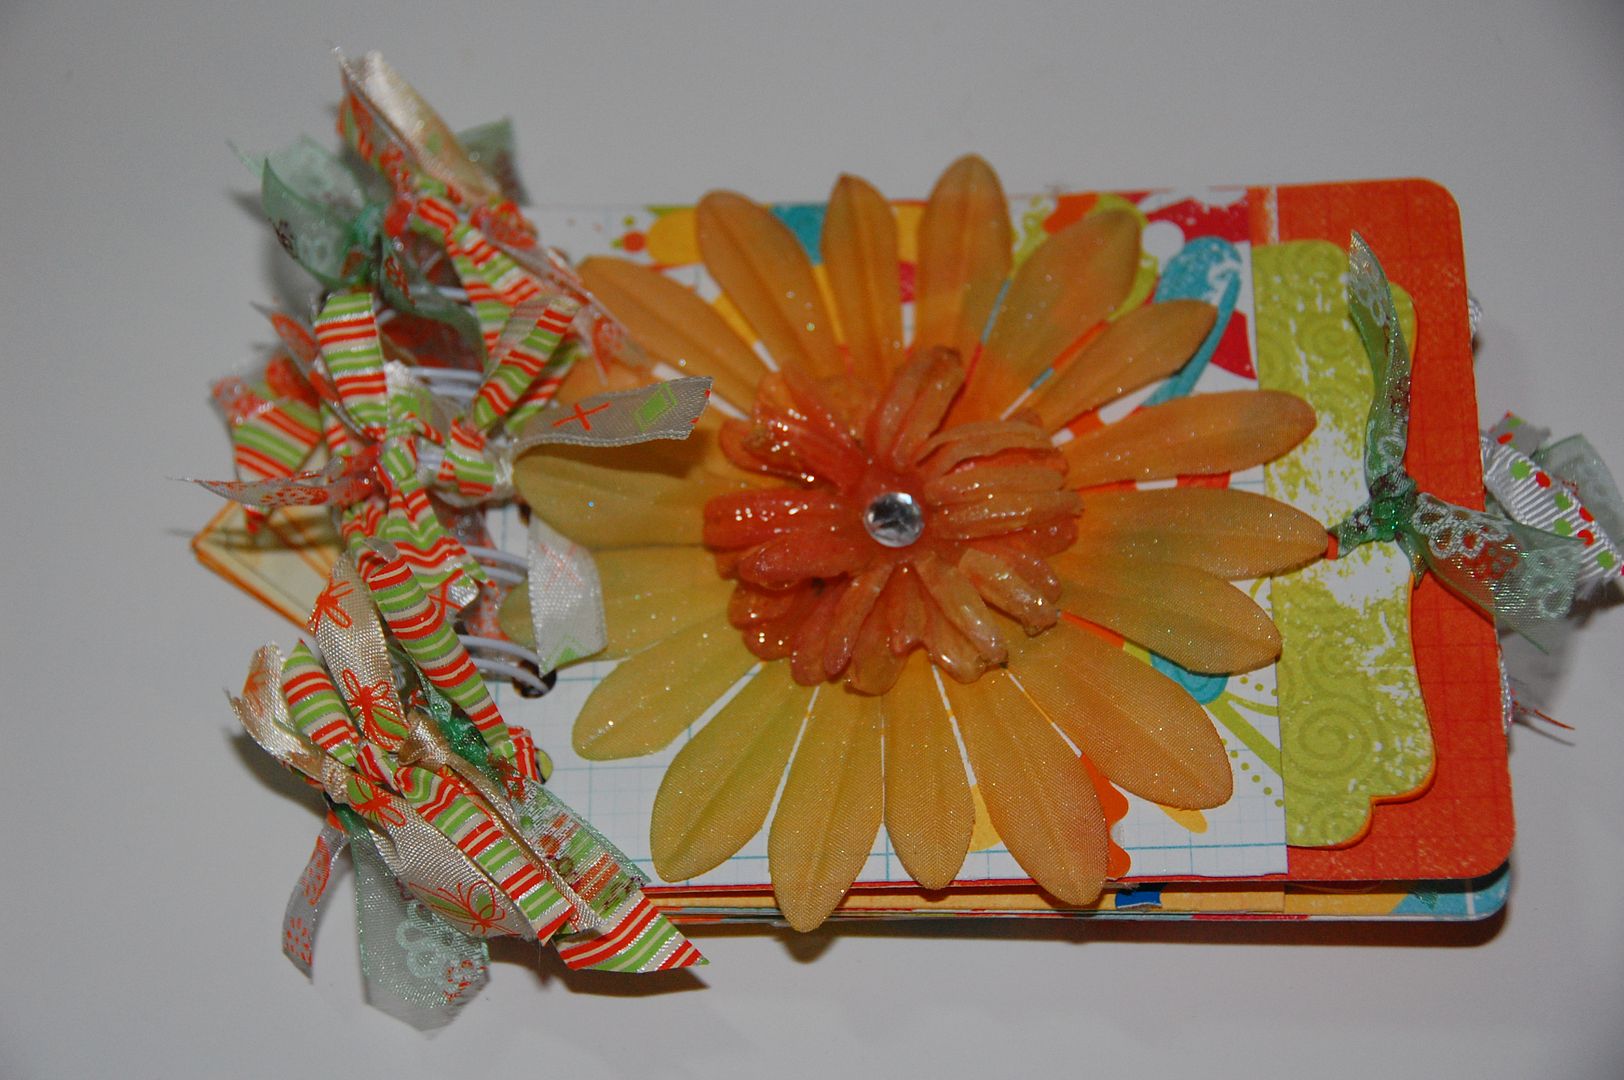
I tied lots of ribbon to the coils and adhered a super cut flower to the front. 
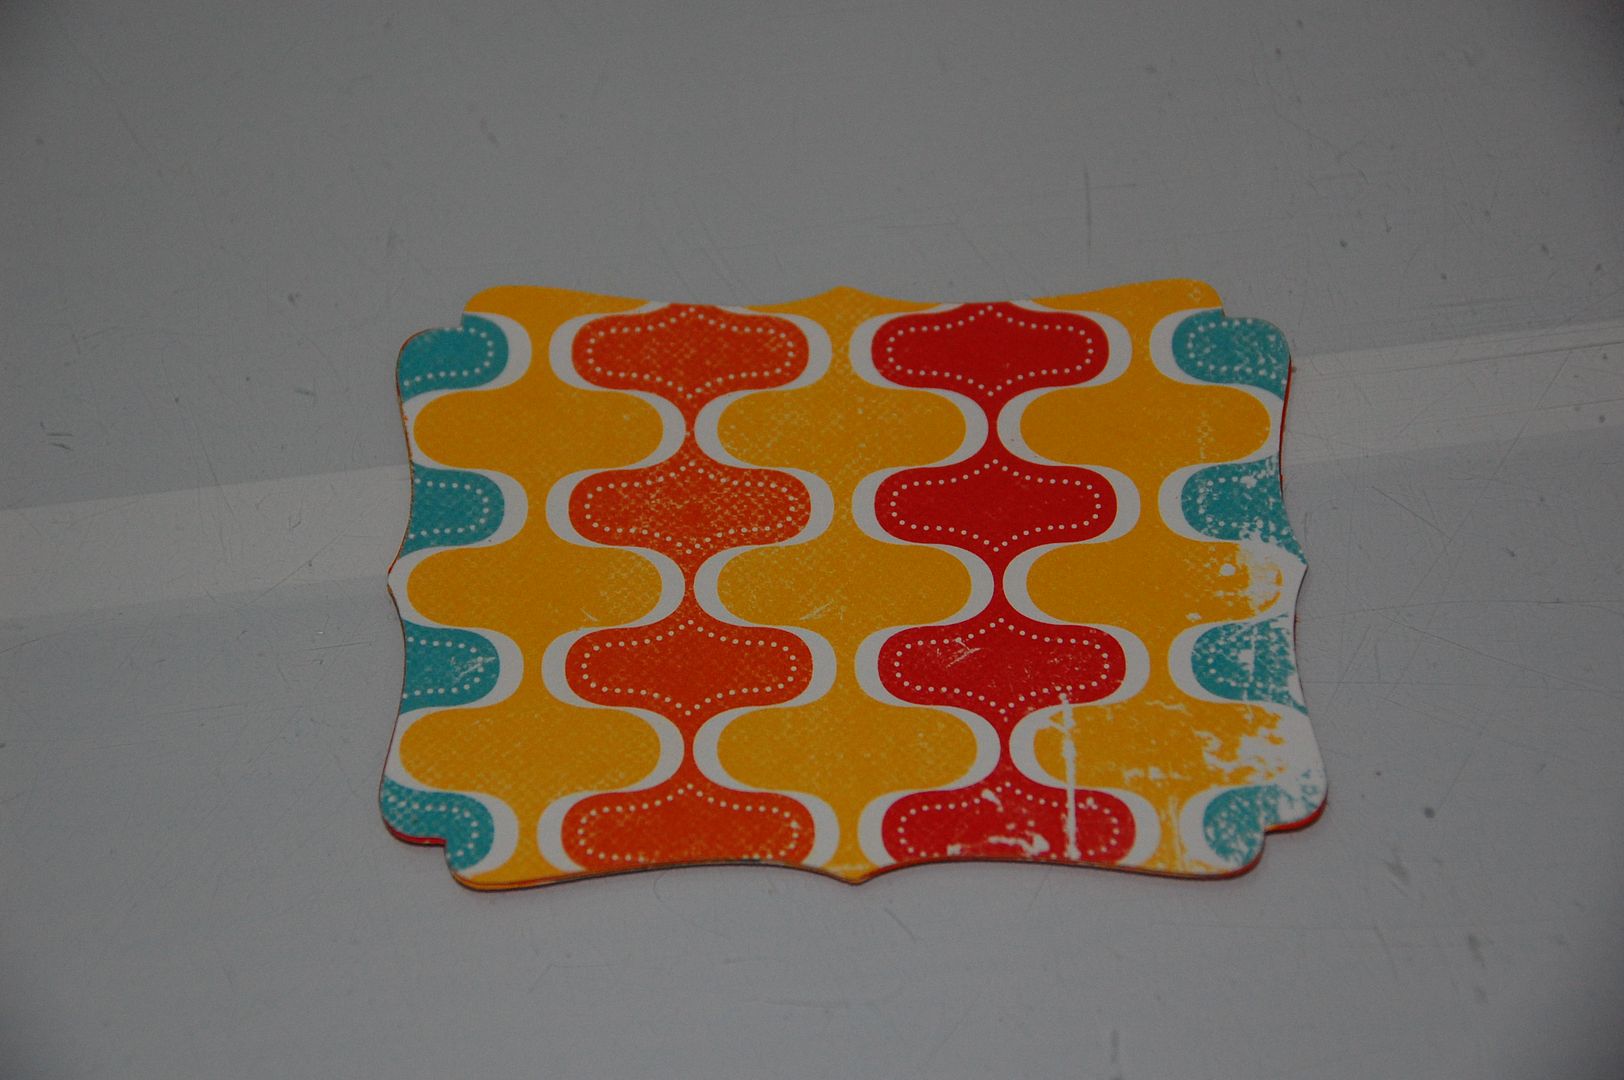
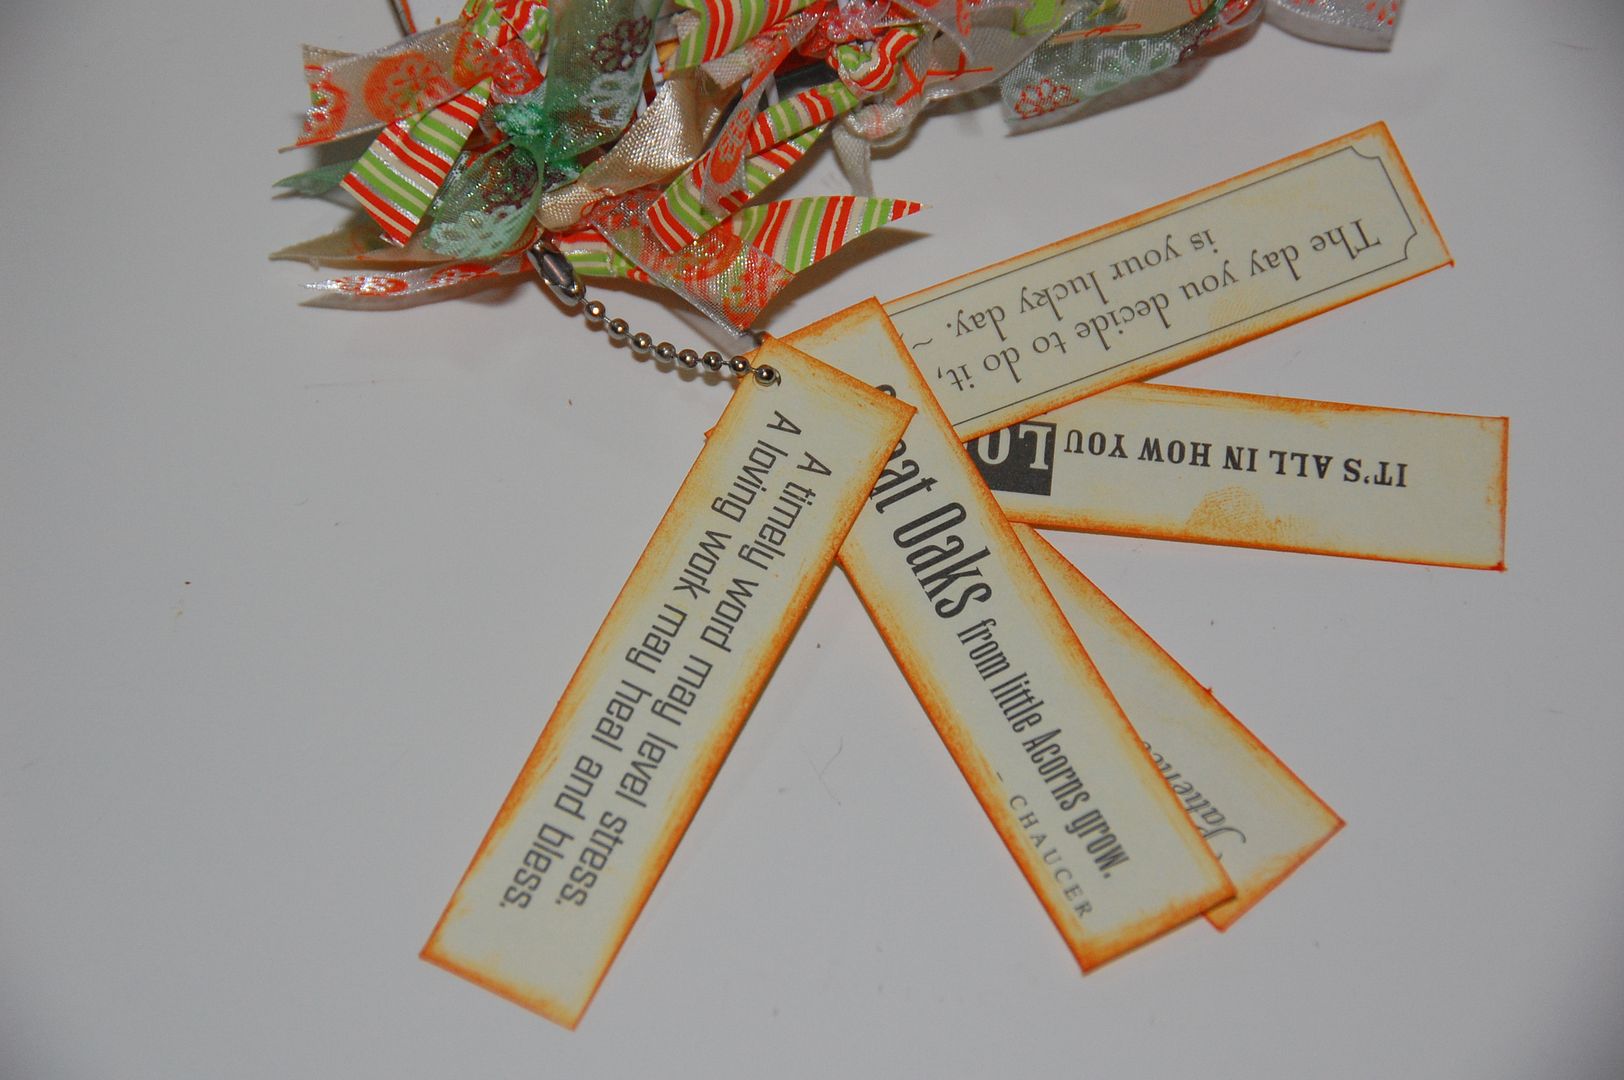
I then took these small quote tags (I have had them forever) and inked the sides with Spiced Marmalade from Tim Holtz.  I then punched a small hole in the side of each and threaded a small ball chain through the hole.  I then attached it to the side of the mini album.
If you would like to download the free file, please visit my blog http://www.217Creations.blogspot.com
As always thank you commenting and following at both here at Tuesday treats and at my personal blog 217 Creations.
>

July 7, 2010

Heritage Charms


Hi everyone, Lori (the Cricut Lady) here. I was assigned Heritage. Honestly, I would say this is my least favorite cartridge. But this just proves you can use all of your cartridges for something.
I made charms. Wine charms, gypsy stylus charms, book marker charms, bracelet charms. You name it there are really alot of uses for charms.
The Steps:
1) Select you design. I used the silhouettes because I thought the would be good for wine charms.


2) Place your shrinky dink material rough side down on your mat.


3) cut your design. Make sure to use multi cut as it is a thicker material 2 works 3 is better


4) punch a hole larger than you would like your final hole as it will shrink with the plastic


5) Draw a design or write a name on the rough side of the shape (Names need to be written backwards)


6) On a Baking sheet place a piece of aluminum foil


7)with a Popsicle stick (yes, these things can be used for anything) I held down a tiny corner and heated with my heat gun (embossing heat gun)


8) Kinda press down while still hot if it is not completely flat


9) Put a jump ring or a split ring into the hole and run ribbon, wire, twine etc.. through the jump ring.


10) place the piece around your favorite stemmed glass (This is the only stemmed glass in my house, but it is so cute. I love it


11) enjoy your work.

Hope you come up with some uses for this.
Keep creating!!
Lori

July 6, 2010

Mon Amour

I am so excited to be with you today.  It took me a while but I finally jumped on the Sentimental band wagon!  Pam kept telling me how wonderful this cart is, and I had the hardest time finding anything to start a layout with. Have you seen the peacock feathers! They are adorable and now we can make them in any color we want!
This was a hard layout for me to finish and probably a good one to share as I have too many comments that say 'you make it look so easy'. The fact of the matter is that we all must make quick decisions when we are making a project because often times what we plan in our heads doesn't always work in reality. With this layout I have rolled with the punches... or should I say made some bad choices and had to find my way out.
I am so excited as these two little one will be coming to stay with me the first week in July and we will be on vacation the second week in July. Preparing for guests and vacation has taken such a toll on me that I can hardly think anymore. Plus I must get things scheduled before leaving. I will probably get around to packing the night before I leave!
I had a few minutes at work so I just started doodling on these layout planning sheets that I got from Organized Scrapbooks.com. They sure aren't fancy like the ones we all follow that are all typed out complete with graphics, but it gave me the opportunity to think out what I wanted to do.
At first I was going to journal but since I wasn't there when the photos were taken and they are my granddaughters I just left it without.
I chose my papers and these gorgeous Primas that I had purchased on sale the last time I was in Chicago. And I even grabbed a lock and key in hopes I could work it in the layout. I love these colors but when it got down to it, one of these papers got dropped because all though they all match perfectly they didn't work well together.
I am hoping you can see these awesome papers I pulled from DCWV's Home Stack, K and Company and My Minds Eye Penny Lane stack as they are so nice and shimmery and the colors go perfectly with each other.
This is my layout on the gypsy and the file is available for your use if you want, just see at the end of the post.
I thought this is the layout to use my marker and after 2 years I finally opened the package and following Cheryl's (Cheryl's Window) instructions from Busted on Friday. I knew I could and would use them on this project to outline Mon Amour... WRONG! Oh they work BEAUTIFULLY but I learned that my choice of the turquoise and black just didn't go well with my layout so I scratched it. I am however going to reinforce the instructions because this is a must for you to try and add a few of my own. I will use this method over and over in the future.
This is what the marker looks like when you open it. Don't laugh, I had these markers for 2 years and never opened the package!
Cheryl reminded us to place paper under the blade/marker assembly as it could mark up the paper. It did.
See the mess I made. Mind you what she didn't say, that Sheila did is be careful as it is very easy to move the blade assembly when changing to the marker. If you do, that the marker will not line up!
After I cut I told my Gypsy Woman to return to design. I deleted all the items that I did not want to be written on. (REMEMBER DO NOT SAVE THIS)
I changed to the marker not realizing that I moved the blade assembly.... Above is what I got.
Try number 2 above. This time I accidentally hit the wrong button and unloaded the paper. I figured. I put it in the same way every time, so lets give it a try. WRONG, if you look closely you can see it is off and the cut lines and marker lines do not match up.
YEAH!!!  Try 3 is perfect it lines up beautifully.
But what I didn't realize is that the heading just fades and it really looks tacky. Even though it turned out perfect, I scratched it and reached for more paper. I want to say I LOVE the effect and it really is easy once you learn how to take the blade out and place the marker in. EASY, but like anything else we need to learn.
I took the scraps and laid my heading on the paper and you know I had to use the red. Look at how nice they look together and the read has a gold speckle in it to boot.
I cut the peacock feathers and the heading mat and went to work putting my layout together.
I inked the edges of my pieces, including the heading. I did not do the feathers or the butterflies.
Again, I am hoping you can see the shimmers in this paper, they are just amazing in person.
I added the feathers and flowers.
Here is a closeup of these awesome flowers on the sparkly shimmery paper.
This time I used the 1/2 inch glue dots instead of the pop dots as it gave dimension. but just enough to create a tiny shadow.
I added the little butterflies.
See how awesome the heading looks now.
These are my beautiful granddaughters Brianna on the left and our little Carissa on the right. It was a fun and easy layout once I got past my little challenges. I sure hope you enjoyed today's project and you come back each day to see new and creative projects. Mon Amour Gypsy File.
MyFreeCopyright.com Registered & Protected
I am always encouraged by your sweet - sweet words. Your comments inspire me to keep scrapping and sharing things with you.
signature