Knowing is not enough; we must apply! - Johann Wolfgang Von Goethe

Welcome & Copyright & Disclaimer

Welcome to Tuesday Treats. Hope you have a pleasant journey browsing and getting inspired by the projects you find here. We appreciate and treasure your comments so please leave us some blog love and comments. But before you start your journey here just a small note . Do please read and then you can continue on. Copyright: This blog has a many designers showcasing their projects. Please look up their individual site to check their copyrights for any infringements. My files & projects are also all copyrighted. They can be used as inspiration and for personal gifts only but cannot be used in classes, in magazines or for contests. Please look in the side bar for more details on the copyright. Disclaimer: The designer's designs belong to them and them only & not to TuesdayTreat and The TuesdayTreats will not be responsible or liable in any way for any results or consequences from those designs.

October 28, 2010

Spooky Thursday on Tuesday Treats.

Hi everyone, Beth from thunderbirdlindybydesign.  This is my first time being a Guest Designer on Tuesday Treats, so I am a little nervous.  Today I used my Gypsy to create a lace style Halloween picture.  I used the Carts George(of coarse) and October 31st.  I really like this cart and have used it a lot lately.

I welded the spooky house, tree, and cloud with lightning together to create the below cut.


I positioned the cloud with lightning off of the page, so you can't even tell what it is by looking at the cut above.  I was going for the effect of Spooky House on a Spooky hill.

Then I reversed cut the "moon" circle from George out of a yellow background cardstock.


To get the background of the house, I selected the house again, and sized it exactly the same size as the first house I welded and using Hide Contour(I love love love this feature), hid all of the contours on the house that I did not want to cut.
 

I glued this directly to the back of the black welded house.


Finally I glued a piece of vellum to the back of the moon cut, and then attached a piece of yellow cardstock to the back of the vellum.


Even if you are not a fan of Halloween, I hope this has insprired you to get your Gypsy out and do some welding and hide contour.

Cut file is available on my blog under the cut file tab.  Entitled Spooky Picture.

Thanks for having me, Beth.

October 26, 2010

Two Page Layouts with a Single Mat

Hi Everyone! It's Ohhh Snap with my first Guest Designer post here at Tuesday Treats. When the gypsy first launched every bit of the image had to be on the mat or nothing would cut at all. Thankfully that has changed! The large background mat is made with two 12 x 12 inch sheets placed side by side on a 12 x 24 inch mat using the 10th image  from Create A Critter with the Phrase feature with the size set at 19.54" height. The height for the smaller mat is set at 10.54". The apple and tree are also from Create A Critter.

The font is from Cindy Loo. I attached the negative cut to the right hand page with some painters tape on the left side. I used it to place the letters on the page. Leaving it unattached on the right allowed me to open it and make sure I had only glued the letters to the page. I used the journal mat to make a pocket for more journaling. The paperclip is from Fabulous Finds and the middle and top of the paperclip is glued to the extra journaling note. Most of the paper comes from the August Club Ruby Designers kit featuring Sassafras Lass.

October 21, 2010

The Boo Crew!

Hi!  I am Lori Apgar from ScrappinMyStressAway and I am so excited that my debut here is in the month of October!!  Halloween is my very favorite holiday.  October is also my Gypsy's birthday month.  She and I have been busy creating a ton of Halloween projects!

I was not able to go to the Utah Swarm two weeks ago, but I did get to go to Kansas City for the CKC Scrapbook Convention.  My head was spinning as I looked at everything!!  There were several booths with laser cut designs, some I could do with my Gypsy and others I couldn't.   Of course I spent plenty on the ones I couldn't create!!!

The Boo Crew is one of the many ideas I sketched in my notebook while walking around.


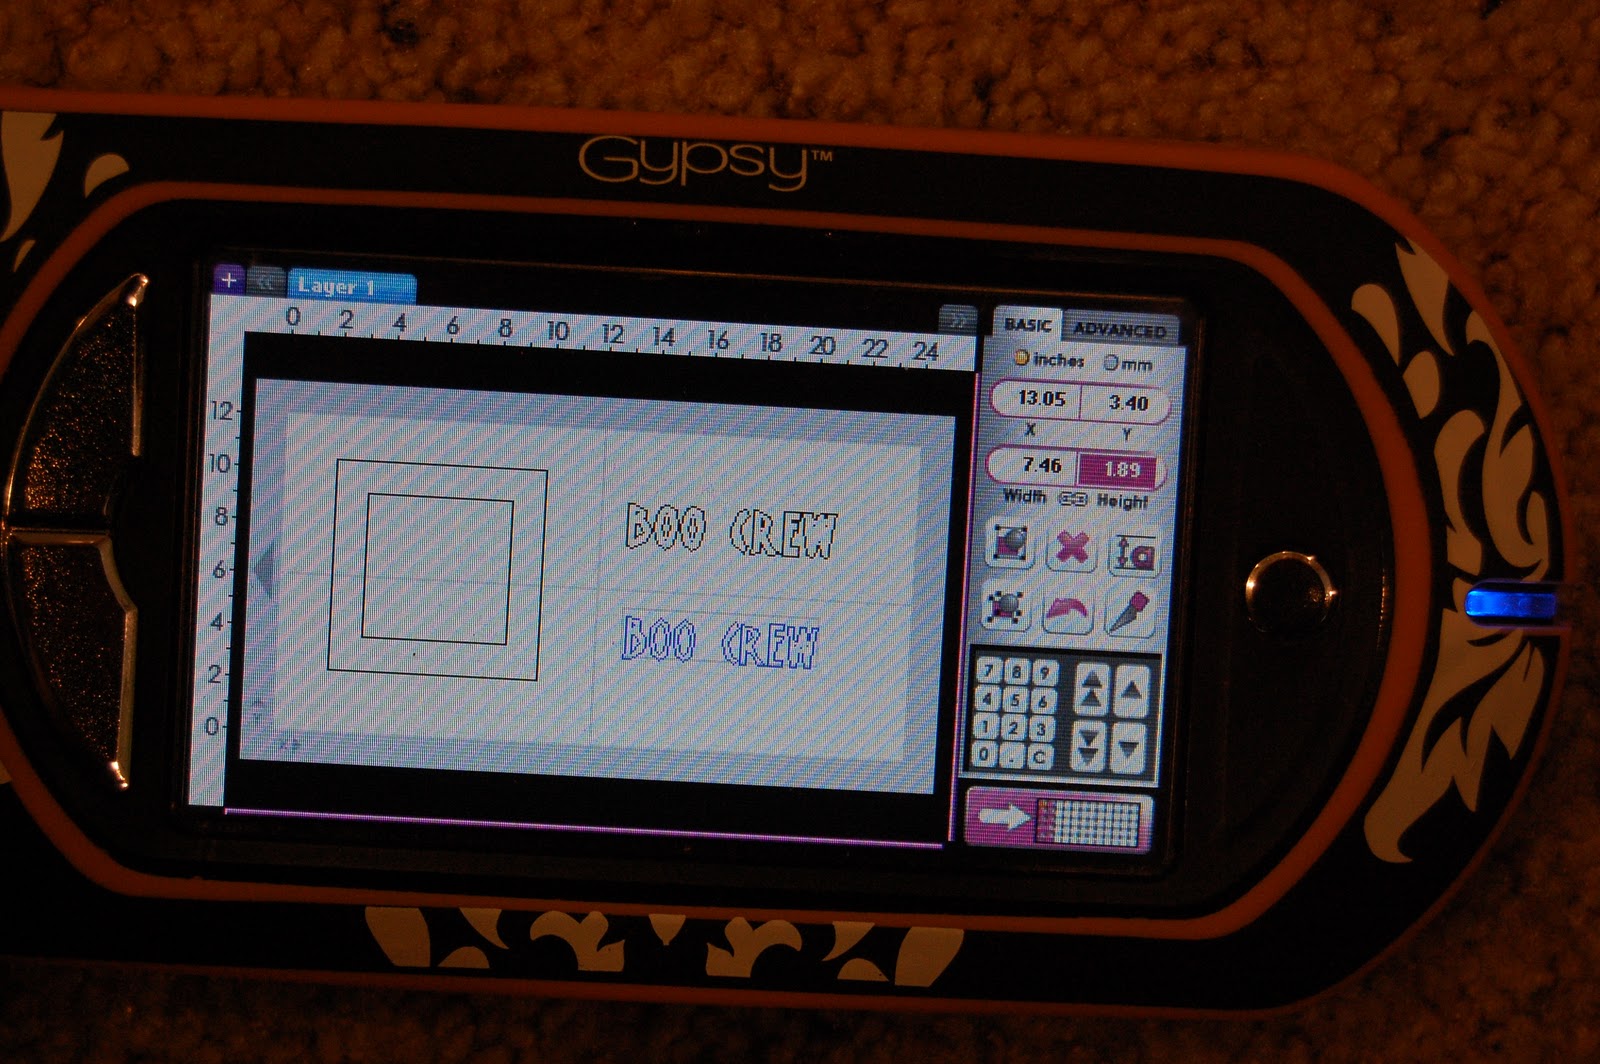
I started with the frame from Wild Card.  I sized it at 8.56w x 15.02h.  This leaves the center opening at 5.5 x 5.5.


I centered it on a 12x12 mat.   I changed my mat size to 12x24 to put my extra pieces on.  To do this, press the silver round button to get to the Main Menu, select Change Mat Size and select 12x24.


I used Opposites Attract for the font.  I started out with the Opposite Shadow feature and the Shift/Lock option for the capital letters.


Then I used the Opposite Feature with the Shift/Lock option for the capital letters.


Before I size the letters, I need to put the shadow letters on the bottom of my frame.


I sized the letters 1.89h.  I moved the Shadow letters in place....


then I group the letters with the frame and weld them.


I grabbed a ghost from Mini Monsters (love this guy) and go to the Hide Contour Feature on the Advanced Menu.  I hid the eye and mouth cuts.


I duplicated the ghost three times and size them to 2.18h.  I flipped the center ghost so he is the opposite of the outside ghosts.  Before I welded the ghosts on, I duplicated two of the original ghosts and one flipped ghost.


I grouped and welded the ghosts to the frame.


I want to change back to a 12x12 mat.  First I need to open another Layer.  Then I highlight the three ghosts and the letters and copy them onto Layer 2.


Next, I move them over to the left half of the 12x24 mat and then change back to a 12x12 mat.


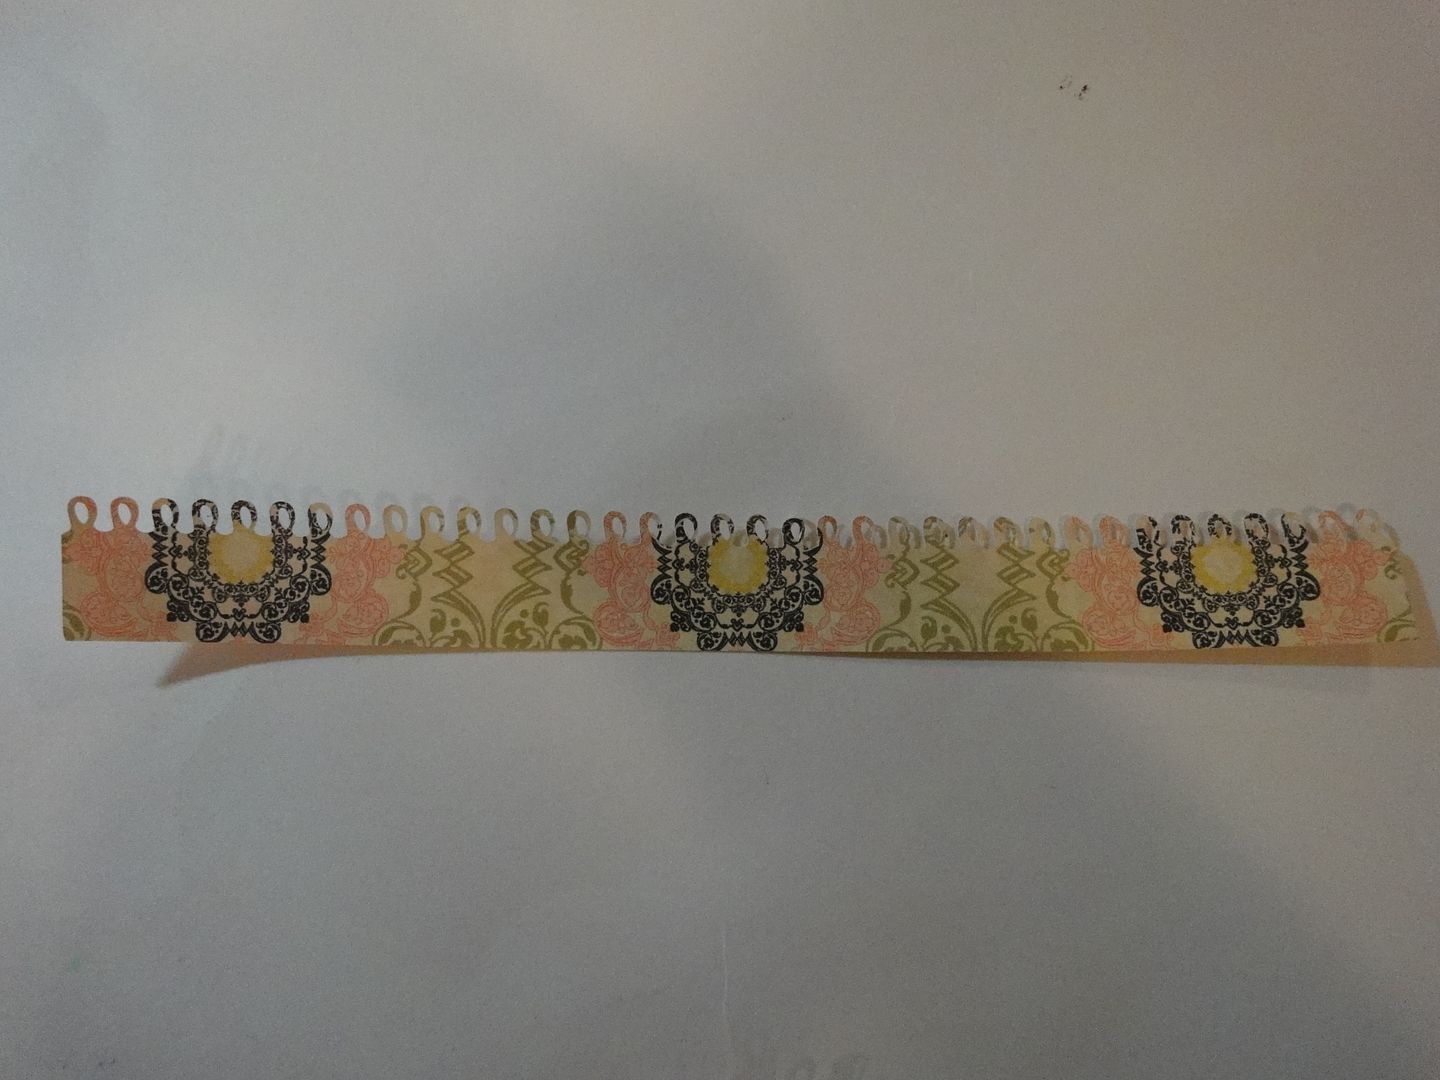
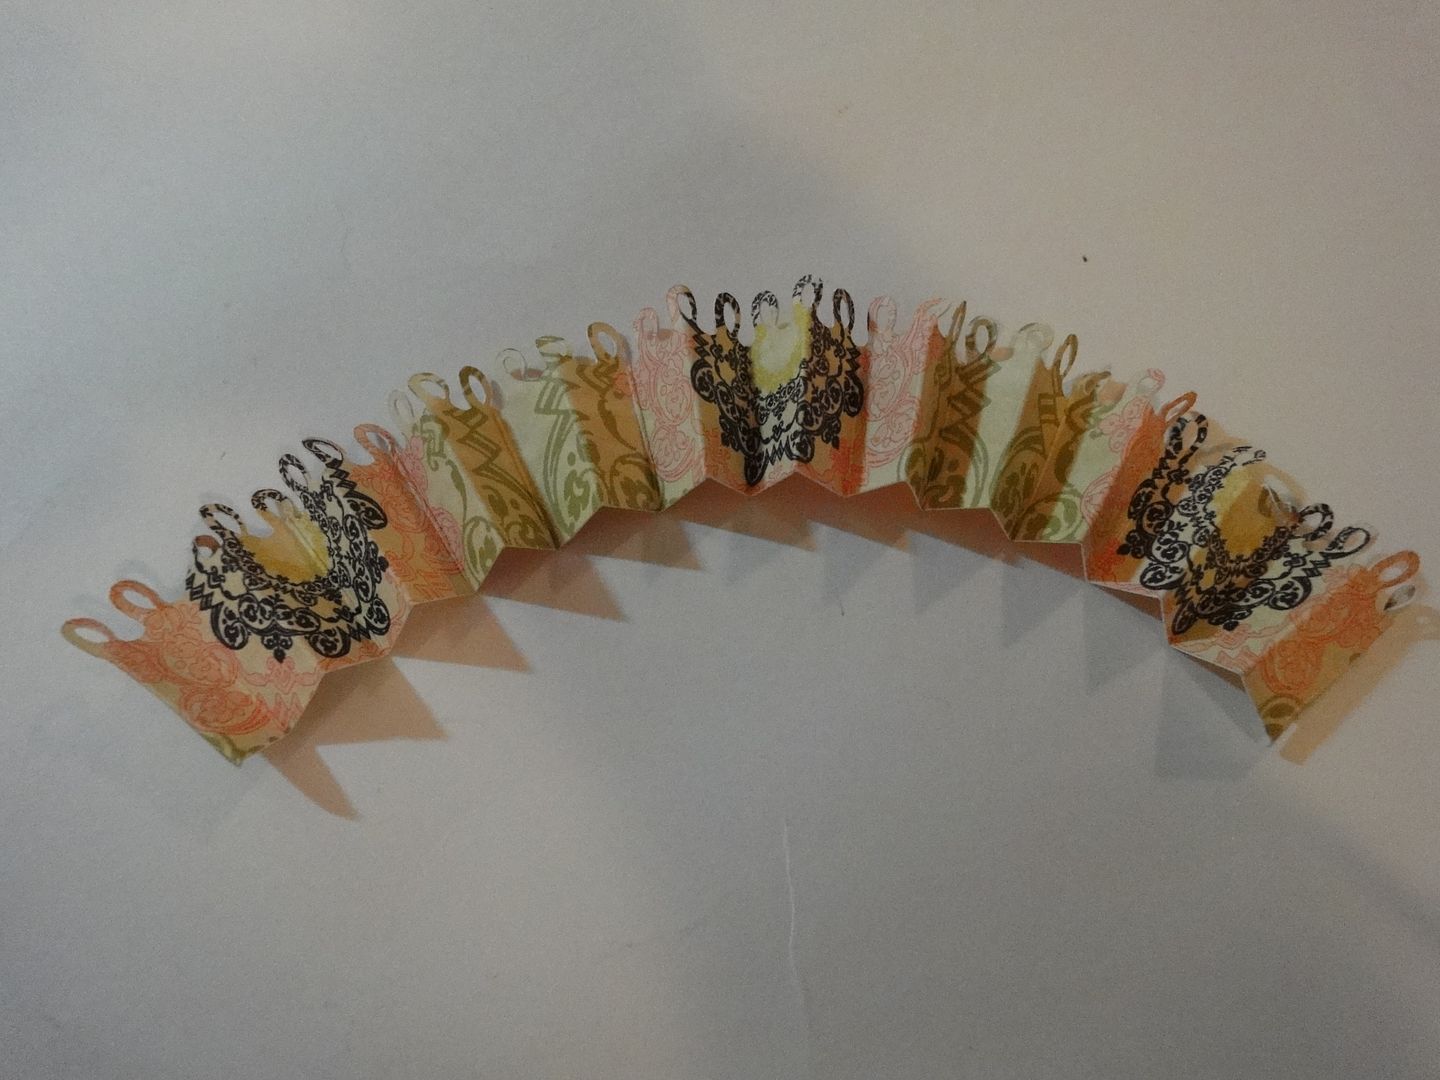
Here is the mat cut with black cardstock.


I cut out the ghosts in white cardstock and the letters in yellow cardstock.


I want to glitter the ghosts and letters, so I ran them through my Xyron upside down.  This puts the stick on the top of the images.


I grabbed my Martha Steward Lemon Drop glitter for the letters.


One of my little helpers (Max ~ 2 years old) helped me dump the glitter.


To seal the glitter and give some dimension, I put Glossy Accents on top of the letters.


For the Ghosts, I ran them through the Xyron and first put the gem eyes on.  They will not stick very well to glitter.


Then I sprinkled Sugar Cube glitter on top.


I found that if I use my fingers to move the pieces, the glitter will fall off where I touched it.  I used my tweezers instead to shake off the excess glitter.


Here are my ghosts all glossed up!


They dried in a couple of hours (I poured it on thick).


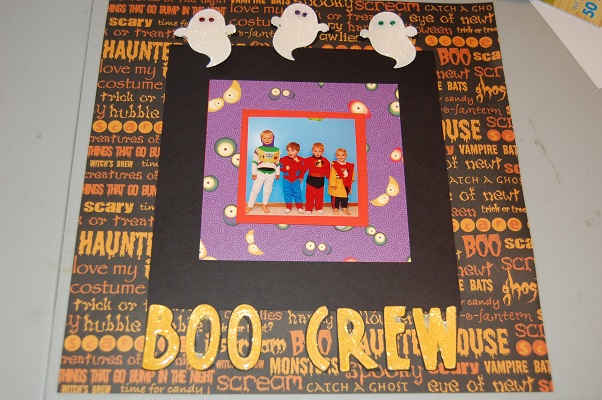
I glued the ghosts down first.  You could leave the letters on the bottom black if you want.  Because my background paper was very dark, I wanted yellow letters.


Once I glued the letters down, I realized that I did not really like the orange background with the photo I chose ~ so I changed it!!


You can see here how my ghost curled.  This was because I used so much Glossy Accent.  I kind of like how the ghost appears to be moving his hands and tail!


And here is my very own little Boo Crew!!

I had fun creating this Halloween project for Tuesday Treats!!  If you have been following me then you know my favorite holiday is Halloween!!!  I hope you have your very own Boo Crew to share Halloween with!!

October 19, 2010

Altered Martha Stewart Favor Boxes

Happy Tuesday everyone!  This is P-Kay Sunshine and today I am showing you an item I altered for Halloween.  Last week I started looking at my cartridges for a goody bag or box to make to give to the kiddos at Sunshine's (my 3yo DD) daycare for Halloween.  I wanted something easy to make because I needed 20.  I looked through my carts then I looked through my "supplies" and I came across these boxes.  I purchased these last year from Big Lots when they had all of the Martha Stewart wedding stuff on clearance.  There are 20 in the pack...just the amount I needed.  Now I just had to find a way to alter them so they are Halloween themed.


I started with some ink.   I got my studio G ink and a dauber and started to color the box orange.  There is a little white bow that I removed from the front of the box.  I did not color the inside of the box but I made sure to include the sides.


It covered fairly easy and quickly.  Now off to my gypsy to see what images I can use.  I wanted to cover the clear window.  Don't want 3 year olds to see their treats.  ;-)  The box folded is a little over 2 1/2 inches.   I used the pumpkin from Gypsy Wanderings cut at 2.5 by 2.3. 


On another page I added the shadow with a spider from Designer's Calendar and bats from Paper Doll Dress Up.  For the bats I removed all of the score lines that showed the eyes and accents on the wings.  I did this because the image is so small - only 2.5 by 2.25 and the lines barely cut anyway.


The spider was added onto a square on the inside of the box to cover the see through window.


The three welded bats were added to each side of the box and I accented the face and wings with my white gel pen.

A little inking to the edges of the pumpkin and some pop dots to add dimension to the pumpkin finishes off this cute little treat box.  ((Probably overkill for a bunch of 3 year olds but Sunshine loved it! ))


This was a quick, easy and fun way to make these cute little boxes fit a Halloween theme.  I am sure they will be a hit at daycare.  Thank you all for checking out my project.  Be sure to visit me at  P-Kay Sunshine Creations.  Have a great day!

October 15, 2010

Border Pleated Flowers

Hi everyone! This is Elizabeth from 217 Creations. Last month I sold all my border punches at my local scrapbook store's garage sale.  In return I got a large in store credit that I have been very happy to shop with lately.  I am a bit sad that I no longer own those punches.  But what it has forced me to do is to make better use of Cricut Cartridges and my Gypsy.  Pleating is all the rage right now in papercrafts.  I am always looking for a way to add dimension to my projects and pleated flowers are so elegant. 
This is what the Gypsy file looks like:
 This what the file cuts from Martha Stewart Elegant Cake Art at 1.26 inches by 11.5 inches.
 If you have never played with borders or would like to learn how to make a border quickly, watch this video.
Follow this link for a photo tutorial and a list of cartridges with borders! 
Once the border is done cutting, I used my Martha Stewart Scoreboard to score at 1/4 inch on either end.  Then I scored at 1/2 inch all the way across the strip.  Then I followed the pleats, folding it all together back and forth and back and forth. The paper is from Webster's Pages- Life Beautiful.
Then I took the ends and hot glued the two ends together, lining up the the loops.
Then I took the hot glue gun and placed a thin layer of glue across the inside of the pleats.  Then I pushed them together in the center.
Then I turned the flower over and placed a small drop of hot glue in the hole on the back, pressing firmly to close it up.
Once it was dry, I took a small rhinestone and placed it in the center to conceal the glued pleating.
I added this flower to a 3x3 mini card.  These flowers would look great on layouts, cards, and boxes.  Try playing with different borders to change the look of the edge.
If you would like the free Gypsy file please feel free to visit my personal blog for the file: 217 Creations.  As always thank you taking the time to comment and follow both here at Tuesday Treats and my personal blog 217 Creations.  It means so much to me!